Showing posts with label pillow. Show all posts

Saturday, July 9, 2016

Quilting with Selvages

I started saving my selvages just a few months ago after I noticed more and more projects being made by other people using their selvages.


If you aren't sure what the selvage is, it's the edge of your quilting fabric. There are two selvages on each fabric, one of which has the fabric information (designer, colours used, fabric # and manufacturer) printed along it.


These strips can be quite colourful and have one edge which is finished, so lots of quilters have started using these strips to make all sorts of projects.

Since I had a little stash accumulated, when I was offered the opportunity to review a copy of "Modern Selvage Quilting" by Riel Nason, I jumped at it!!


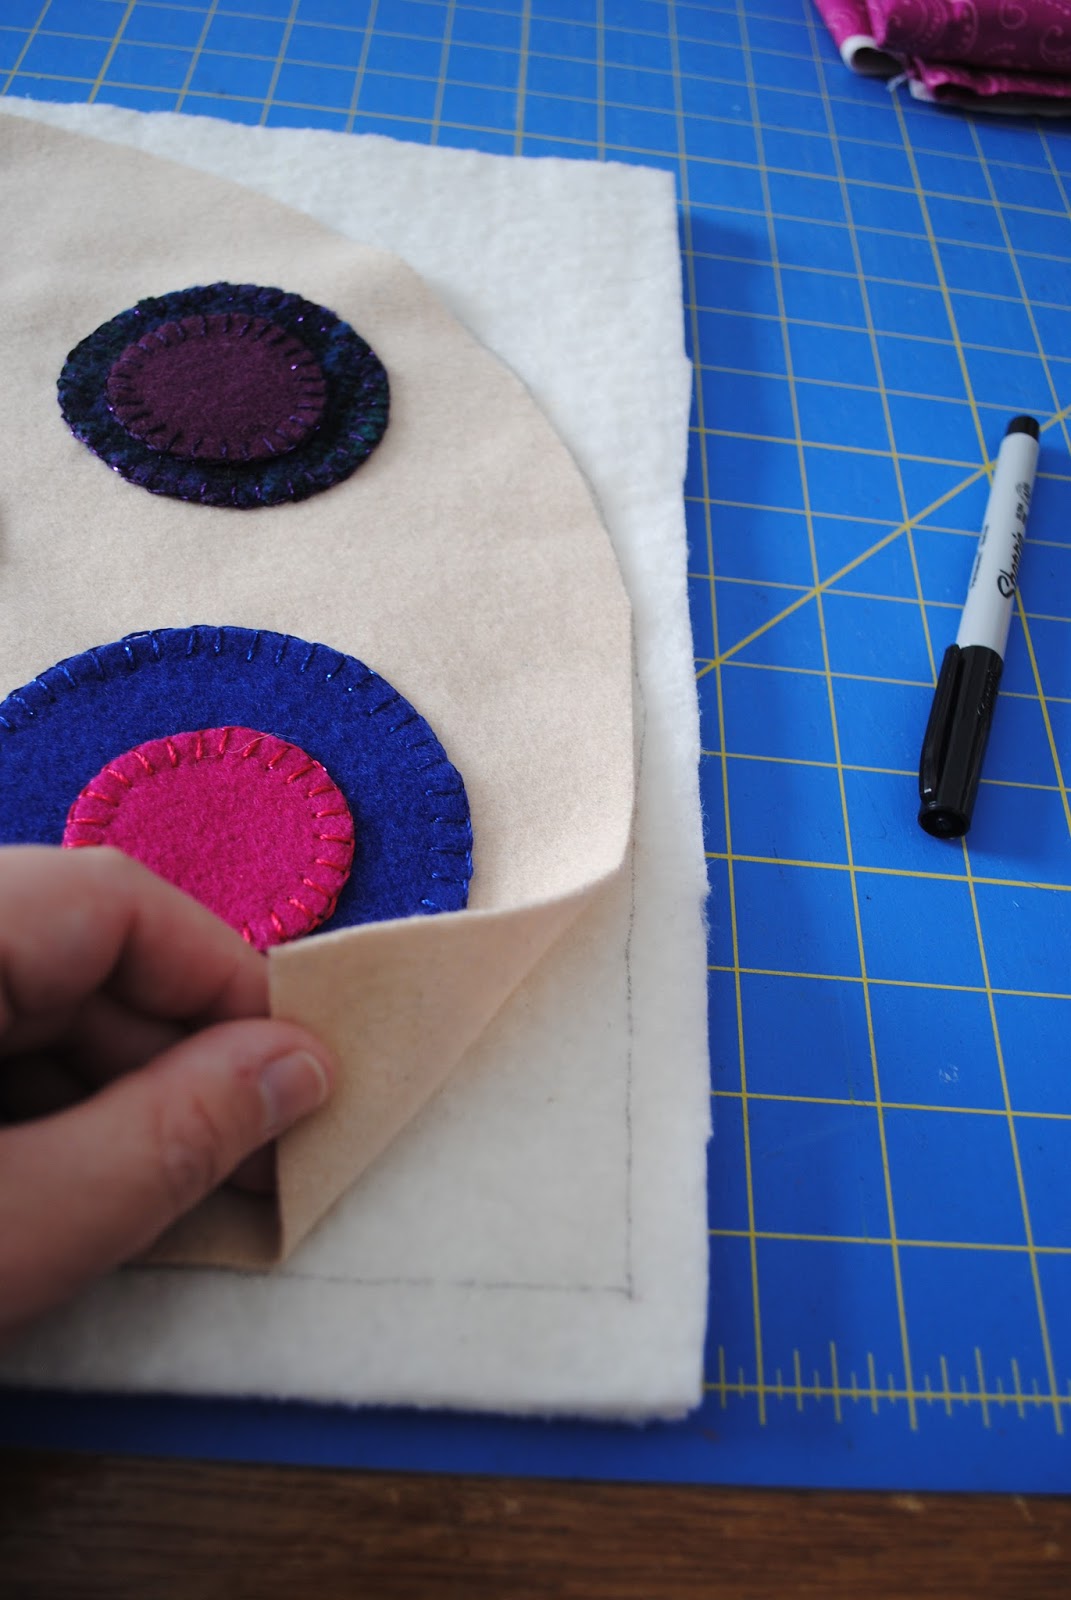
This book has lots of projects to try and has very clear, easy to follow instructions!! Since I didn't have a lot of selvages collected, I decided to make the "Selvage Latticework Accent Pillow" on page 51. It was a fast and easy project that turned out just great!!


Now that I've read the book, I'm going to trim my selvages a little wider than I have been and I'm going to make sure that I save them ALL. I think this would be a fun class to teach at my local quilt shop too, so I'm going to ask them to order in the book!! 

If you are looking for something fun and a little different, why don't you try quilting with selvages??

Friday, March 25, 2016

52 Week UFO Challenge - Projects #17 and #18 - Modern Wool Pillow and Tea Cozy

I've had these two wool pieces, unfinished, in my studio for so long that when I dug them out I couldn't remember what I was planning to do with them. I knew the one was supposed to be a tea cozy when finished, but the square piece could have been anything. I was obviously having fun with my Accuquilt Studio cutter and circle die one day, but for some reason I never even started to stitch these pieces.

I decided that the square piece would make an awesome pillow as it was about 16" square, so I got to blanket stitching all of the circles using my Razzle and Dazzle threads from WonderFil.
Blanketstitching done with Razzle and Dazzle threads
After the circles were all sewn, I used a blanket stitch all of the way around to secure the back of the pillow and then left a small opening to stuff with PolyFil.
Hole left for stuffing
 Here is the finished pillow! Wouldn't it be fun in a teenagers room?


The tea cozy was a bit more complicated to finish. Fist I blanket stitched all of the circles to the background.

 Next, I cut two pieces of batting about a 1/2" smaller (all around) than the wool background.


  I then used my 505 Spray to stick them to the back side of the fabric I wanted to use for my lining. Check out the hot pink!!

I used my walking foot to machine quilt a grid of lines through the batting and lining.


 I then sewed the two pieces of quilted lining right sides together along the curved edge, leaving a small unsewn section for turning.

I placed the wool front and back together with right sides facing the sewed along the curved edge.


I turned the outside of the placemat right side out then placed it inside of the lining (with right sides together) and pinned them together. The next step was to sew the lining and the outside together with a 1/2" seam.


Then I had to pull the whole thing right side out through the hole in the lining, I stitched that hole closed and then top stitches around the opening of the tea cozy.


Here it is - all finished!!

These two items are available for purchase in my Fairfield Road Designs Etsy store. Check out these items and more at this link.