Showing posts with label blanket stitch. Show all posts

Friday, March 25, 2016

52 Week UFO Challenge - Projects #17 and #18 - Modern Wool Pillow and Tea Cozy

I've had these two wool pieces, unfinished, in my studio for so long that when I dug them out I couldn't remember what I was planning to do with them. I knew the one was supposed to be a tea cozy when finished, but the square piece could have been anything. I was obviously having fun with my Accuquilt Studio cutter and circle die one day, but for some reason I never even started to stitch these pieces.

I decided that the square piece would make an awesome pillow as it was about 16" square, so I got to blanket stitching all of the circles using my Razzle and Dazzle threads from WonderFil.
Blanketstitching done with Razzle and Dazzle threads
After the circles were all sewn, I used a blanket stitch all of the way around to secure the back of the pillow and then left a small opening to stuff with PolyFil.
Hole left for stuffing
 Here is the finished pillow! Wouldn't it be fun in a teenagers room?


The tea cozy was a bit more complicated to finish. Fist I blanket stitched all of the circles to the background.

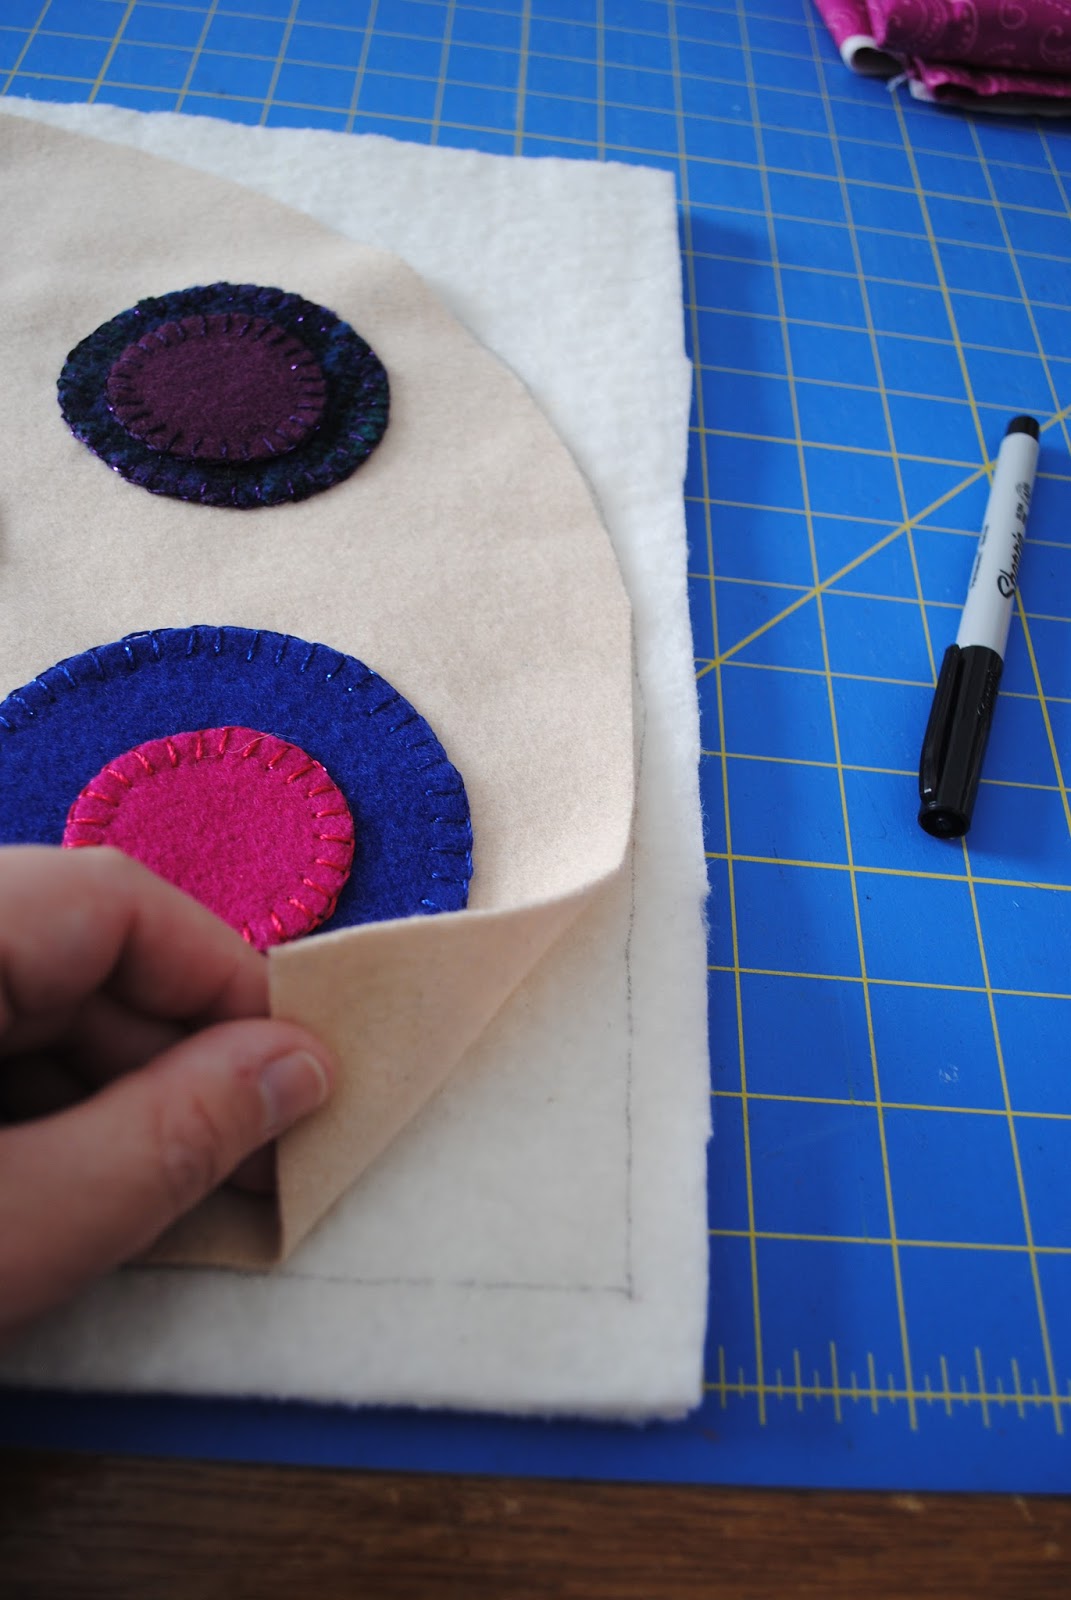
 Next, I cut two pieces of batting about a 1/2" smaller (all around) than the wool background.


  I then used my 505 Spray to stick them to the back side of the fabric I wanted to use for my lining. Check out the hot pink!!

I used my walking foot to machine quilt a grid of lines through the batting and lining.


 I then sewed the two pieces of quilted lining right sides together along the curved edge, leaving a small unsewn section for turning.

I placed the wool front and back together with right sides facing the sewed along the curved edge.


I turned the outside of the placemat right side out then placed it inside of the lining (with right sides together) and pinned them together. The next step was to sew the lining and the outside together with a 1/2" seam.


Then I had to pull the whole thing right side out through the hole in the lining, I stitched that hole closed and then top stitches around the opening of the tea cozy.


Here it is - all finished!!

These two items are available for purchase in my Fairfield Road Designs Etsy store. Check out these items and more at this link.

Tuesday, February 23, 2016

52 Week UFO Challenge Project #10 - Wool bird banner

I started this wool banner almost 2 years ago as a prototype for kits that I was making for my booth at our local guild quilt show. I always intended to finish it, but never got around to it until now. All it needed was a backing, hanging tabs and tongues.


The kits that I made for the show used a gold coloured wool for the background and I cut all of the birds and tongue shapes using my Accuquilt Studio Fabric Cutter. The Go! Birds Die has three different bird shapes and cuts wools beautifully!

Kits available on my website
I cut a backing for the banner, the same size as the front then used my 505 Spray to stick the two together, aligning all of the edges. I cut two hanging tabs, folded them in half then slid them in between the front and backing.

The hanging tabs

I cut the tongues using my Studio Tongue Rug Die and then slid them in between the layers and sewed a button onto each one.


Her is the finished banner! Project #10 is done.
The finished banner