Showing posts with label wool applique. Show all posts

Wednesday, August 31, 2016

Finishing up the Christmas wool applique table runners

52 Week UFO Challenge - Projects #35-#37

Now that all of my tongues were cut I could start to assemble them and do the blanket stitching around the inner coloured tongues. 

The first step in this process was to use my 505 Spray to stick the inner tongues to the outer tongues. I have a special box that I use for the spraying. It is about 15" x 24" and the sides are only about 6" high so that I can spray the 505 and not get it onto the surfaces around the box. 

I laid all of the inner tongues in the box...

And then gave them a light coating of the 505 Spray.


Next step was to place them sprayed side down on the outer tongues and then to press down lightly with my hand.

I spent the next few days doing the blanket stitching around the inner tongues. I hid the knots in between the inner and outer tongues. Once they were all stitched, I cut a second set of cream wool rectangles to back the table runners and then used the 505 Spray to stick the fronts and backs together. I positioned the tongues evenly along the ends of the table runners and then slid them in between the layers of wool.


Eventhough there is some 505 Spray along the inside edges, I usually pin the tongues into place as well to make sure that they don't move.


The next step is to blanket stitch around the edges of the table runner to secure the tongues and finish the edge.

On the purple table runner I also stitched snowflakes onto each of the mittens before layering the front and back of the table runner.


Here are my finished table runners - all ready to add to my Etsy shop!! Or maybe to use as Christmas presents. Either way, finishing up the Christmas wool applique table runners was super easy and I LOVE stitching with wool.


My 52 Week UFO Challenge projects #35, #36 and #37 are all done!!


Friday, August 26, 2016

Cutting wool tongues with my Accuquilt Studio cutter

52 Week UFO Challenge Project #35 - Changing ornaments into table runners

A few years ago I participated in a local Christmas Studio Tour and one of the things I was selling was felted wool tree ornaments. I must have made 40 of them, but I ran out of time and had quite a few cut out but never finished. 


I added these to my UFO list but didn't want to just finish them as they were. Instead I cut three rectangles of my cream wool and appliqued the mitten and stocking halves onto them. 


To finish the ends I wanted to add wool tongues and I have the BEST tool for cutting all of those tongues - my Accuquilt Studio Cutter and the Studio Tongue Rug die!!


Instead of having to cut all of these tongues by hand, I just have to cut strips of wool the appropriate width and place them on the die.


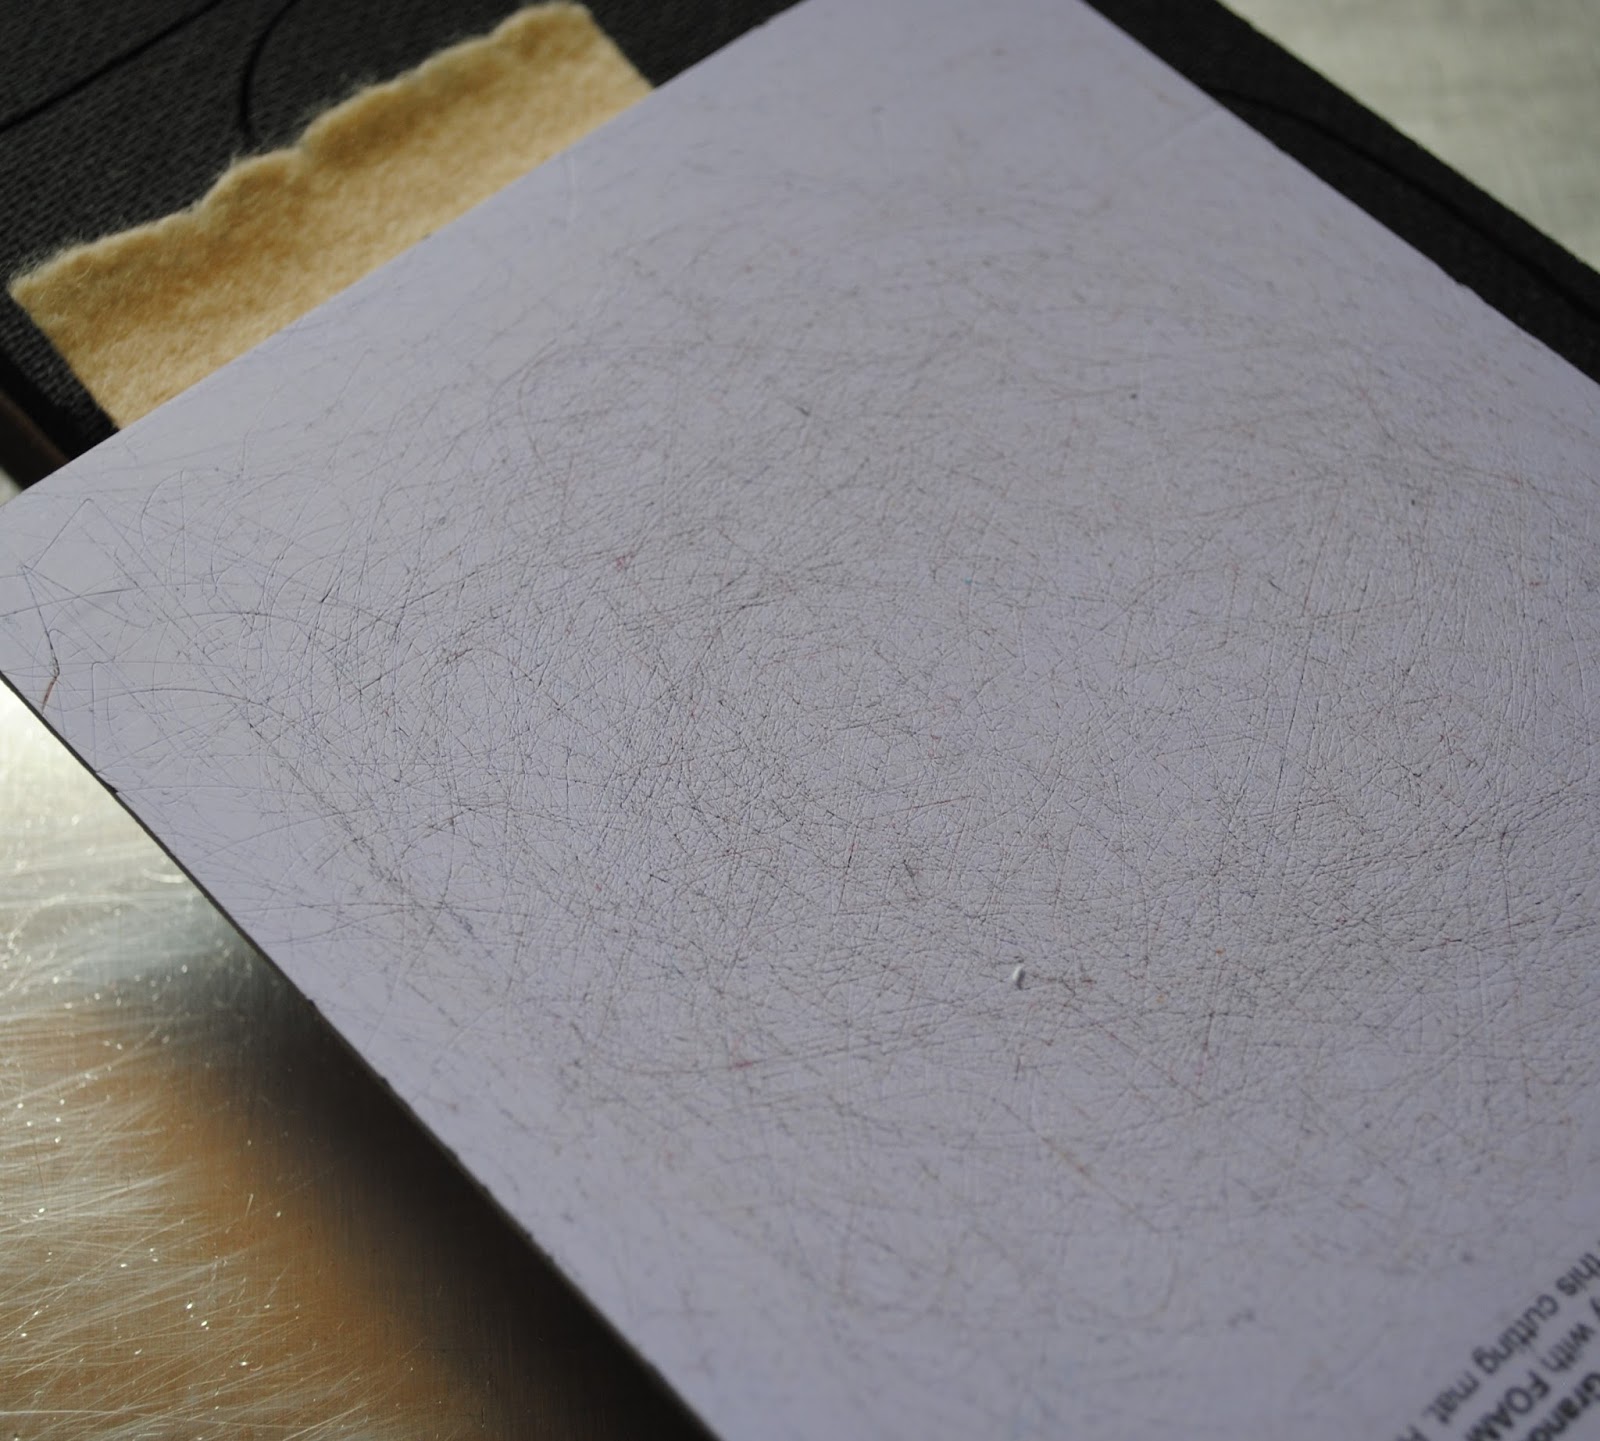
Next is the cutting mat.

Then you run it through the cutter and VOILA!! The tongues are cut!


I LOVE having the option of using my Accuquilt Studio Cutter to cut my wool applique shapes!! All of these tongues were cut in less than 20 minutes! When you are making three table runners you need A LOT of tongues!!


Tomorrow I'll show you how to place and stitch the tongues...


Accuquilt Sale Aug 2016

Saturday, March 12, 2016

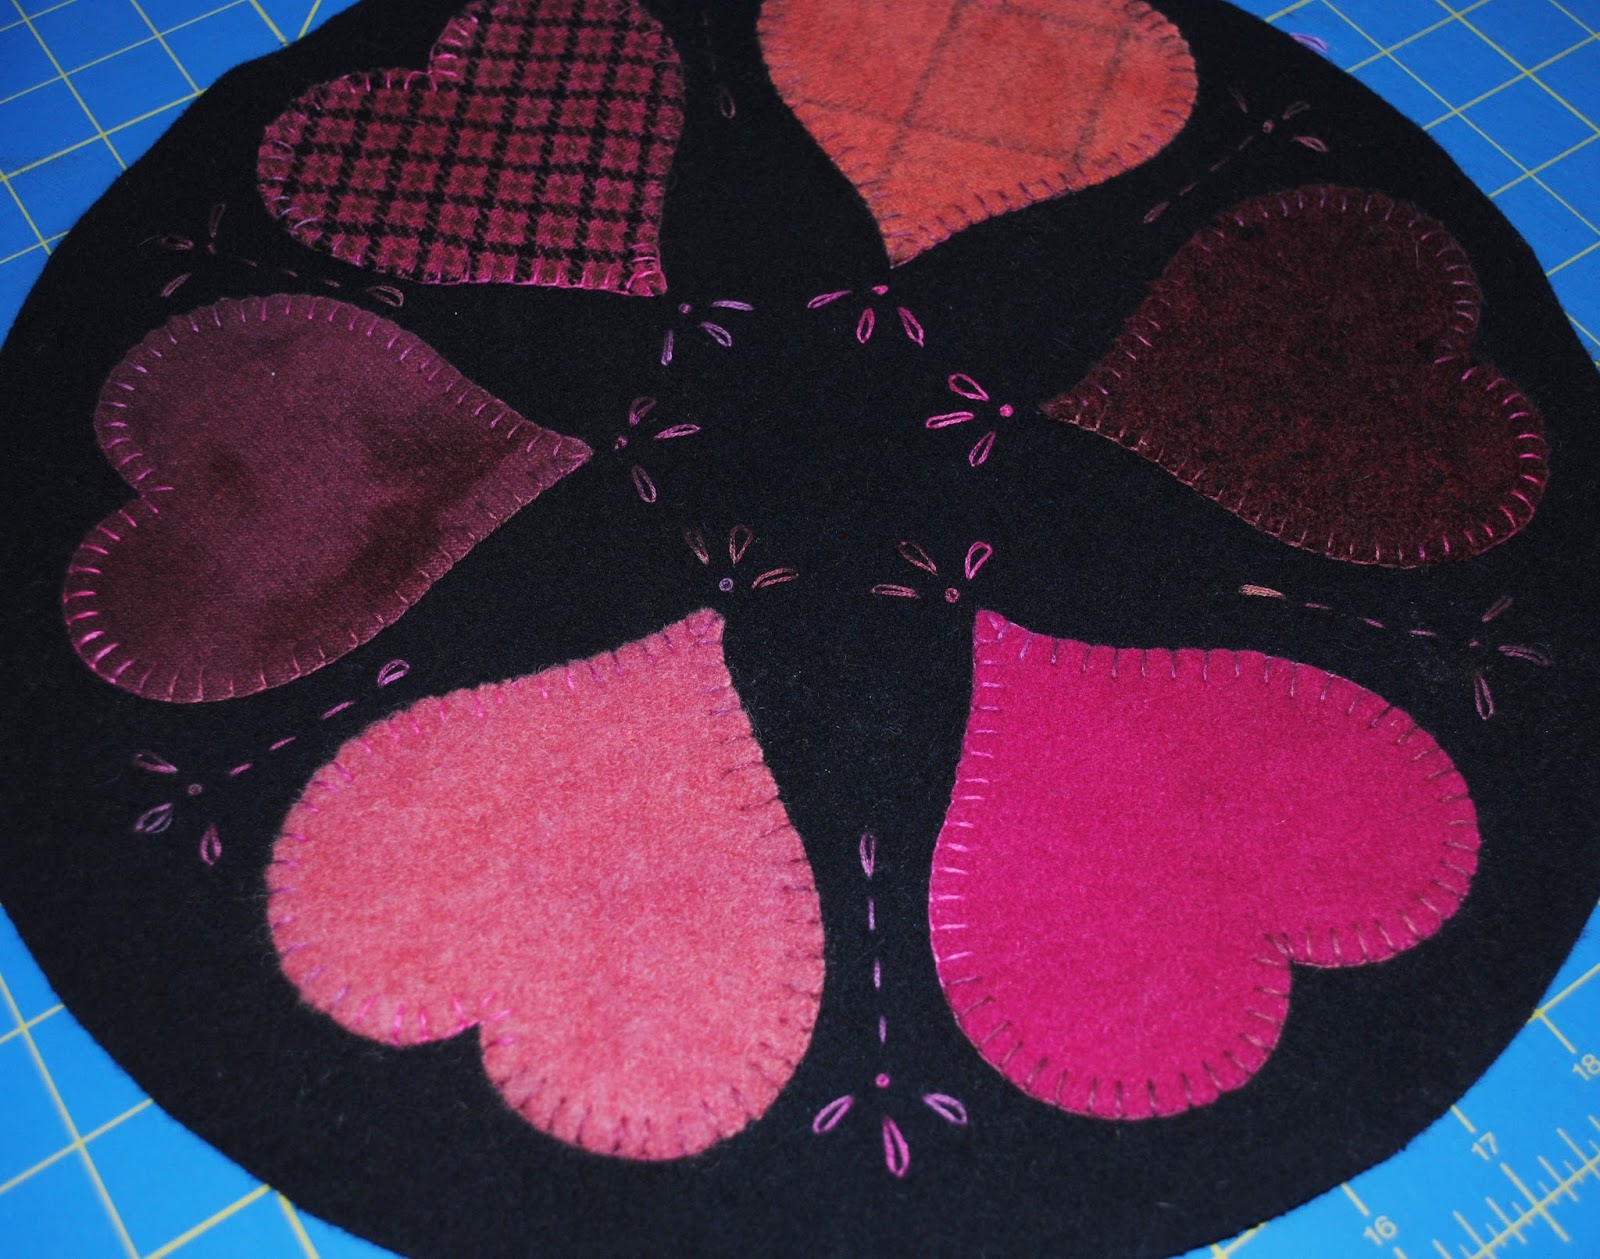
52 Week UFO Challenge - Project #14 - Wool appliqué heart candle mat

MORE hearts!!

I've said it before... I love wool hearts!!

I started this appliqué piece almost two years ago to do a wool appliqué demo at our local quilt shop. The hearts had been blanket stitched, so I added some embroidery stitches and cut a backing from another piece of navy wool.


Cutting a backing from another piece of navy wool.

I decided to add some buttons to the appliqué piece and that was just what was needed.

Sewing on the buttons.
 The final step was to blanket stitch around the edge of background in order to secure the backing.

The candle mat has been blanket stitched around the edge.
 Project #14 is complete!
The finished candle mat.

Saturday, February 27, 2016

52 Week UFO Challenge Project #11 - Wool appliqué gift bag

project
Reindeer Sparkle pattern by Upper Canada Quiltworks
I wasn't too sure what to do with this little wool appliqué piece but then I realized how well the colours matched the Northcott Reindeer Prance fabric that I had left over from our Reindeer Sparkle pattern. I decided that it would look lovely appliquéd to the fabric, and that it was just the right size to make a Christmas gift bag.

Embroidery sample


I cut a rectangle of the reindeer fabric and folded it in half. I centred the wool sample on the folded fabric and stuck it in place with 505 Spray .
Ready to stitch
Next, I used my sewing machine to top stitch around the edges of the wool piece.

Wool sample stitched to the reindeer fabric
I decided to do a French seam to finish the insides of the gift bag. The first step was to topstitch the top edge of the bag then I sewed along the remaining two edges of the bag with a 1/8" seam, with wrong sides together.
1/8" seam with wrong sides together.

Next, I turned the bag wrong sides out and stitched the edges again, this time using a 1/4" seam to enclose the raw edges.
1/4" seam to enclose the raw edges.


I sewed a ribbon to the back of the bag about 2 inches from the open edge, so that it's ends can be pulled around to the front and tied in a bow.

Project #11 is done - now to find a special present to put inside of it for next Christmas.


Tuesday, February 23, 2016

52 Week UFO Challenge Project #10 - Wool bird banner

I started this wool banner almost 2 years ago as a prototype for kits that I was making for my booth at our local guild quilt show. I always intended to finish it, but never got around to it until now. All it needed was a backing, hanging tabs and tongues.


The kits that I made for the show used a gold coloured wool for the background and I cut all of the birds and tongue shapes using my Accuquilt Studio Fabric Cutter. The Go! Birds Die has three different bird shapes and cuts wools beautifully!

Kits available on my website
I cut a backing for the banner, the same size as the front then used my 505 Spray to stick the two together, aligning all of the edges. I cut two hanging tabs, folded them in half then slid them in between the front and backing.

The hanging tabs

I cut the tongues using my Studio Tongue Rug Die and then slid them in between the layers and sewed a button onto each one.


Her is the finished banner! Project #10 is done.
The finished banner

Saturday, January 30, 2016

52 Week UFO Challenge Project #6 - Valentine's table runner

Be careful when searching your sewing room.....

So, while I was looking through my sewing room for a piece of fabric to finish off one of my other projects, I found MORE UFOs!! Not a lot (thankfully) but, I did find a few more to add to my list.

Two of the things I found were these embroidered hearts similar to the ones that I have already finished off as ornaments, but since these two matched I've decided to make a Valentine's table runner with them.


One of my favourite Accuquilt dies is the Studio Tongue Rug die!! I LOVE making wool projects but I HATE cutting tongues for penny rugs and wallhangings so I was super excited when I found this one on their website!!

Accuquilt Studio Tongue Rug Die
I also love to scour thrive stores and garage sales for wool clothing that I can felt. Sometimes the article of clothing feels like wool, but their is no tag so you take your chances as to whether it will felt or not. This one was a skirt but unfortunately it didn't felt very well, so I've had it in my cupboard for awhile with no idea as to what to do with it.


Since this wool isn't felted, I need to finish the edges with a pillowcase turn. I've never done that with any of my wool projects, so now is a good time to try it out!

First I had to cut my background wool and appliqué my heart hexagons onto each end. I used my 
505 Spray to secure them before I did the hand blanket stitching around the hexagons.

I made my tongues (using my handy, dandy Accuquilt Tongue Die) and then I pinned them face down on the ends of my table runner - pointing IN to the middle.

I cut a pieces of black fabric the same size as my wool background and pinned it the top.


I stitched around all of the edges with a 1/2" seam, but left a small opening for turning.


Next step was to clip the corners since the wool is very bulky, and to turn the runner right side out.

The tongues after the runner is turned right side out.
Next, I used my machine to top-stitch all of the way around the runner to flatten it a bit and to close the opening that I had left for turning. A little press afterwards made it lie nice and flat.


Here it is - all finished and on my skinny front hall table, I'm all ready for Valentine's Day 
The finished Valentine's Day runner.