Showing posts with label studio cutter. Show all posts

Friday, August 26, 2016

Cutting wool tongues with my Accuquilt Studio cutter

52 Week UFO Challenge Project #35 - Changing ornaments into table runners

A few years ago I participated in a local Christmas Studio Tour and one of the things I was selling was felted wool tree ornaments. I must have made 40 of them, but I ran out of time and had quite a few cut out but never finished. 


I added these to my UFO list but didn't want to just finish them as they were. Instead I cut three rectangles of my cream wool and appliqued the mitten and stocking halves onto them. 


To finish the ends I wanted to add wool tongues and I have the BEST tool for cutting all of those tongues - my Accuquilt Studio Cutter and the Studio Tongue Rug die!!


Instead of having to cut all of these tongues by hand, I just have to cut strips of wool the appropriate width and place them on the die.


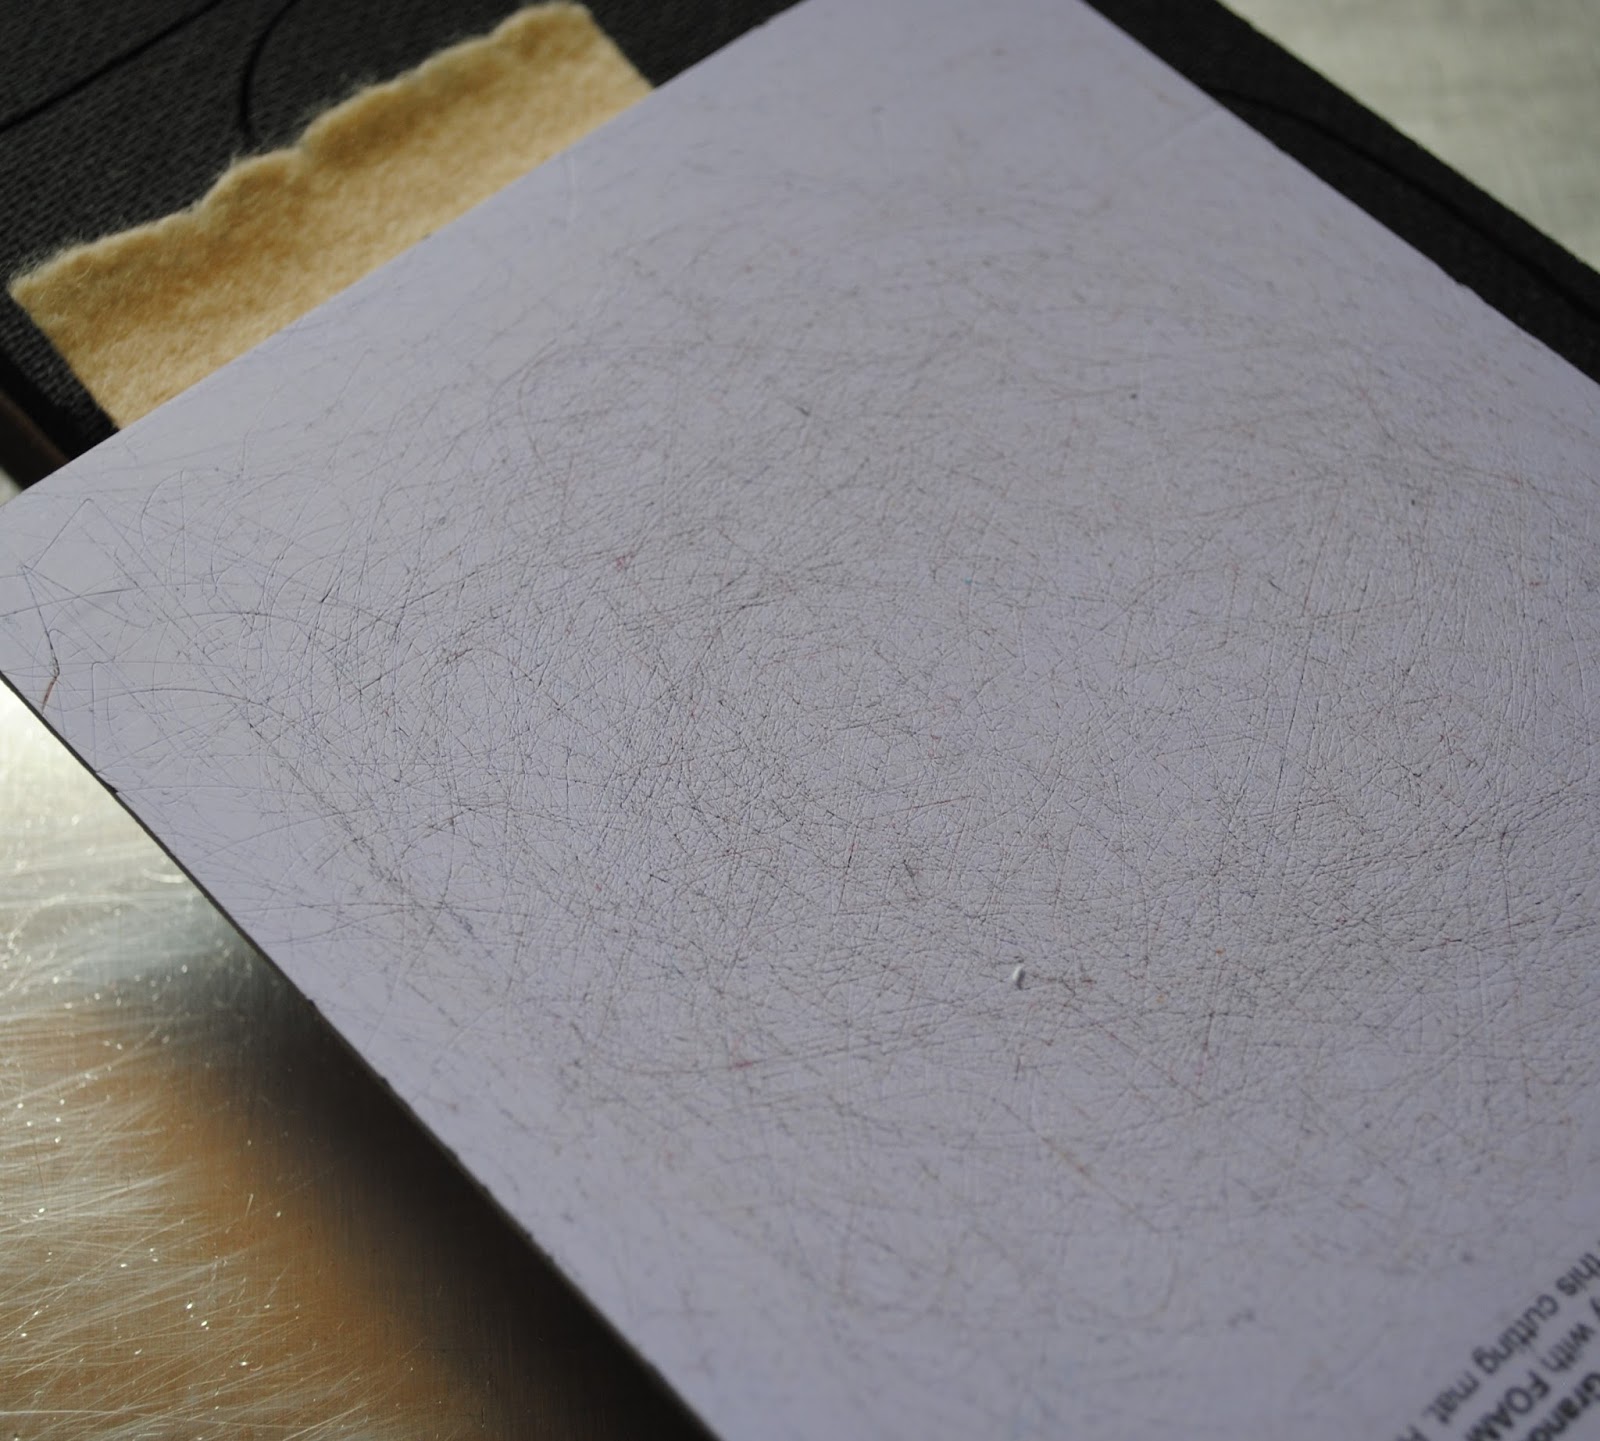
Next is the cutting mat.

Then you run it through the cutter and VOILA!! The tongues are cut!


I LOVE having the option of using my Accuquilt Studio Cutter to cut my wool applique shapes!! All of these tongues were cut in less than 20 minutes! When you are making three table runners you need A LOT of tongues!!


Tomorrow I'll show you how to place and stitch the tongues...


Accuquilt Sale Aug 2016

Tuesday, February 23, 2016

52 Week UFO Challenge Project #10 - Wool bird banner

I started this wool banner almost 2 years ago as a prototype for kits that I was making for my booth at our local guild quilt show. I always intended to finish it, but never got around to it until now. All it needed was a backing, hanging tabs and tongues.


The kits that I made for the show used a gold coloured wool for the background and I cut all of the birds and tongue shapes using my Accuquilt Studio Fabric Cutter. The Go! Birds Die has three different bird shapes and cuts wools beautifully!

Kits available on my website
I cut a backing for the banner, the same size as the front then used my 505 Spray to stick the two together, aligning all of the edges. I cut two hanging tabs, folded them in half then slid them in between the front and backing.

The hanging tabs

I cut the tongues using my Studio Tongue Rug Die and then slid them in between the layers and sewed a button onto each one.


Her is the finished banner! Project #10 is done.
The finished banner

Saturday, January 23, 2016

52 Week UFO Challenge Project #4b - Heart pincushion

I think I must like hearts...and hexagons...and wool LOL

 My Accuquilt Studio Cutter makes is so easy to cut wool shapes - maybe a little TOO easy as I keep finding more of these embroidery hearts!! I have many die shapes - such as the snowflake, star and hearts in my previous posts as well as bigger shapes such as the Bullseye Hexagon Die. This die is AMAZING and I've made many hexagon quilts because of it!

Accuquilt Bullseye Hexagon Die

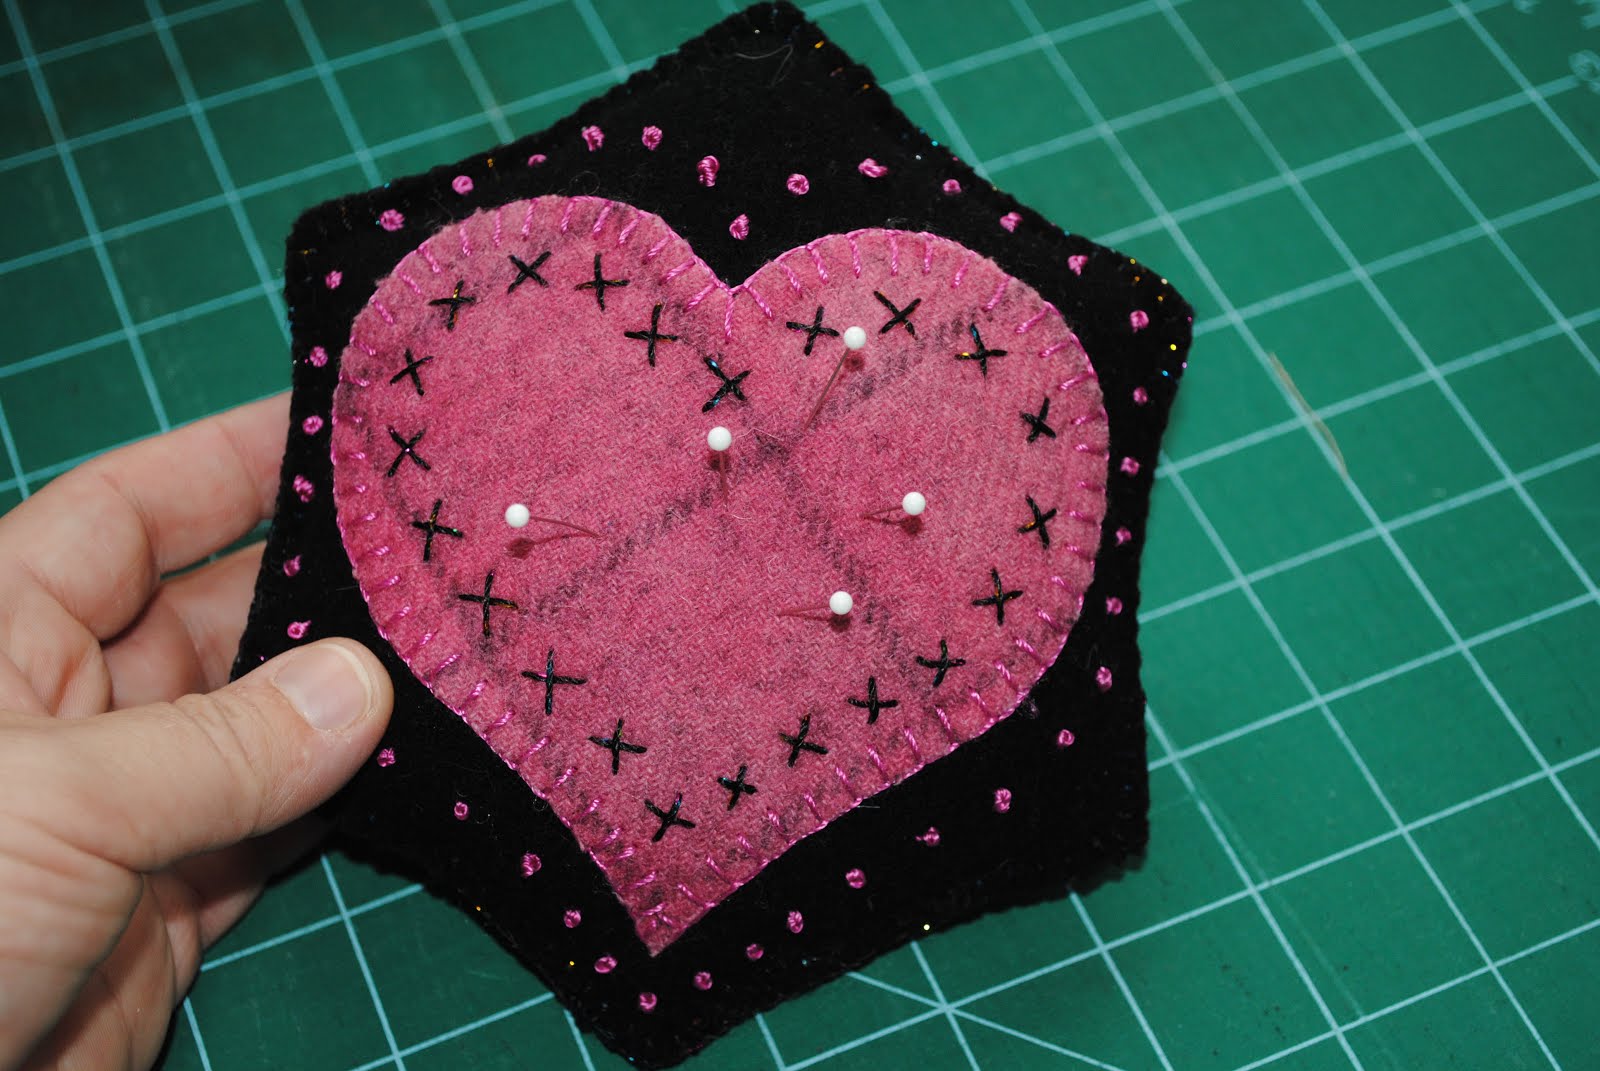
This embroidered wool hexagon made a quick little project for today. Here is a pincushion that I made just by blanketstitching two hexagons together - I left a little hole for stuffing and then blanket stitched the hole closes.
Cute little hexagon shaped pincushion


It's always nice to have a fast and easy project! Wouldn't this be a great little present for a quilting/sewing friend??