Showing posts with label embroidery. Show all posts

Friday, May 6, 2016

Felted Wool iPad tote

52 Week UFO Challenge - Project #24 - stitching sample made into an iPad tote


This little stitching sample has been sitting in my sewing room for almost two years!! I just wasn't sure what to use it for, but then I got inspired!! Why not attach it to larger felted wool pieces and make it into a tote bag?


The edges weren't even, so the first thing I did was to trim all four edges even with the outside border stitching.


Next I found some royal blue felted wool (which was once a wool coat that I scored at Goodwill) and I cut two rectangles that would be big enough to house my iPad. I machine stitched my embroidery sample to one of these pieces. And then turned over the top edge of each piece and machine top stitched each of them. This gave the open edges a nice finish.


Next, I auditioned different straps. I had a few different ones to pick from but decided on the cream coloured heavy cord.


To attach the cording to the bag I cut a small piece of wool and sewed this, with the end of the cord tucked inside, to the top edge of the back of the bag. By sewing all around the edges of this piece of wool mu cording was secured to the bag and the end wouldn't unravel.


The next step was to sew the front and the back of the bag together. I just topstitched along the sides and bottom and - VOILÀ - the felted wool iPad tote bag was done. Now I can carry my iPad in style - or - use it for a gift for a friend!

The completed iPad tote with the embroidery  front.

Saturday, March 12, 2016

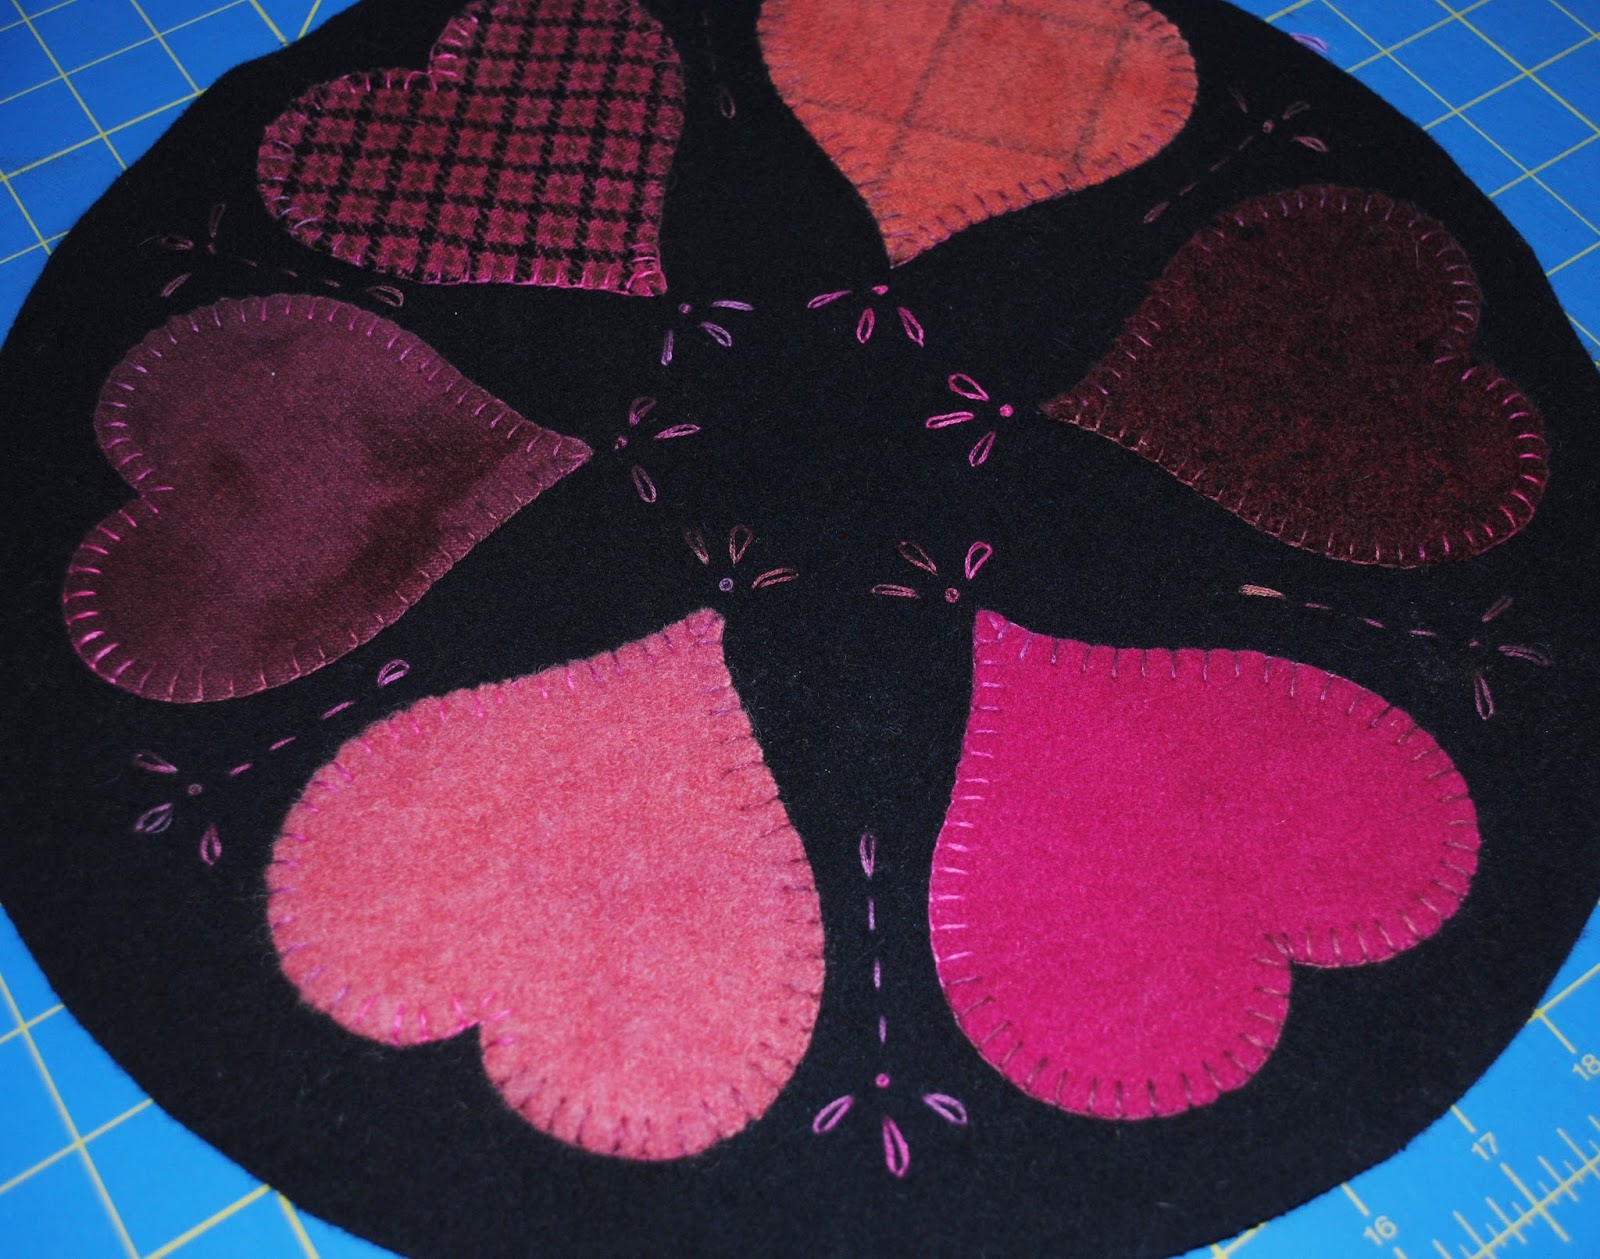
52 Week UFO Challenge - Project #14 - Wool appliqué heart candle mat

MORE hearts!!

I've said it before... I love wool hearts!!

I started this appliqué piece almost two years ago to do a wool appliqué demo at our local quilt shop. The hearts had been blanket stitched, so I added some embroidery stitches and cut a backing from another piece of navy wool.


Cutting a backing from another piece of navy wool.

I decided to add some buttons to the appliqué piece and that was just what was needed.

Sewing on the buttons.
 The final step was to blanket stitch around the edge of background in order to secure the backing.

The candle mat has been blanket stitched around the edge.
 Project #14 is complete!
The finished candle mat.

Saturday, February 27, 2016

52 Week UFO Challenge Project #11 - Wool appliqué gift bag

project
Reindeer Sparkle pattern by Upper Canada Quiltworks
I wasn't too sure what to do with this little wool appliqué piece but then I realized how well the colours matched the Northcott Reindeer Prance fabric that I had left over from our Reindeer Sparkle pattern. I decided that it would look lovely appliquéd to the fabric, and that it was just the right size to make a Christmas gift bag.

Embroidery sample


I cut a rectangle of the reindeer fabric and folded it in half. I centred the wool sample on the folded fabric and stuck it in place with 505 Spray .
Ready to stitch
Next, I used my sewing machine to top stitch around the edges of the wool piece.

Wool sample stitched to the reindeer fabric
I decided to do a French seam to finish the insides of the gift bag. The first step was to topstitch the top edge of the bag then I sewed along the remaining two edges of the bag with a 1/8" seam, with wrong sides together.
1/8" seam with wrong sides together.

Next, I turned the bag wrong sides out and stitched the edges again, this time using a 1/4" seam to enclose the raw edges.
1/4" seam to enclose the raw edges.


I sewed a ribbon to the back of the bag about 2 inches from the open edge, so that it's ends can be pulled around to the front and tied in a bow.

Project #11 is done - now to find a special present to put inside of it for next Christmas.


Saturday, January 23, 2016

52 Week UFO Challenge Project #4b - Heart pincushion

I think I must like hearts...and hexagons...and wool LOL

 My Accuquilt Studio Cutter makes is so easy to cut wool shapes - maybe a little TOO easy as I keep finding more of these embroidery hearts!! I have many die shapes - such as the snowflake, star and hearts in my previous posts as well as bigger shapes such as the Bullseye Hexagon Die. This die is AMAZING and I've made many hexagon quilts because of it!

Accuquilt Bullseye Hexagon Die

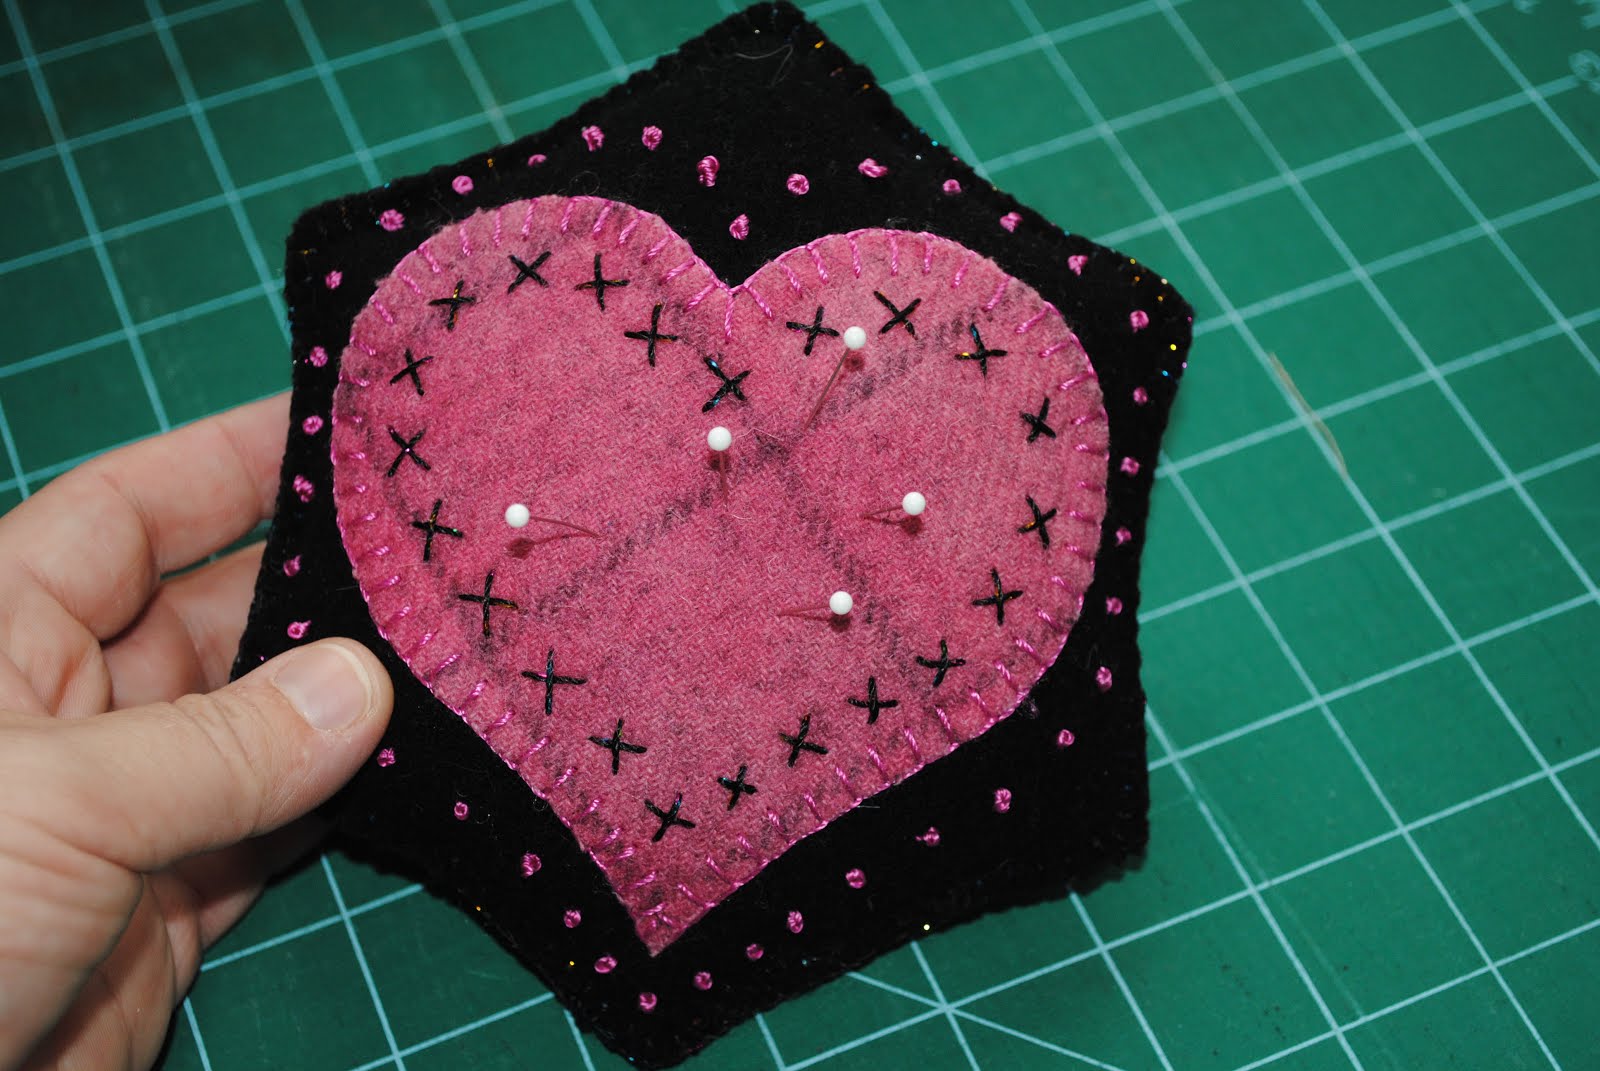
This embroidered wool hexagon made a quick little project for today. Here is a pincushion that I made just by blanketstitching two hexagons together - I left a little hole for stuffing and then blanket stitched the hole closes.
Cute little hexagon shaped pincushion


It's always nice to have a fast and easy project! Wouldn't this be a great little present for a quilting/sewing friend??