Friday, February 12, 2016

52 Week UFO Challenge Project #8 - Embroidered Wool Bag with Zipper

Another unfinished embroidery piece...

This little embroidery piece is another one that I did while Mike and I were on our train trip to Halifax. I've always loved this piece, but never knew how to finish it off. I saw a few zippered wool bags on Pinterest, so I decided to try to use this piece to make a zippered bag.


 First I trimmed all of the edges of the gold wool background with my pinking rotary cutter.


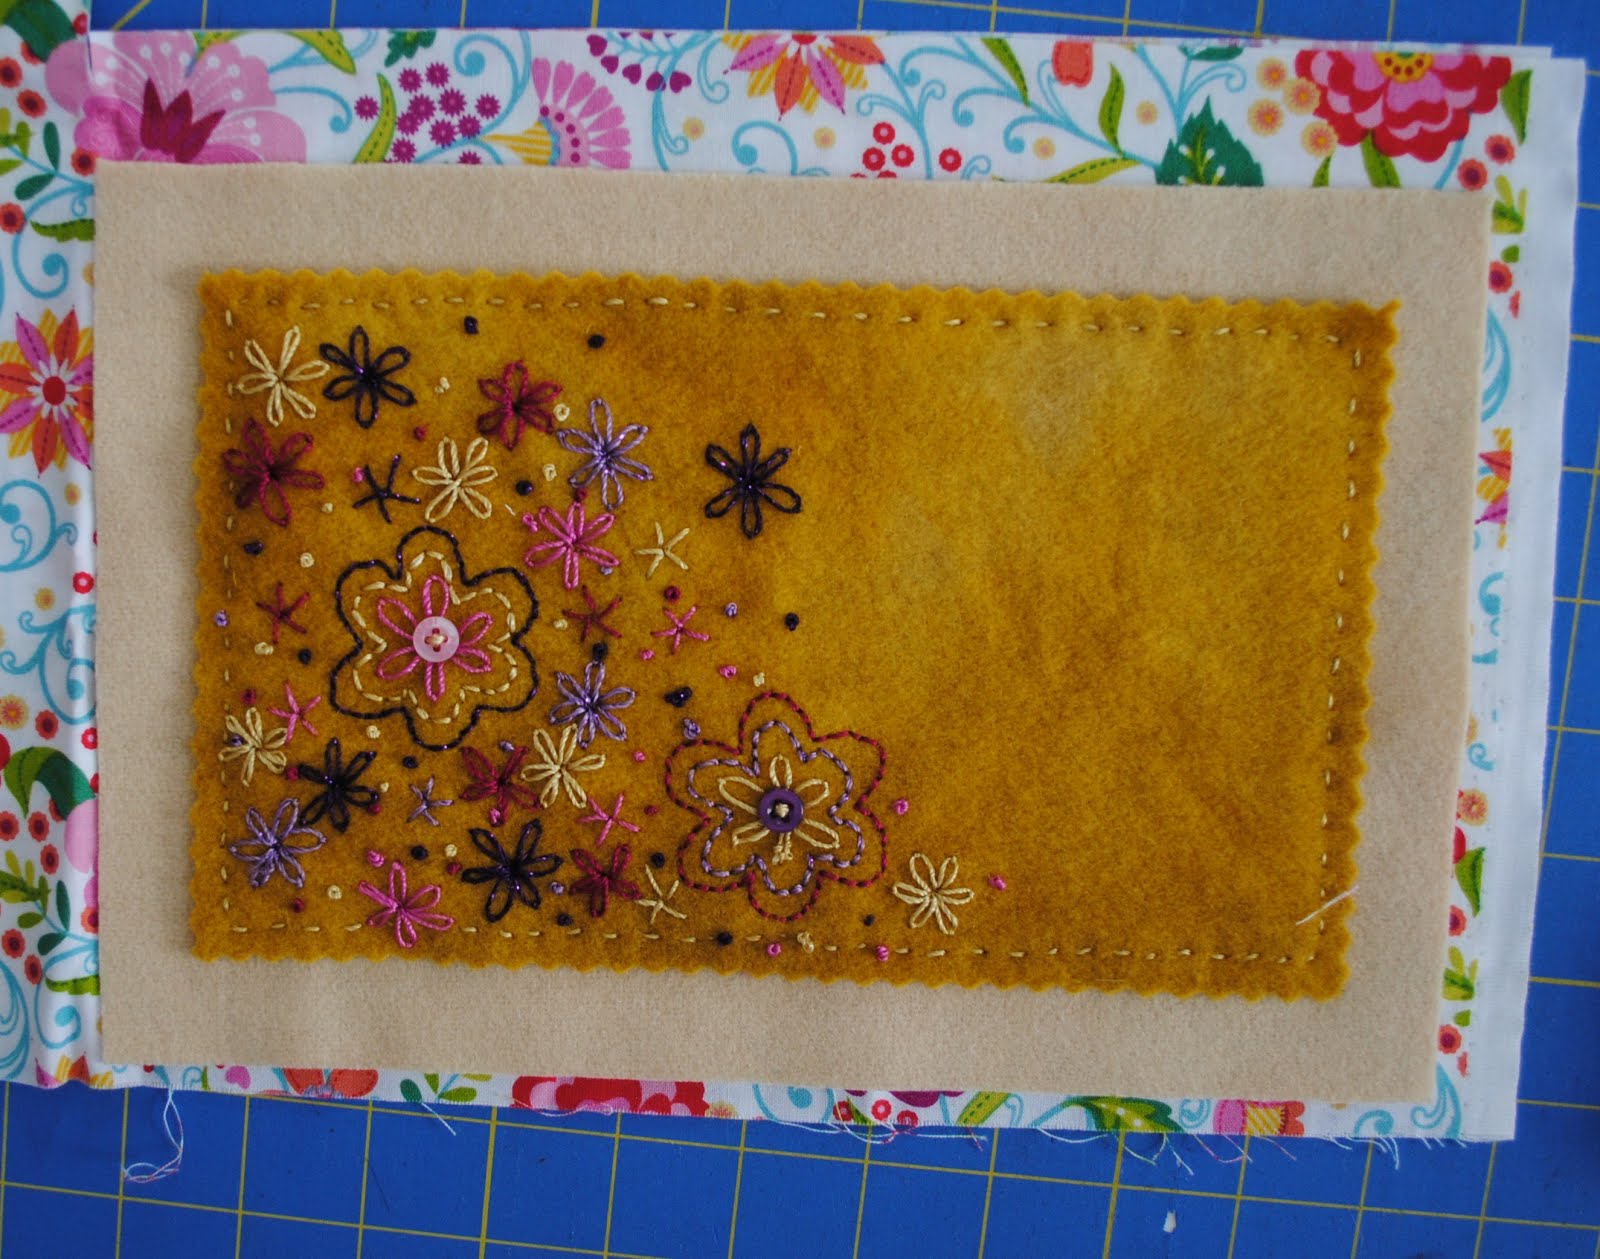
The gold background wool was not big enough to use on it's own and I had no more wool that same colour, so I decided to mount it onto a larger piece of cream felted wool and I cut a second rectangle in the cream wool to use for the back of the bag.

Cutting the cream coloured wool
I used my 505 Spray to stick the gold wool to the cream wool and then used a running stitch to sew it down all the way around. Next I cut two pieces of a lining fabric the same size at the two cream coloured wool rectangles.
Cutting the lining fabric.
First I sewed the lining fabric to the back side of the zipper.

Sewing the lining to the back of the zipper
Then I sewed the two lining fabrics right side together along the remaining three sides with a 1/2" seam. Then I hand stitched the front of the bag to the zipper using a running stitch along it's length. 

Pinning the front of the bag to the zipper.
I sewed the back of the bag onto the zipper in the same manner, and then used a blanket stitch along the three remaining sides to sew the front and the back of the bag together. A couple re-inforcing stitches at each end secured the two ends of the zipper.


Here is a view of the inside of the bag.


Project #8 is all done. What a cute little bag to carry jewellery or maybe threads for another project!


Wednesday, February 10, 2016

FREE Bonus Block - New Beginnings Block of the Month

Happy Valentine's Day

FREE Bonus Block
Our Valentine's gift to you is the next block in our Block of the Month program! Click here to download the pattern from Craftsy!

For this block I chose the following fabrics:


My little cardboard markers work awesome for keeping track of the cut pieces when I take them to the sewing machine.


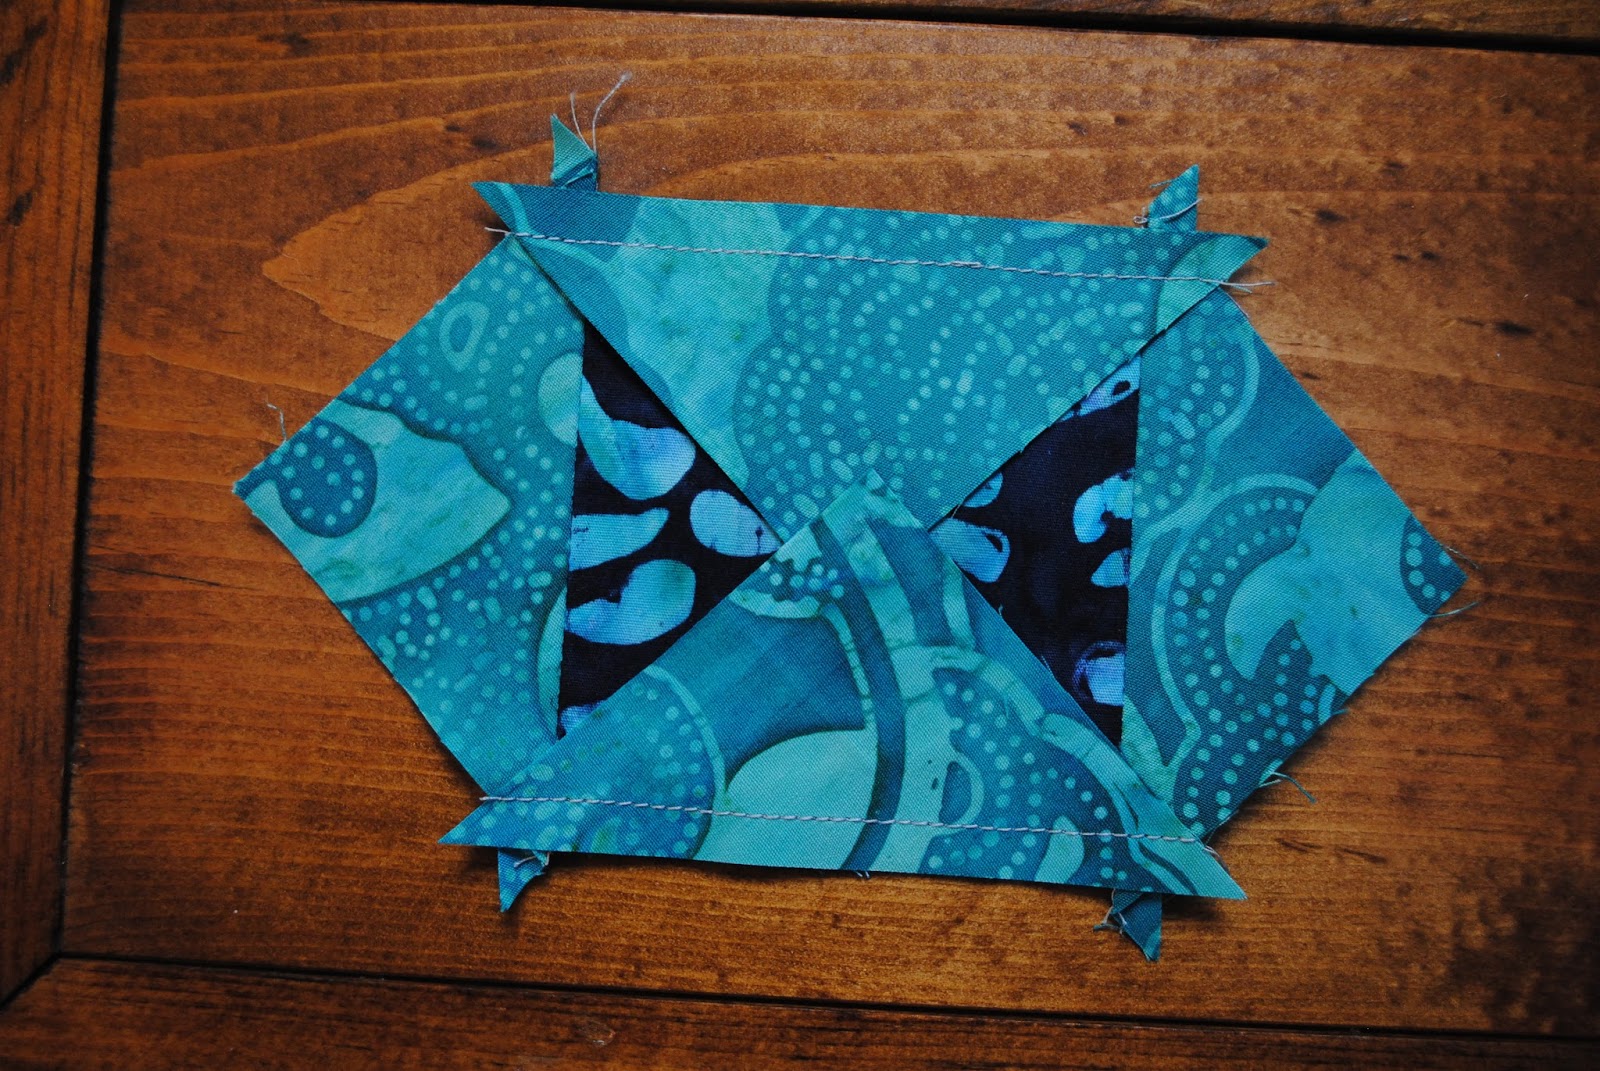
The trick for sewing the triangles onto the centre squares is to have the points of the triangles hang over an equal amount on each side of the square.


When sewing the triangles onto the sqaures, the trick here is to line up the straight edges of the triangle and the square and let the point of the triangle hang over on the other side of the square.


Here are all of my pieces, all ready to assemble into my block.


My finished block is awesome! Download your pattern from Craftsy and join us on our Block of the Month sew-along!!


Sunday, February 7, 2016

52 Week UFO Challenge Project #7 - Sliced Layer Cake Quilt

Do you ever wonder what to do with all your layer cakes?

I bought this "Snowman Gatherings" layer cake and co-ordinating fabrics by Primitive Gatherings in October because I just LOVED the fabrics. I don't usually buy layer cakes because I never know what to do with them, so I really wanted to make sure that I used this one and didn't just let it collect dust in my sewing room.
Snowman Gatherings II Layer Cake

When I was packing for our quilt retreat in November I decided that I wanted to bring along this layer cake to work on, so I did some research online and found some layer cake designs that I liked. I decided to just slice the whole layer cake into quarters diagonally. I mixed up the quarters and sewed four together to make blocks. I wanted the blocks set on point, so I used two triangles sewn together to make the side setting triangles and one single triangle for the corner setting triangles. I added navy sashing strips and a light blue fabric that I've had in my stash for years are the cornerstone blocks in the sashing.

It went together really nicely and pretty quick too, but it needed to be quilted and I figured that it would be nice to get it done while it was still winter! First step was to get in on the Gammill:

I decided to quilt large snowflakes and swirls on the outer border:
Snowflake and swirl quilting design
 I need practice quilting with my rulers, and I'm always afraid to do too much ruler work on a customer quilt, just in case things do work out the way I want. So, when I'm quilting one of my own quilts, I try to do some ruler work if it is appropriate for the design. I decided to use my straight ruler to stitch in the ditch through all of the blocks:
Stitch in the ditch
And my large curved ruler to do an arc on the outside edge of each block:


A loop design down each of the sashing strips and through the inner border finished it off nicely.


After a trip to Taylor Sewing Centre (to buy more binding fabric - I was 5" short so I got the metre that was left on the bolt LOL) I was able to sew on the binding.

Stitching on the binding
 After an evening hand stitching while watching Downton Abbey, Project #7 is finished!! This quilt was so fast and easy to make - I'm going to teach it a Taylor's Sewing Centre in April. Check out the class schedule and their fabric selection - after all, the do have a REALLY nice assortment of layer cakes for sale!!


Tuesday, February 2, 2016

New Beginnings Block of the Month - February

I've just added the pattern for our February Block to Craftsy! Click here to go to the pattern. I am really enjoying making these blocks and really love the way the batiks look!

February BOM

Close-up


 I made these little cardboard tags so that I could show you which fabric I used for which Fabric # in the chart in the pattern.


Here are the January and February blocks - they are looking awesome!! Please check out our Craftsy page and join our BOM program. For every block you make and post the picture on Craftsy, your name will be entered into our draw to win a COMPLETE QUILT KIT from one of our Northcott Patterns!!


Saturday, January 30, 2016

52 Week UFO Challenge Project #6 - Valentine's table runner

Be careful when searching your sewing room.....

So, while I was looking through my sewing room for a piece of fabric to finish off one of my other projects, I found MORE UFOs!! Not a lot (thankfully) but, I did find a few more to add to my list.

Two of the things I found were these embroidered hearts similar to the ones that I have already finished off as ornaments, but since these two matched I've decided to make a Valentine's table runner with them.


One of my favourite Accuquilt dies is the Studio Tongue Rug die!! I LOVE making wool projects but I HATE cutting tongues for penny rugs and wallhangings so I was super excited when I found this one on their website!!

Accuquilt Studio Tongue Rug Die
I also love to scour thrive stores and garage sales for wool clothing that I can felt. Sometimes the article of clothing feels like wool, but their is no tag so you take your chances as to whether it will felt or not. This one was a skirt but unfortunately it didn't felt very well, so I've had it in my cupboard for awhile with no idea as to what to do with it.


Since this wool isn't felted, I need to finish the edges with a pillowcase turn. I've never done that with any of my wool projects, so now is a good time to try it out!

First I had to cut my background wool and appliqué my heart hexagons onto each end. I used my 
505 Spray to secure them before I did the hand blanket stitching around the hexagons.

I made my tongues (using my handy, dandy Accuquilt Tongue Die) and then I pinned them face down on the ends of my table runner - pointing IN to the middle.

I cut a pieces of black fabric the same size as my wool background and pinned it the top.


I stitched around all of the edges with a 1/2" seam, but left a small opening for turning.


Next step was to clip the corners since the wool is very bulky, and to turn the runner right side out.

The tongues after the runner is turned right side out.
Next, I used my machine to top-stitch all of the way around the runner to flatten it a bit and to close the opening that I had left for turning. A little press afterwards made it lie nice and flat.


Here it is - all finished and on my skinny front hall table, I'm all ready for Valentine's Day 
The finished Valentine's Day runner.