Showing posts with label quilt. Show all posts

Wednesday, December 28, 2016

Making quilted pillow covers with leftovers

52 Week UFO Challenge - Project #40

A couple years ago I bought the most amazing fat quarter bundle of Japanese fabrics from Kallisti quilts when she had a booth at the Ottawa quilt show. I've made a few projects from this bundle of fabrics, including a table runner made with hand pieced hexagons and a lap quilt made with hexagons and triangles all cut with my Accuquilt Studio cutter.


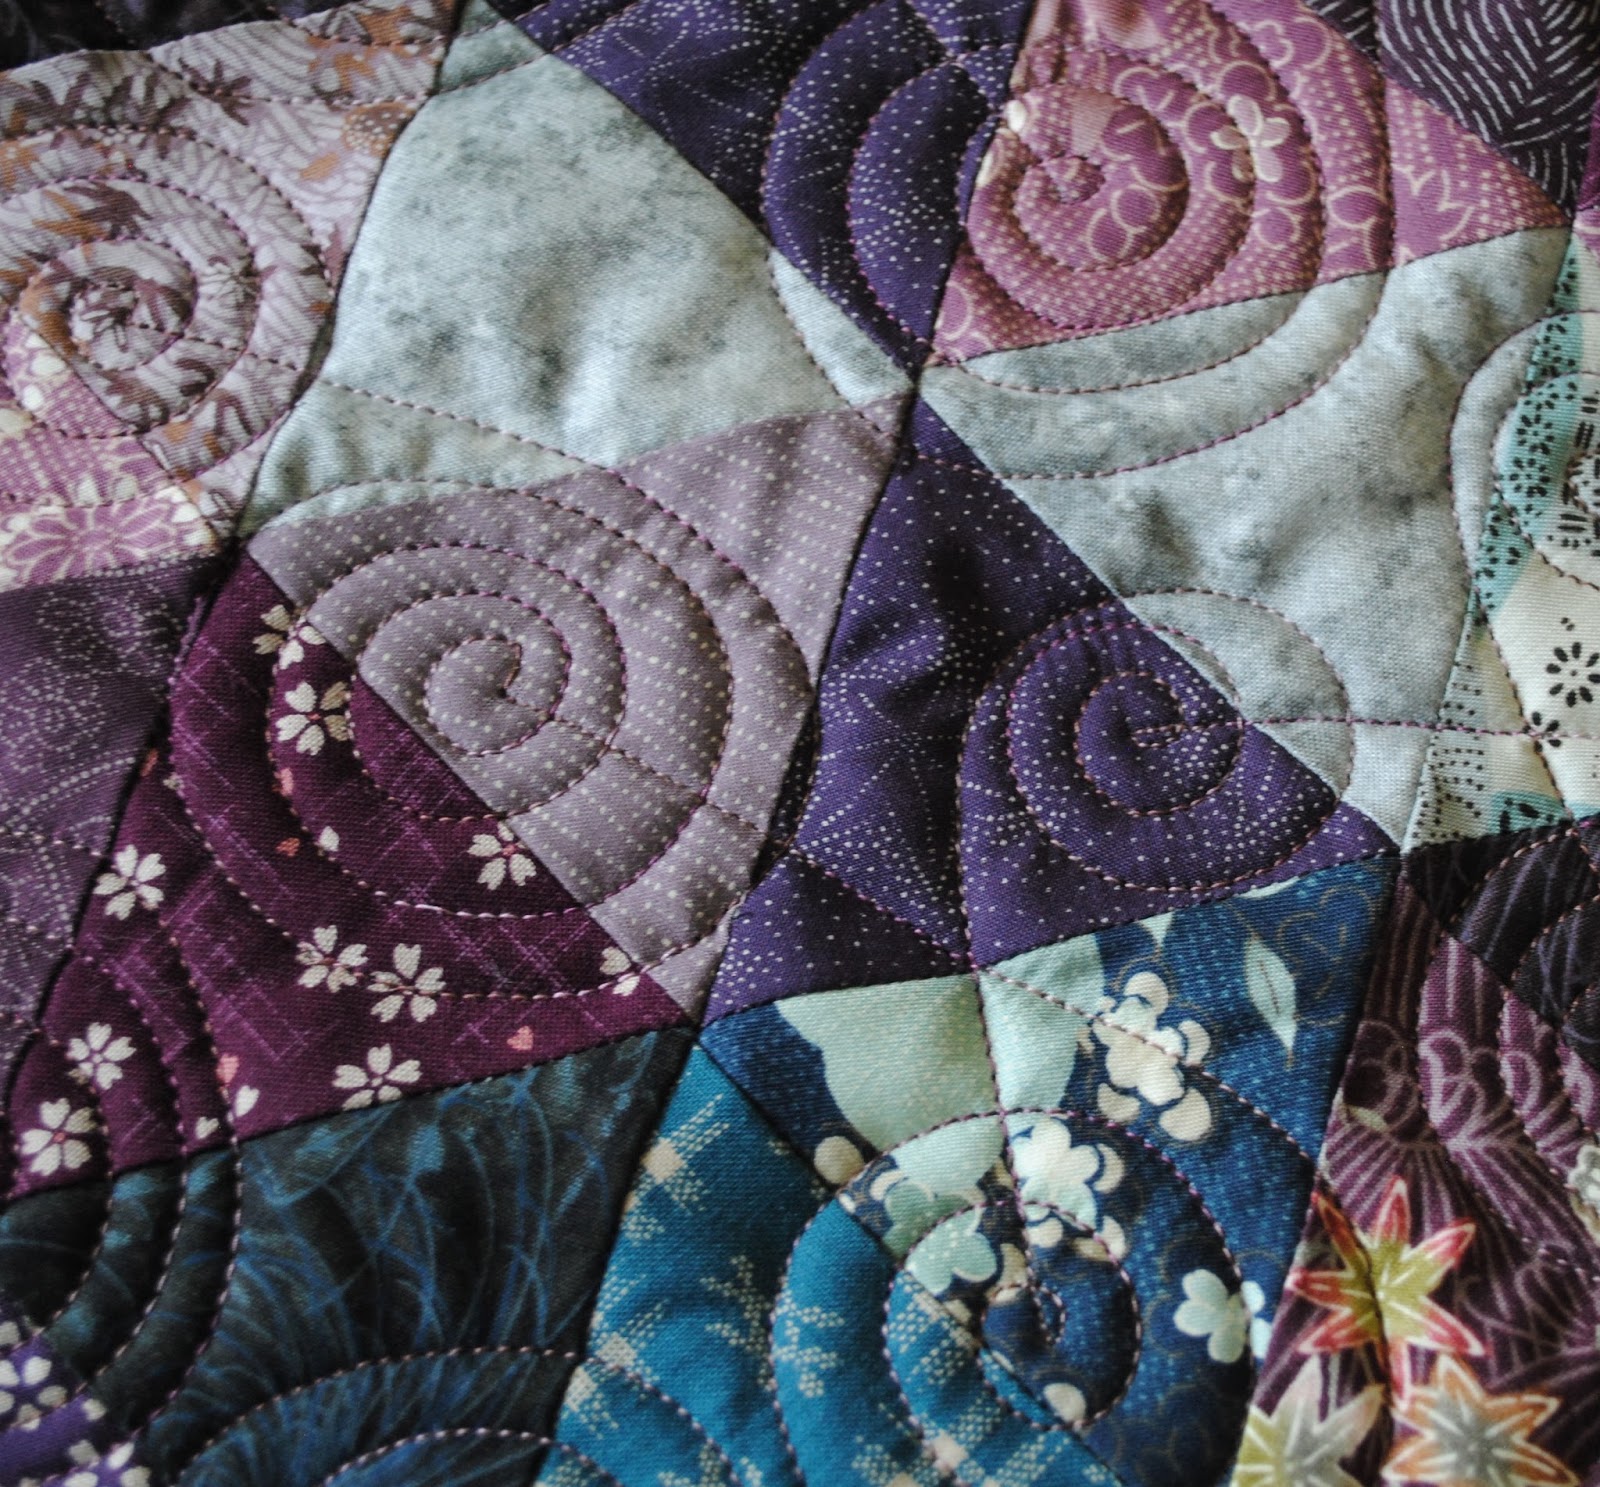
But I LOVE this fabric so much that I didn't want to waste ANY of it, so the scraps that were left from the previous project were all cut into small triangles using my Accuquilt triangle die.


I sewed them all into rows of 12 triangles each:


And used little half-triangles on the ends of the rows to make them square:


I then sewed all of the rows together and found that I had enough rows to make two square pieces that were each 17" x 17" - just big enough to make the fronts of pillow covers!


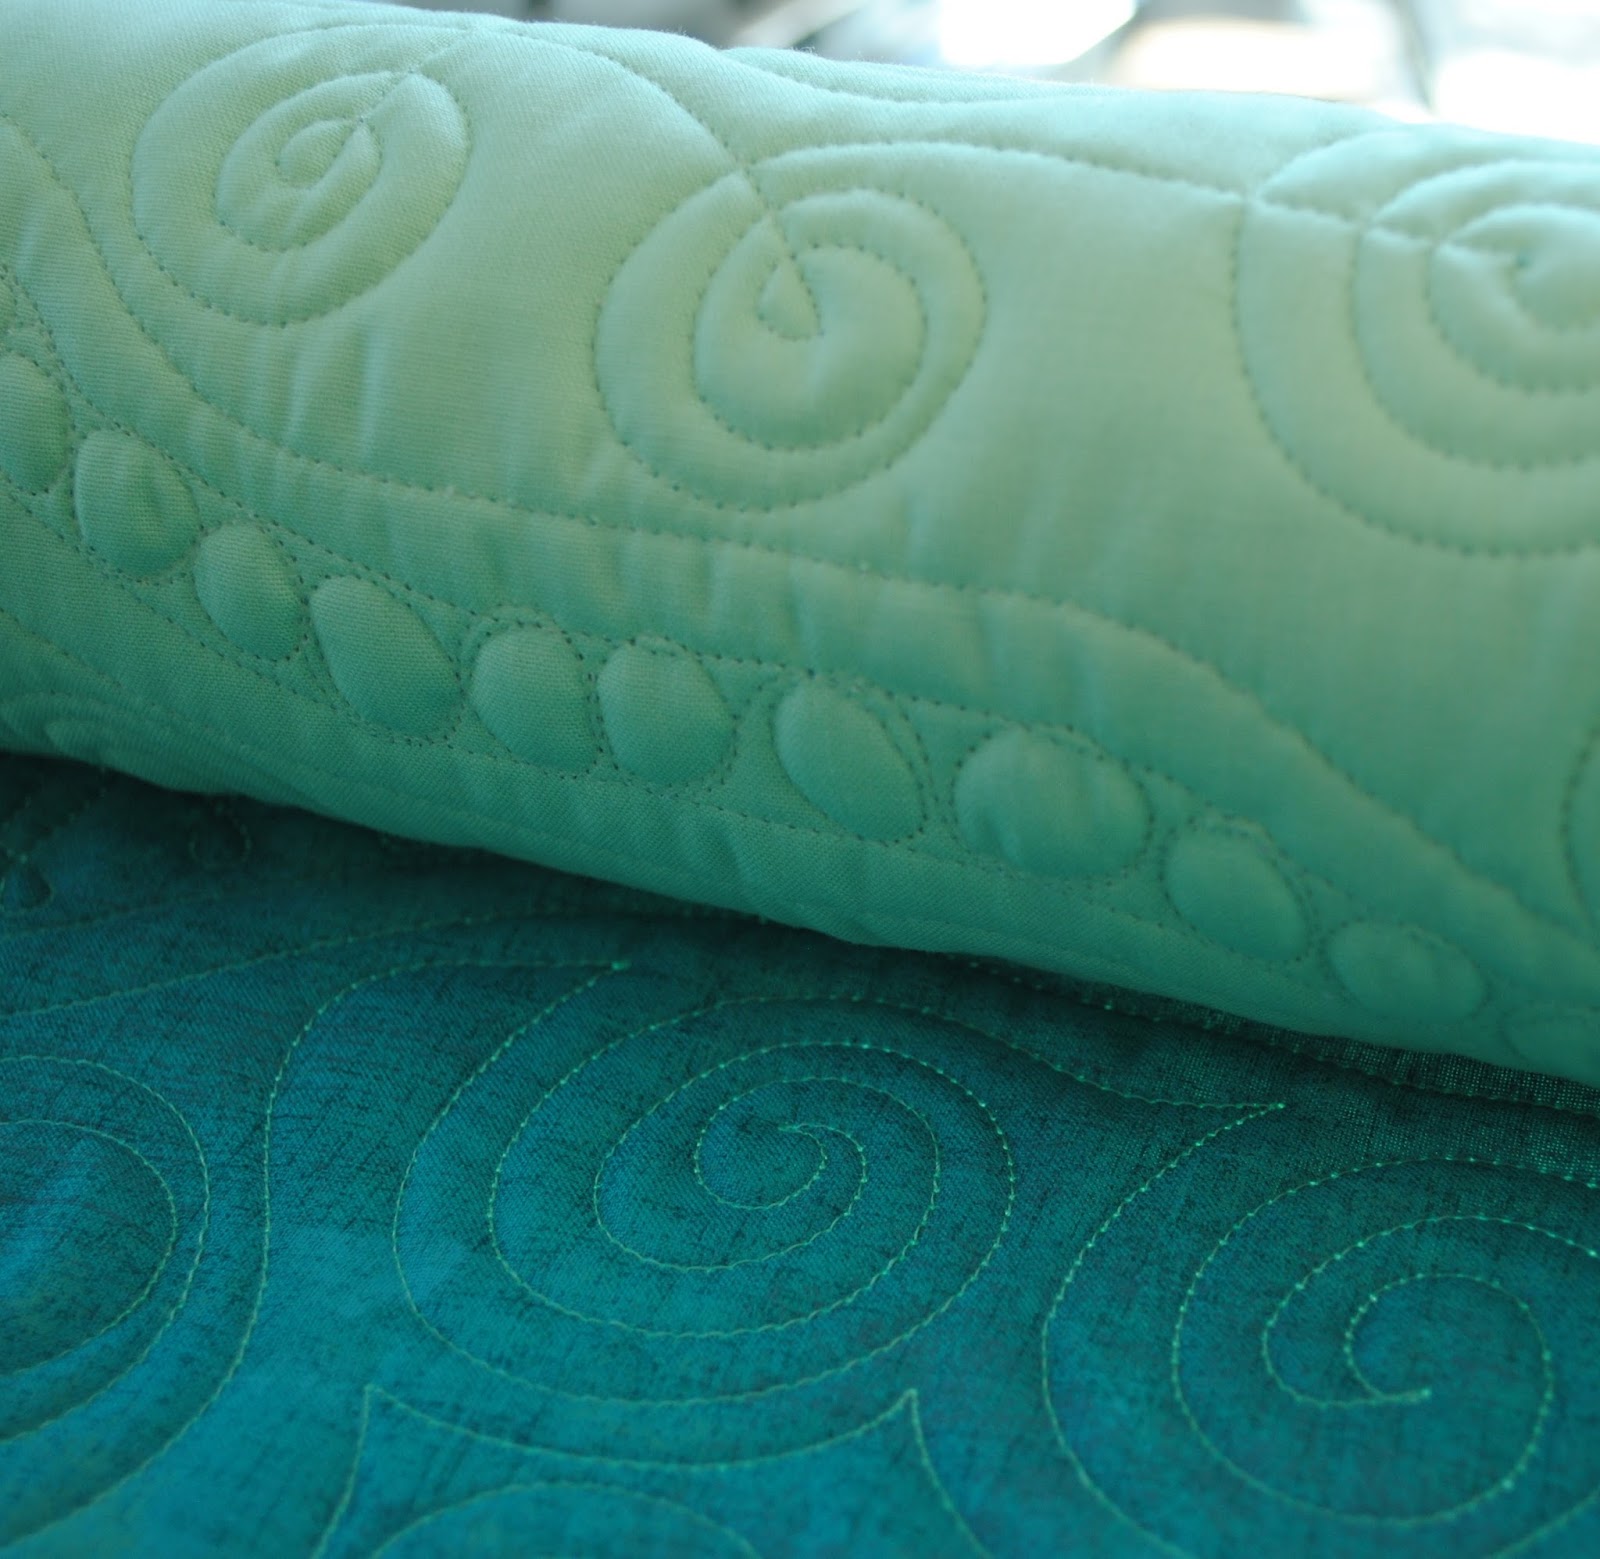
I layered them with batting and backing and quilted one with a spiral design and one with a leaf design:


I then followed the directions that I gave on my quilted pillow post on June 5th to make them into pillow covers. I LOVE them!! And have officially used up EVERY scrap of that fat-quarter bundle!!

Project #40  is done!!


Sunday, August 21, 2016

Quilter, pharmacist, Gammill repair technician...

Yesterday I decided to load my friend Dyane's ultra modern quilt onto the Gammill and start quilting. Although I had no idea what design(s) I wanted to use, after looking at a couple modern quilting books, I soon knew exactly what I wanted to do!!


Once I got started, I was LOVING quilting this quilt!!


 BUT it was super hot in my quilting studio and when I was about half way through the quilt I decided to take a break and go for a swim to cool off. BIG MISTAKE!!

One thing led to another and I never got back to the quilt until this morning. The first stitch I took made a HUGE crunching noise and then I saw the needle broken off and curled into the shape of a "C". Not a good sign (and a big reason why I'm not that sad that I have to wear glasses LOL).

So, I put in a new needle, but the thread kept breaking and the machine was skipping stitches so I adjusted the tension and figured that I needed to "time" the needle and hook. After doing that the needle wouldn't bring up the bobbin thread. I changed the needle, but that was no help sooooo....I got out the manual and decided that maybe the impact of the needle break was so great that it had affect the height of the needle bar. I've had to fix this before, so no big deal, but I had to take off the faceplate in order to access the screw. Would any of my allen keys work for this??? Of course not, and so began the 10 minute search for my son's allen keys....


OK - faceplate off, needle bar height adjusted AND..... still the bobbin thread will only come up when there is no quilt under the needle. Soooo... I change the needle again and take off the throat plate to look at the timing again. It looks OK, but when I look straight on through where the bobbin usually sits, the needle is WAY too low now!! What is going on??? So I take the needle out and lay in down beside the other needle and it is almost 1/4" longer!! So, this is something I never realized before but Gammill needles are not a standard length. - good to know!


So,,, faceplate off again, needle bar height adjusted AGAIN. Timing adjusted AGAIN. And now the machine will quilt (thank god!!) but it is skipping stitches like crazy! And when I roll the quilt into the uptake bar at the back, there are little knots of thread on the back. And the thread STILL keeps breaking so I keep adjusting the tension and after two hours of this I decide that it is once again time for a swim!!

After cooling down (literally and figuratively) I went back to the Gammill and it was stitching a bit better. Well enough to finish the rest of the quilt although the thread probably broke 50 more times and I had to go back and re-stitch over places that it had skipped stitches.

The quilting looks really good on the front of the quilt dispite all of these issues, but tonight I will be spending the evening with my punchneedle thread and tweezers pulling the little knots on the back under the fabric. At the least the Olympics are on!! Go Canada Go!!


Wednesday, August 17, 2016

New Halloween pattern from Upper Canada Quiltworks Publishing

WOW!!! I can't believe that it is already August 17th!! Since I was on holidays for two weeks and then I was working extra shifts at the drug store to cover other people's holidays the first half of August just seems to have vanished into thin air!!

BUT.... I have been doing lots of work at home too and a couple of the things we've been working on are new patterns for Upper Canada Quiltworks using new fabric lines from Northcott!!

The first new one is coming out just in time to sew for Halloween and it is called "More Little Tricksters" which uses Northcott's new "Happy Halloween" line.

Our pattern uses the panel from the line as well as some of the fun co-ordinates.


The pattern for "More Little Tricksters" is now available at quilt shops and in our Craftsy Store!

Saturday, June 25, 2016

Using the Mod Squad fabric panel to make a modern baby quilt

52 Week UFO Challenge - Project #30

Nellie and I used Northcott's Mod Squad panel from the ColorWorks Concepts line to make our Modern Vibe quilt pattern. It is a super fun, fast and easy quilt to make for someone youg (or young at heart)!


Since they usually give us extra fabric to work with, I had a second panel left over and just HAD to do something with it.

Instead of just quilting and binding it, I wanted to make it a bit bigger, so I cut rectangles and squares from the chevron fabric and sewed them together in a row with some of the white triangle print.


I then added a white strip to the right hand side and sewed this to the panel. Another white outside border finished it off and set off the colours in the panel SO nicely!!


I used my overlapping box quilting design to quilt the entire top and put a funky orange fabric on the back of the quilt.


Yellow binding looked good from the front AND the back!!


This was a fun and super quick project to make using a panel! Project #30 in my 52 Week UFO Challenge is done and this quilt is now for sale in my Etsy store.


Sunday, June 5, 2016

Making a pillow cover using tumbler blocks

52 Week UFO Challenge #27 - Tumbling Waters Pillow

Here is another project that was made using leftovers from a quilt that I designed for A Needle Pulling Thread Magazine.
My Tumbling Waters quilt pattern appeared in the Fall 2014 issue - the same issue in which they did a feature article about my quilting studio!!


For this project I used a Stone Roll of fat quarters from Northcott's Stonehenge line of fabrics. I LOVE, LOVE, LOVE Stonehenge fabrics and was so excited to be able to design this quilt using them.  Once again, I used my Accuquilt Studio Cutter to cut the 6 1/2" tumbler blocks, and since I was using fat quarters, there was enough fabric left at the edges to cut a bunch of smaller 3 1/2" tumbler blocks. Since I didn't need them for my quilt project, I put them all in a small baggie and tucked them into a safe place.

When I was cleaning my studio, I found the baggie and added it to my 52 Week UFO Challenge list. One of the projects I made with these tumbler blocks was this pillow cover. All I did was alternate the blue and white tumblers to make an 18" square piece. I quilted the piece on my Gammill using a water ripple design.

First step was to trim this quilt sandwich into a 17" square.


Next, I made two backing sections that were 17" x 21" and then I turned over and topstitched one long edge on each of these pieces.


I pinned the first piece down on the quilt sandwich, right sides together and aligning all of the raw edges.

The second backing section was pinned on top of the first with the finished edges over lapping.


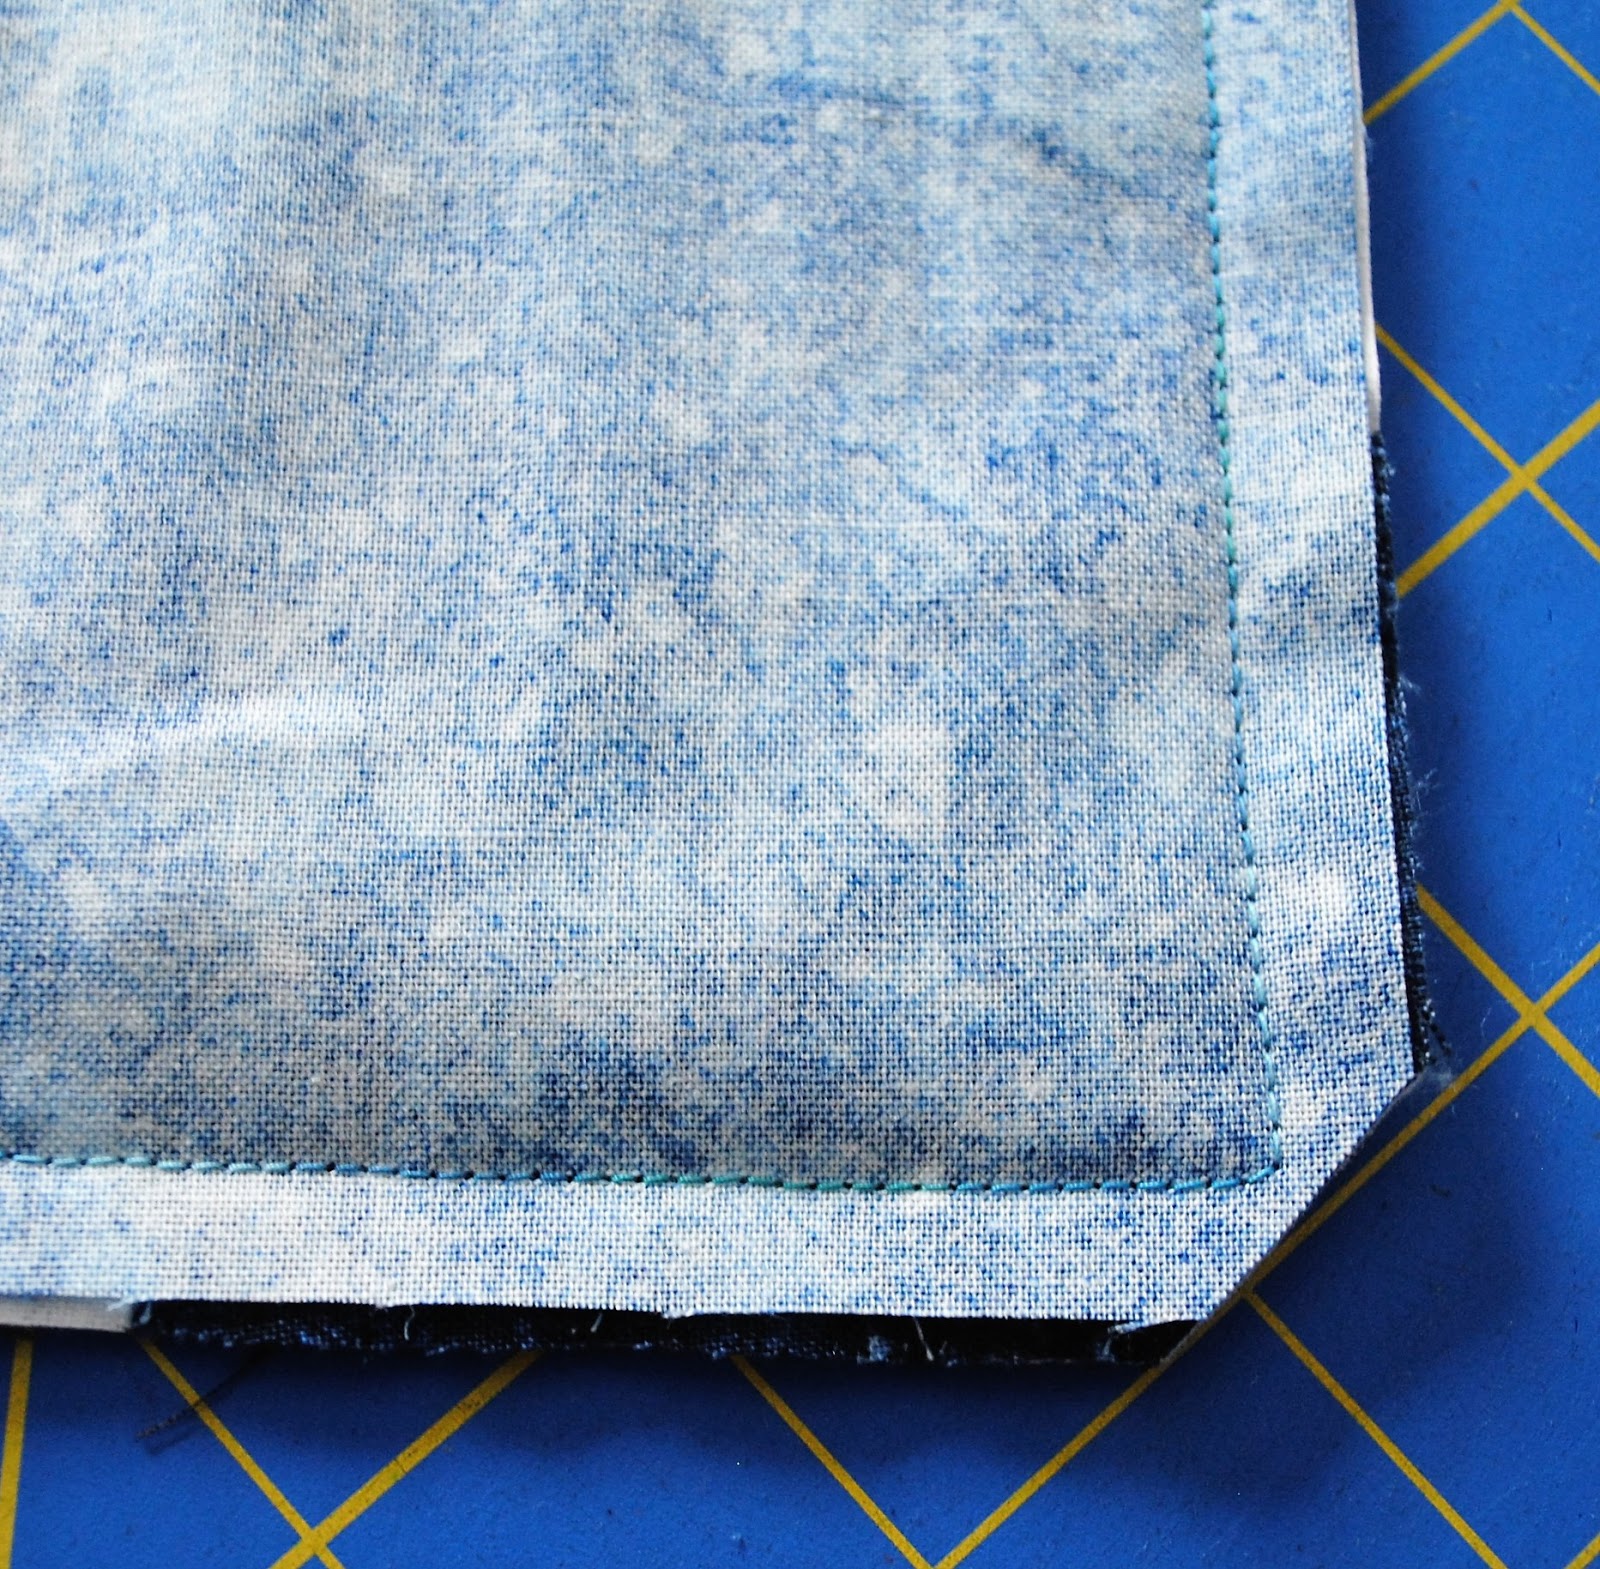
I sewed around the entire piece 1/2" in from the edges.


Turned the piece right side out and topstitched 1/2" in from the edges.


Inserted my 16" pillow form and project #27 was complete!!


I put this pillow cover up for same in my Etsy store and I just sold it this week!! Check out my Fairfield Road Designs Etsy store to see more of my finished products and kits!!
Saturday, May 28, 2016

Northwood Cabin pattern now available on Craftsy

Our newest quilt pattern is called "Northwood Cabin" and it features flannel fabrics from the Northwood line from Northcott.


The line comes in three colorways - Red/Tan as we used in our pattern, Navy/Green and Black/Gray. The blocks for our quit are made using the panel that is shown below. The blocks are big and easy to assemble so the quilt can be made in almost no time at all!!


F21125-12
The pattern for this quilt is now available in quilt shops and as a pattern download on Craftsy! No paying for shipping OR waiting for your purchase to arrive in the mail!
Check it out today!


Saturday, May 14, 2016

Another sample from our book "Celebrate Canada"

Nellie and I have been working hard to get all of the samples from our quilt finished so that they can travel to Quilt Canada in June!! Karen from "Quilt Thyme" quilt shop in Kingston, Ontario will be displaying them in her booth in the merchants mall AND for a couple of the days Nellie and I will be in her booth signing copies of our book "Celebrate Canada"

So Nellie's "Coast to Coast" quilt was the next one to be quilted and after doing all of those maple leaves on my quilt, I was feeling quite confident that I could do some on hers as well. I got it loaded onto the frame and then got to work.


For the first few maple leaves that I quilted I used my laser pointer and followed a design on paper. I added some swirls and loops in between the leaves and after awhile I didn't need to follow the paper design at all!!


For the center of the quilt I thought it would be fun to do a spiral design over all of the blocks. It turned out quite nice!


In the two inner borders I did my favourite loop-de-loop design and the side-to-side swirl.


Here it is - all quilted and ready for binding!! We just LOVE these Oh Canada fabrics from Northcott!!