Showing posts with label machine quilting. Show all posts

Sunday, August 6, 2017

A simple yet amazing tool

Every once in awhile, my Gammill does this weird thing and leaves random loops of top thread on the back of a quilt. 

Up until now, I've struggled with how to fix the back of the quilt. I recently discovered the Snag Magic tool and it works so well to fix these loops! Basically it's a heavy needle with a flexible loop on the end. 


 You insert the needle at the base of the thread loop and catch it in the loop of the needle...


 You insert the needle at the base of the thread loop and catch it in the loop of the needle, then pull to put the fabric loop into the batting. So easy!!! 


This tool is so much easier to use than what I was using - a punchneedle threader. I'm so glad that Doug at Snag Magic asked me to give the tool a try!

Check out their website at http://www.snagmagic.com/


Saturday, September 3, 2016

Machine quilting my QUILTsocial Mystic Garden (Mountain View) quilt

In July on QUILTsocial I used some of Northcott's Mystic Garden fabric to make two different quilts. By the end of the week I had finished machine quilting the first quilt - a lap quilt that used large sections of the main Mystic Garden fabric with flying geese sections made three different ways.


For the second quilt top I used our Upper Canada Quiltworks' "Mountain View" pattern. and substituted the main Mystic Garden fabric in place of the panels.


 I found the PERFECT thread in my stash for quilting this quilt top. Vibrant purple, teal and lime green variegated King Tut thread!!


Here is my quilt loaded on the Gammill frame and ready to quilt!


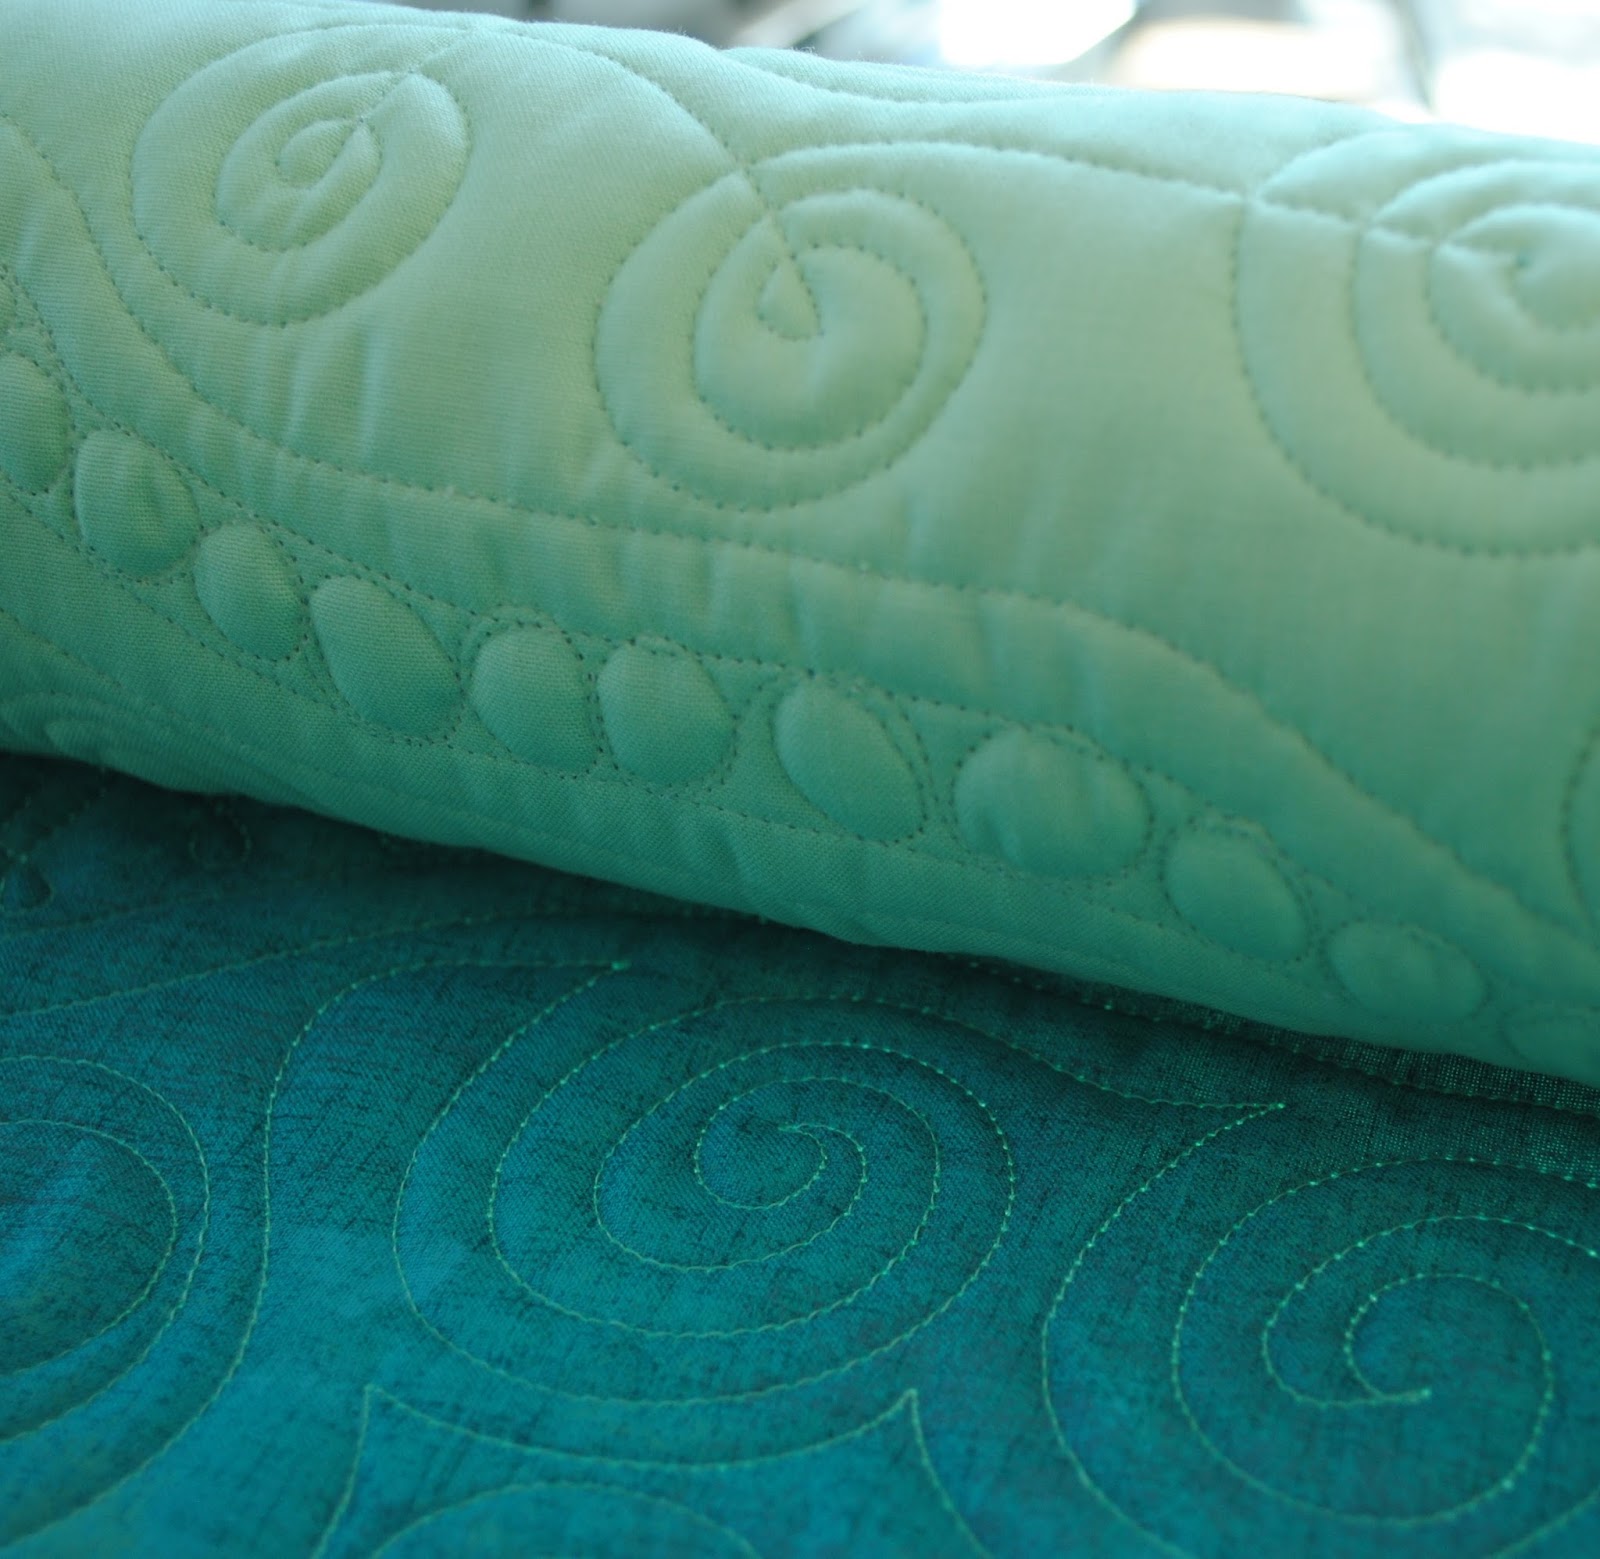
I LOVE that striped fabric in the inner border and did one of my favourite loop-de-loop designs to quilt it.


Finding a nice design for quilting the flying geese is sometimes a challenge, so I experimented with this design:


Here is the finished quilt - all it needs now is the binding!


Sunday, August 21, 2016

Quilter, pharmacist, Gammill repair technician...

Yesterday I decided to load my friend Dyane's ultra modern quilt onto the Gammill and start quilting. Although I had no idea what design(s) I wanted to use, after looking at a couple modern quilting books, I soon knew exactly what I wanted to do!!


Once I got started, I was LOVING quilting this quilt!!


 BUT it was super hot in my quilting studio and when I was about half way through the quilt I decided to take a break and go for a swim to cool off. BIG MISTAKE!!

One thing led to another and I never got back to the quilt until this morning. The first stitch I took made a HUGE crunching noise and then I saw the needle broken off and curled into the shape of a "C". Not a good sign (and a big reason why I'm not that sad that I have to wear glasses LOL).

So, I put in a new needle, but the thread kept breaking and the machine was skipping stitches so I adjusted the tension and figured that I needed to "time" the needle and hook. After doing that the needle wouldn't bring up the bobbin thread. I changed the needle, but that was no help sooooo....I got out the manual and decided that maybe the impact of the needle break was so great that it had affect the height of the needle bar. I've had to fix this before, so no big deal, but I had to take off the faceplate in order to access the screw. Would any of my allen keys work for this??? Of course not, and so began the 10 minute search for my son's allen keys....


OK - faceplate off, needle bar height adjusted AND..... still the bobbin thread will only come up when there is no quilt under the needle. Soooo... I change the needle again and take off the throat plate to look at the timing again. It looks OK, but when I look straight on through where the bobbin usually sits, the needle is WAY too low now!! What is going on??? So I take the needle out and lay in down beside the other needle and it is almost 1/4" longer!! So, this is something I never realized before but Gammill needles are not a standard length. - good to know!


So,,, faceplate off again, needle bar height adjusted AGAIN. Timing adjusted AGAIN. And now the machine will quilt (thank god!!) but it is skipping stitches like crazy! And when I roll the quilt into the uptake bar at the back, there are little knots of thread on the back. And the thread STILL keeps breaking so I keep adjusting the tension and after two hours of this I decide that it is once again time for a swim!!

After cooling down (literally and figuratively) I went back to the Gammill and it was stitching a bit better. Well enough to finish the rest of the quilt although the thread probably broke 50 more times and I had to go back and re-stitch over places that it had skipped stitches.

The quilting looks really good on the front of the quilt dispite all of these issues, but tonight I will be spending the evening with my punchneedle thread and tweezers pulling the little knots on the back under the fabric. At the least the Olympics are on!! Go Canada Go!!


Tuesday, July 19, 2016

Using left over tumbler blocks to make a table runner

52 Week UFO Challenge - Project #33

I have made quite a few projects using my Accuquilt Tumbler Dies. I have both the 3 1/2" and 6" size dies and find that they are AWESOME for making large and small projects. 

I used the larger die to make the Tumbling Waters quilt for A Needle Pulling Thread magazine and (just like always) used my die cutter to cut up the leftover fabric into extra pieces. 

A Needle Pulling Thread - Fall 2015
I used some of these small tumbler shapes to make a pillow - Project #27 in my 52 Week UFO Challenge.  But I still had many more left over, so I randomly sewed them together into four rows of 15 tumblers each. I then sewed these rows together and trimmed the ends of the table runner straight. I popped it onto my Gammill and quilted it with gentle curves from end to end. This quilting design is fast and easy to do - even with a walking foot on your home machine!!


After trimming off the excess backing and batting I got out my binding box and found one that would work perfectly. If you are looking for tips on tidying up (and using) extra binding strips check out my blog post on March 22nd.


Picking a binding

Here it is - the finished table runner. Doesn't that make you think of tropical waters!! Project #33 is done AND I've finally used up ALL of those tumbler blocks!!


Thursday, July 14, 2016

Using Tsukineko inks to fabric paint daisies

52 Week UFO Challenge - Project #32

A couple years ago Nellie and I took a surface design course with Elaine Quehl and one of the supplies we learned to use was Tsukineko Inks. These inks are so amazing to work with and one of the coolest things about them is how you can dilute them with aloe vera gel to make different shades of the same colour.

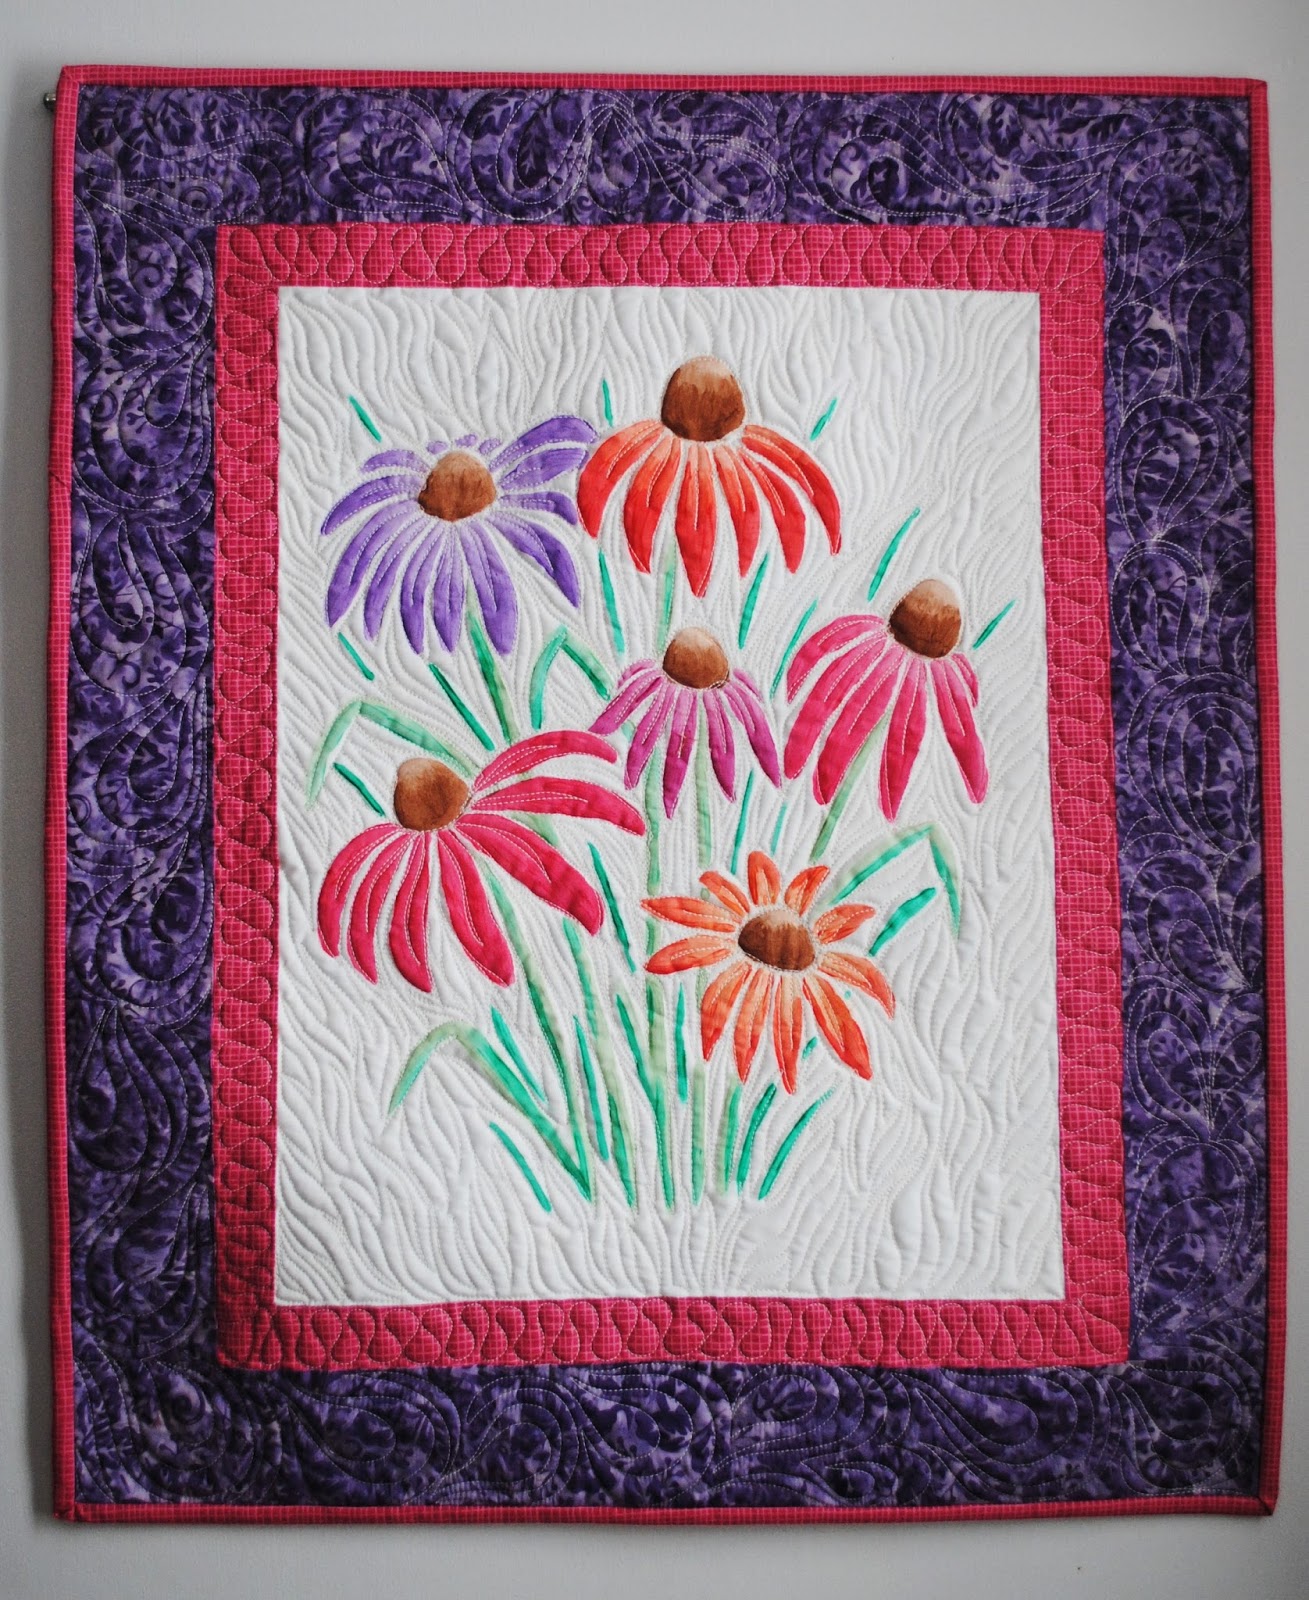
I used these inks to paint these daisies on white cotton fabric soon after taking Elaine's class, but then it ended up in my UFO pile.


I decided to make a wall hanging out of it and set to work picking borders.

Border option 1

Border option 2

Border option 3
I settled on this fabric combination of a purple batik outer border and a fuchsia inner border.


Once the borders were on, I mounted it on my Gammill and got to work quilting it.


A matching fuchsia binding and a hanging sleeve on the back finished the wall hanging off quite nicely!! Now that I've finished this piece off, I can't wait to do some more fabric painting with my Tsukineko Inks!!


Project #32 in my 52 week UFO Challenge is complete! What will I finish off next???

Monday, July 11, 2016

Drunkards Path table runner

52 Week UFO Challenge - Project #31

When I blogged for QUILTsocial last August I made this drunkards path table runner using my Accuquilt Drunkard's Path 7" Die and my Studio cutter.  I LOVE my Accuquilt Studio Cutter and use it all the time! I especially love using it for cutting curved piecing blocks as I would NEVER cut blocks like this using templates.


Pugsley, our Jack Russell Terrier

Close-up of the gentle waves machine quilting

One "problem" with using my Accuquilt Studio Cutter is that it is WAY to easy to cut too many pieces! As a result, I often cut more than I need and then I end up stashing them away for another project. Well, this one was no exception and as a result, four drunkard's path blocks were in my UFO pile. 

Since I've been sewing with the Northcott ColorWorks Concepts fabrics so much lately, I just knew that the flying geese stripe would look amazing with my blocks!! I sashed the blocks in the royal blue fabric and then used the flying geese in the outside border.


I machine quilted the table runner using straight lines from end to end and I really like how it turned out! I love using up leftover blocks to make other projects!!

I am half way through the year and Project #31 of my 52 Week UFO Challenge is done!! I think I'm going to have no problem at all getting all of my 52 UFOs done. Hopefully you have been able to finish up some of your UFOs too!


Saturday, June 25, 2016

Using the Mod Squad fabric panel to make a modern baby quilt

52 Week UFO Challenge - Project #30

Nellie and I used Northcott's Mod Squad panel from the ColorWorks Concepts line to make our Modern Vibe quilt pattern. It is a super fun, fast and easy quilt to make for someone youg (or young at heart)!


Since they usually give us extra fabric to work with, I had a second panel left over and just HAD to do something with it.

Instead of just quilting and binding it, I wanted to make it a bit bigger, so I cut rectangles and squares from the chevron fabric and sewed them together in a row with some of the white triangle print.


I then added a white strip to the right hand side and sewed this to the panel. Another white outside border finished it off and set off the colours in the panel SO nicely!!


I used my overlapping box quilting design to quilt the entire top and put a funky orange fabric on the back of the quilt.


Yellow binding looked good from the front AND the back!!


This was a fun and super quick project to make using a panel! Project #30 in my 52 Week UFO Challenge is done and this quilt is now for sale in my Etsy store.


Thursday, June 23, 2016

Flying geese table runners two different ways


52 Week UFO Challenge - Projects #28 & #29

Back in January I was the guest blogger on QUILTsocial and I used the ColorWorks Concepts fabrics from Northcott to make this fun Flying Geese Quilt. 


Due to my trials and errors working out the quilt pattern I had LOTS of flying geese blocks left over. So....I made table runners!! 


The first runner was made by sewing together ten of the blocks with no border. 


I quilted it from end to end using black thread and a wavy line - I LOVE it!!


I had three blocks left over (all with lime green as the accent colour) so I sewed them together and added a couple borders.
This cute little table runner was custom quilted with different designs in the different sections. The loop-de-loop in the inner border is one of my favourites and the parallel lines in the blocks are outer border were quite fun to do!


Projects #28 and #29 are finished and the littler table runner is now on the table in our upstairs hall! I am almost half way through my 52 week challenge and so far I am right on track!!