Showing posts with label 52 week UFO challenge. Show all posts

Saturday, December 31, 2016

Finishing up the 52 week UFO challenge

52 Week UFO Challenge Projects #41-#44

Well, my 52 week UFO challenge has come to an end and I'm proud to say that although I didn't get all 52 projects done, I did complete 44 of them!! I've outlined projects #1-#40 throughout the year and here are the final four projects:

Candy cane punchneedle candle mat which was featured in last month's Primitive Quilts & Projects magazine:


Flower and bee applique block finished into a wall hanging:


Leftover quilt blocks made into a modern baby quilt:


Fairy applique block finished into a small wall hanging:


Thanks for joining me on my 52 week challenge!! I've had lots of fun making my way through all of these UFO's and have a great sense of accomplishment looking back at all of the projects that I've finished this year!!

Happy New Year!!!

Wednesday, December 28, 2016

Making quilted pillow covers with leftovers

52 Week UFO Challenge - Project #40

A couple years ago I bought the most amazing fat quarter bundle of Japanese fabrics from Kallisti quilts when she had a booth at the Ottawa quilt show. I've made a few projects from this bundle of fabrics, including a table runner made with hand pieced hexagons and a lap quilt made with hexagons and triangles all cut with my Accuquilt Studio cutter.


But I LOVE this fabric so much that I didn't want to waste ANY of it, so the scraps that were left from the previous project were all cut into small triangles using my Accuquilt triangle die.


I sewed them all into rows of 12 triangles each:


And used little half-triangles on the ends of the rows to make them square:


I then sewed all of the rows together and found that I had enough rows to make two square pieces that were each 17" x 17" - just big enough to make the fronts of pillow covers!


I layered them with batting and backing and quilted one with a spiral design and one with a leaf design:


I then followed the directions that I gave on my quilted pillow post on June 5th to make them into pillow covers. I LOVE them!! And have officially used up EVERY scrap of that fat-quarter bundle!!

Project #40  is done!!


Wednesday, October 12, 2016

Making a quilt as you go (flip and sew) striped tote bag

52 Week UFO Challenge - Project #39


After finishing my Flying Geese quilt for QUILTsocial I had a whole pile of leftover striped fabric (that I had trimmed away from the flying geese). There was NO WAY that I was going to throw them out, so I had to find a project to use them in.


The quilt-as-you-go method can be used for all types of projects, but I like to use it most for small items such as table runners, place mats and tote bags.
For this bag we aren't going to have any batting, so it's technically not a "quilt", but the same technique and steps are used.

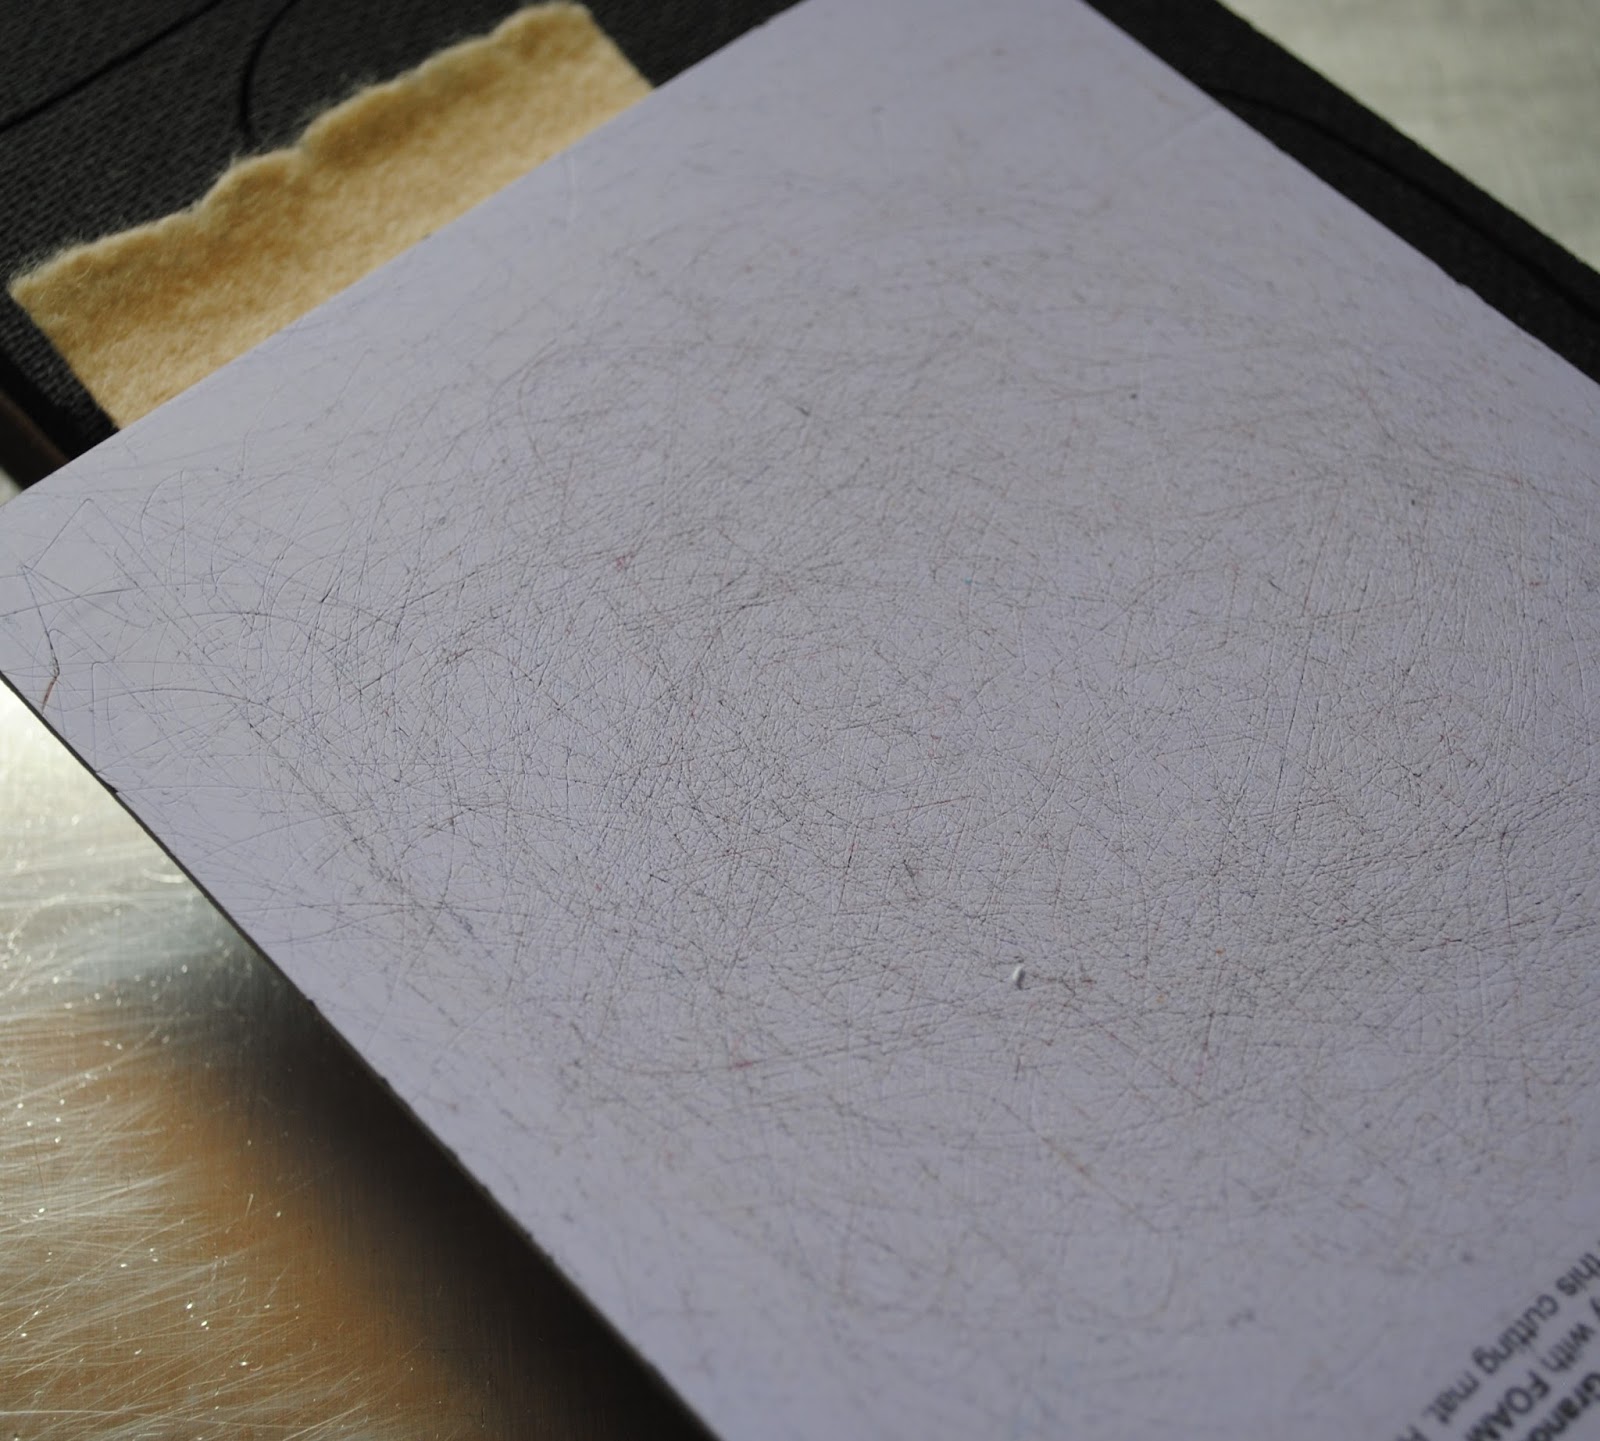
I'm using a medium weight interfacing to "quilt" on. This will give the bag some stability, but won't make it really heavy.

The first step is to draw a straight line across the interfacing. I like to do this line on an angle so that it's not as noticeable if some of my strips down go down perfectly straight. Next you lay down one strip of fabric right side up along this line and you keep adding strips until you have covered the entire piece. In my picture I have already sewn a few strips to the interfacing but you can see that they are on an angle and the seams are nice and straight.


The next step is to place your next strip on top RIGHT SIDE DOWN and pin in place with one raw edge lined up along the edge of the strip underneath.


 You sew your seam through all three layers and then FLIP your strip over and press.


You then add your next strip and pin, sew, flip and press. 


I alternated one striped strip and then one plain blue strip.


I had one flying gees strip left so I used it for the front of the bag.

The next step was to trim the two sections so that they were the same size.


I used some of my Northcott fabrics to make a lining for the bag and some of the leftover black polka dot fabric to make handles.


Here it is - the finished bag!

Well, that was a great use for my little striped strips of fabric!! This is all I had left from my pile:


The quilt as you go (flip and sew) method is super easy for making quilted items. Try it out with some of your leftover strips of fabric. I'm happy to say that another UFO is complete. I've got this little bag for sale in my Etsy shop - check it out at fairfieldroaddesigns.


Sunday, September 25, 2016

Stitching a cute little sunflower pincushion

52 Week UFO Challenge - Project #38

Sometimes the simplest things are the ones that never get done and this UFO project certainly falls into this category!! 


After finishing my "Woolen Sunflowers" table runner YEARS ago, I had one extra sunflower than I spray basted to a circle of black wool, intending to make it into a pincushion.

The little project lived in the bottom of my hand stitching project bag forever, but I have finally finished it! And it only took about 1 hour of hand stitching and some batting.

I think it's pretty cute! 


Wednesday, August 31, 2016

Finishing up the Christmas wool applique table runners

52 Week UFO Challenge - Projects #35-#37

Now that all of my tongues were cut I could start to assemble them and do the blanket stitching around the inner coloured tongues. 

The first step in this process was to use my 505 Spray to stick the inner tongues to the outer tongues. I have a special box that I use for the spraying. It is about 15" x 24" and the sides are only about 6" high so that I can spray the 505 and not get it onto the surfaces around the box. 

I laid all of the inner tongues in the box...

And then gave them a light coating of the 505 Spray.


Next step was to place them sprayed side down on the outer tongues and then to press down lightly with my hand.

I spent the next few days doing the blanket stitching around the inner tongues. I hid the knots in between the inner and outer tongues. Once they were all stitched, I cut a second set of cream wool rectangles to back the table runners and then used the 505 Spray to stick the fronts and backs together. I positioned the tongues evenly along the ends of the table runners and then slid them in between the layers of wool.


Eventhough there is some 505 Spray along the inside edges, I usually pin the tongues into place as well to make sure that they don't move.


The next step is to blanket stitch around the edges of the table runner to secure the tongues and finish the edge.

On the purple table runner I also stitched snowflakes onto each of the mittens before layering the front and back of the table runner.


Here are my finished table runners - all ready to add to my Etsy shop!! Or maybe to use as Christmas presents. Either way, finishing up the Christmas wool applique table runners was super easy and I LOVE stitching with wool.


My 52 Week UFO Challenge projects #35, #36 and #37 are all done!!


Friday, August 26, 2016

Cutting wool tongues with my Accuquilt Studio cutter

52 Week UFO Challenge Project #35 - Changing ornaments into table runners

A few years ago I participated in a local Christmas Studio Tour and one of the things I was selling was felted wool tree ornaments. I must have made 40 of them, but I ran out of time and had quite a few cut out but never finished. 


I added these to my UFO list but didn't want to just finish them as they were. Instead I cut three rectangles of my cream wool and appliqued the mitten and stocking halves onto them. 


To finish the ends I wanted to add wool tongues and I have the BEST tool for cutting all of those tongues - my Accuquilt Studio Cutter and the Studio Tongue Rug die!!


Instead of having to cut all of these tongues by hand, I just have to cut strips of wool the appropriate width and place them on the die.


Next is the cutting mat.

Then you run it through the cutter and VOILA!! The tongues are cut!


I LOVE having the option of using my Accuquilt Studio Cutter to cut my wool applique shapes!! All of these tongues were cut in less than 20 minutes! When you are making three table runners you need A LOT of tongues!!


Tomorrow I'll show you how to place and stitch the tongues...


Accuquilt Sale Aug 2016

Friday, July 22, 2016

Machine quilting my orange poppy wall hanging

52 Week UFO Challenge #34 - Poppy wall hanging

Back in 2006 - yes TEN YEARS AGO - my mom and I attended Quilt Canada in Ottawa and took a course on creating pictorial flower quilts from a photo. I wish I could remember the name of the technique we used or who taught the class, but the handouts we received are long gone (or lost somewhere in the depths of my sewing room).

My flower applique was finished shortly after we came home from the conference, but I never knew how I wanted to border and quilt it, so I tucked it away and was surprised when I found it back in December!


I have quite a collection of batik fabrics - all housed in this shoe organizer. I LOVE batiks, and always seem to be adding to my stash. I figured that was a good place to start when looking for border fabrics for my poppy.


I picked out a few to audition...


And ended up picking a black batik for the inner border and two different orange prints for the outside border.


Once I got it loaded it on my Gammill, I had fun doing lots of machine quilting on the flower and  background.


Here is a view of the back of the wallhanging showing some of the machine quilting.


Here is the finished project. I really love how it turned out and really can't believe that it took me ten years to finish it. Good thing I started my 52 week UFO challenge!! Project #34 is done!!