Showing posts with label Northcott fabrics. Show all posts

Saturday, November 12, 2016

The Canadian Sampler quilt

A few months ago Sew Sisters quilt shop asked us if we would design a couple blocks for their Sesquicentennial quilt project "The Canadian Sampler". We designed our blocks, made them and then mailed them to Sew Sisters along with the instructions. And yesterday we received an email with a picture of the completed quilt.


The quilt is made entirely with Northcott's ColorWorks fabrics in Cardinal and Winter White and is a combination of traditional and modern blocks. Sew Sisters is running it as a block of the month starting in January. 
This is the link to the registration: http://bit.ly/2fIPrxC


This is the link to their blog with the info on all of the designers. http://bit.ly/2fEmJPq

Wednesday, November 9, 2016

New quilt pattern now available


Savile Diamonds now available

Nellie and I have been so busy since returning from Houston! This morning though I was able to find some time to get one of our newest patterns up onto our website and onto Craftsy. Here is Savile Diamonds:

Savile Diamonds pattern by Upper Canada Quiltworks
Savile Diamonds - blue version
Savile Diamonds - brown version

This one is a "manly" quilt as it uses Northcott's new flannel line of plaids prints called "Savile Row". and our pattern gives directions for both colorways. But look what happens when I use the magic of EQ to try out some other fabrics:


As you can see - it gives it a whole new look!!! If you've got a focus fabric that you would love to use in a quilt, give this pattern a try!!

Look for it on our website: Savile Diamonds

Or on Craftsy: Savile Diamonds


Wednesday, October 12, 2016

Making a quilt as you go (flip and sew) striped tote bag

52 Week UFO Challenge - Project #39


After finishing my Flying Geese quilt for QUILTsocial I had a whole pile of leftover striped fabric (that I had trimmed away from the flying geese). There was NO WAY that I was going to throw them out, so I had to find a project to use them in.


The quilt-as-you-go method can be used for all types of projects, but I like to use it most for small items such as table runners, place mats and tote bags.
For this bag we aren't going to have any batting, so it's technically not a "quilt", but the same technique and steps are used.

I'm using a medium weight interfacing to "quilt" on. This will give the bag some stability, but won't make it really heavy.

The first step is to draw a straight line across the interfacing. I like to do this line on an angle so that it's not as noticeable if some of my strips down go down perfectly straight. Next you lay down one strip of fabric right side up along this line and you keep adding strips until you have covered the entire piece. In my picture I have already sewn a few strips to the interfacing but you can see that they are on an angle and the seams are nice and straight.


The next step is to place your next strip on top RIGHT SIDE DOWN and pin in place with one raw edge lined up along the edge of the strip underneath.


 You sew your seam through all three layers and then FLIP your strip over and press.


You then add your next strip and pin, sew, flip and press. 


I alternated one striped strip and then one plain blue strip.


I had one flying gees strip left so I used it for the front of the bag.

The next step was to trim the two sections so that they were the same size.


I used some of my Northcott fabrics to make a lining for the bag and some of the leftover black polka dot fabric to make handles.


Here it is - the finished bag!

Well, that was a great use for my little striped strips of fabric!! This is all I had left from my pile:


The quilt as you go (flip and sew) method is super easy for making quilted items. Try it out with some of your leftover strips of fabric. I'm happy to say that another UFO is complete. I've got this little bag for sale in my Etsy shop - check it out at fairfieldroaddesigns.


Saturday, August 20, 2016

New Kids Quilt pattern from Upper Canada Quiltworks

Northcott has some great new fabric lines coming out and this one is super sweet!!

"A Little Birdie Told Me" is a line of flannel fabrics featuring woodland creatures, bugs and flowers and we used it to make a cute kids quilt using fusible applique circles. Our "Hip Hip Hooray" pattern makes a twin sized quilt - 65" x 81" - perfect for a little one who is just graduating from a crib to a "big girl" or "big boy" bed. And we all know how cuddly soft Northcott flannel is!!!


"Hip Hip Hooray" quilt


You can get the "Hip Hip Hooray" pattern from a quilt shop near you, or you can download an epattern from our Craftsy store. The quilt is also SUPER cute when made with a white background!!


Wednesday, August 17, 2016

New Halloween pattern from Upper Canada Quiltworks Publishing

WOW!!! I can't believe that it is already August 17th!! Since I was on holidays for two weeks and then I was working extra shifts at the drug store to cover other people's holidays the first half of August just seems to have vanished into thin air!!

BUT.... I have been doing lots of work at home too and a couple of the things we've been working on are new patterns for Upper Canada Quiltworks using new fabric lines from Northcott!!

The first new one is coming out just in time to sew for Halloween and it is called "More Little Tricksters" which uses Northcott's new "Happy Halloween" line.

Our pattern uses the panel from the line as well as some of the fun co-ordinates.


The pattern for "More Little Tricksters" is now available at quilt shops and in our Craftsy Store!

Saturday, June 25, 2016

Using the Mod Squad fabric panel to make a modern baby quilt

52 Week UFO Challenge - Project #30

Nellie and I used Northcott's Mod Squad panel from the ColorWorks Concepts line to make our Modern Vibe quilt pattern. It is a super fun, fast and easy quilt to make for someone youg (or young at heart)!


Since they usually give us extra fabric to work with, I had a second panel left over and just HAD to do something with it.

Instead of just quilting and binding it, I wanted to make it a bit bigger, so I cut rectangles and squares from the chevron fabric and sewed them together in a row with some of the white triangle print.


I then added a white strip to the right hand side and sewed this to the panel. Another white outside border finished it off and set off the colours in the panel SO nicely!!


I used my overlapping box quilting design to quilt the entire top and put a funky orange fabric on the back of the quilt.


Yellow binding looked good from the front AND the back!!


This was a fun and super quick project to make using a panel! Project #30 in my 52 Week UFO Challenge is done and this quilt is now for sale in my Etsy store.


Thursday, June 23, 2016

Flying geese table runners two different ways


52 Week UFO Challenge - Projects #28 & #29

Back in January I was the guest blogger on QUILTsocial and I used the ColorWorks Concepts fabrics from Northcott to make this fun Flying Geese Quilt. 


Due to my trials and errors working out the quilt pattern I had LOTS of flying geese blocks left over. So....I made table runners!! 


The first runner was made by sewing together ten of the blocks with no border. 


I quilted it from end to end using black thread and a wavy line - I LOVE it!!


I had three blocks left over (all with lime green as the accent colour) so I sewed them together and added a couple borders.
This cute little table runner was custom quilted with different designs in the different sections. The loop-de-loop in the inner border is one of my favourites and the parallel lines in the blocks are outer border were quite fun to do!


Projects #28 and #29 are finished and the littler table runner is now on the table in our upstairs hall! I am almost half way through my 52 week challenge and so far I am right on track!!

Sunday, June 5, 2016

Making a pillow cover using tumbler blocks

52 Week UFO Challenge #27 - Tumbling Waters Pillow

Here is another project that was made using leftovers from a quilt that I designed for A Needle Pulling Thread Magazine.
My Tumbling Waters quilt pattern appeared in the Fall 2014 issue - the same issue in which they did a feature article about my quilting studio!!


For this project I used a Stone Roll of fat quarters from Northcott's Stonehenge line of fabrics. I LOVE, LOVE, LOVE Stonehenge fabrics and was so excited to be able to design this quilt using them.  Once again, I used my Accuquilt Studio Cutter to cut the 6 1/2" tumbler blocks, and since I was using fat quarters, there was enough fabric left at the edges to cut a bunch of smaller 3 1/2" tumbler blocks. Since I didn't need them for my quilt project, I put them all in a small baggie and tucked them into a safe place.

When I was cleaning my studio, I found the baggie and added it to my 52 Week UFO Challenge list. One of the projects I made with these tumbler blocks was this pillow cover. All I did was alternate the blue and white tumblers to make an 18" square piece. I quilted the piece on my Gammill using a water ripple design.

First step was to trim this quilt sandwich into a 17" square.


Next, I made two backing sections that were 17" x 21" and then I turned over and topstitched one long edge on each of these pieces.


I pinned the first piece down on the quilt sandwich, right sides together and aligning all of the raw edges.

The second backing section was pinned on top of the first with the finished edges over lapping.


I sewed around the entire piece 1/2" in from the edges.


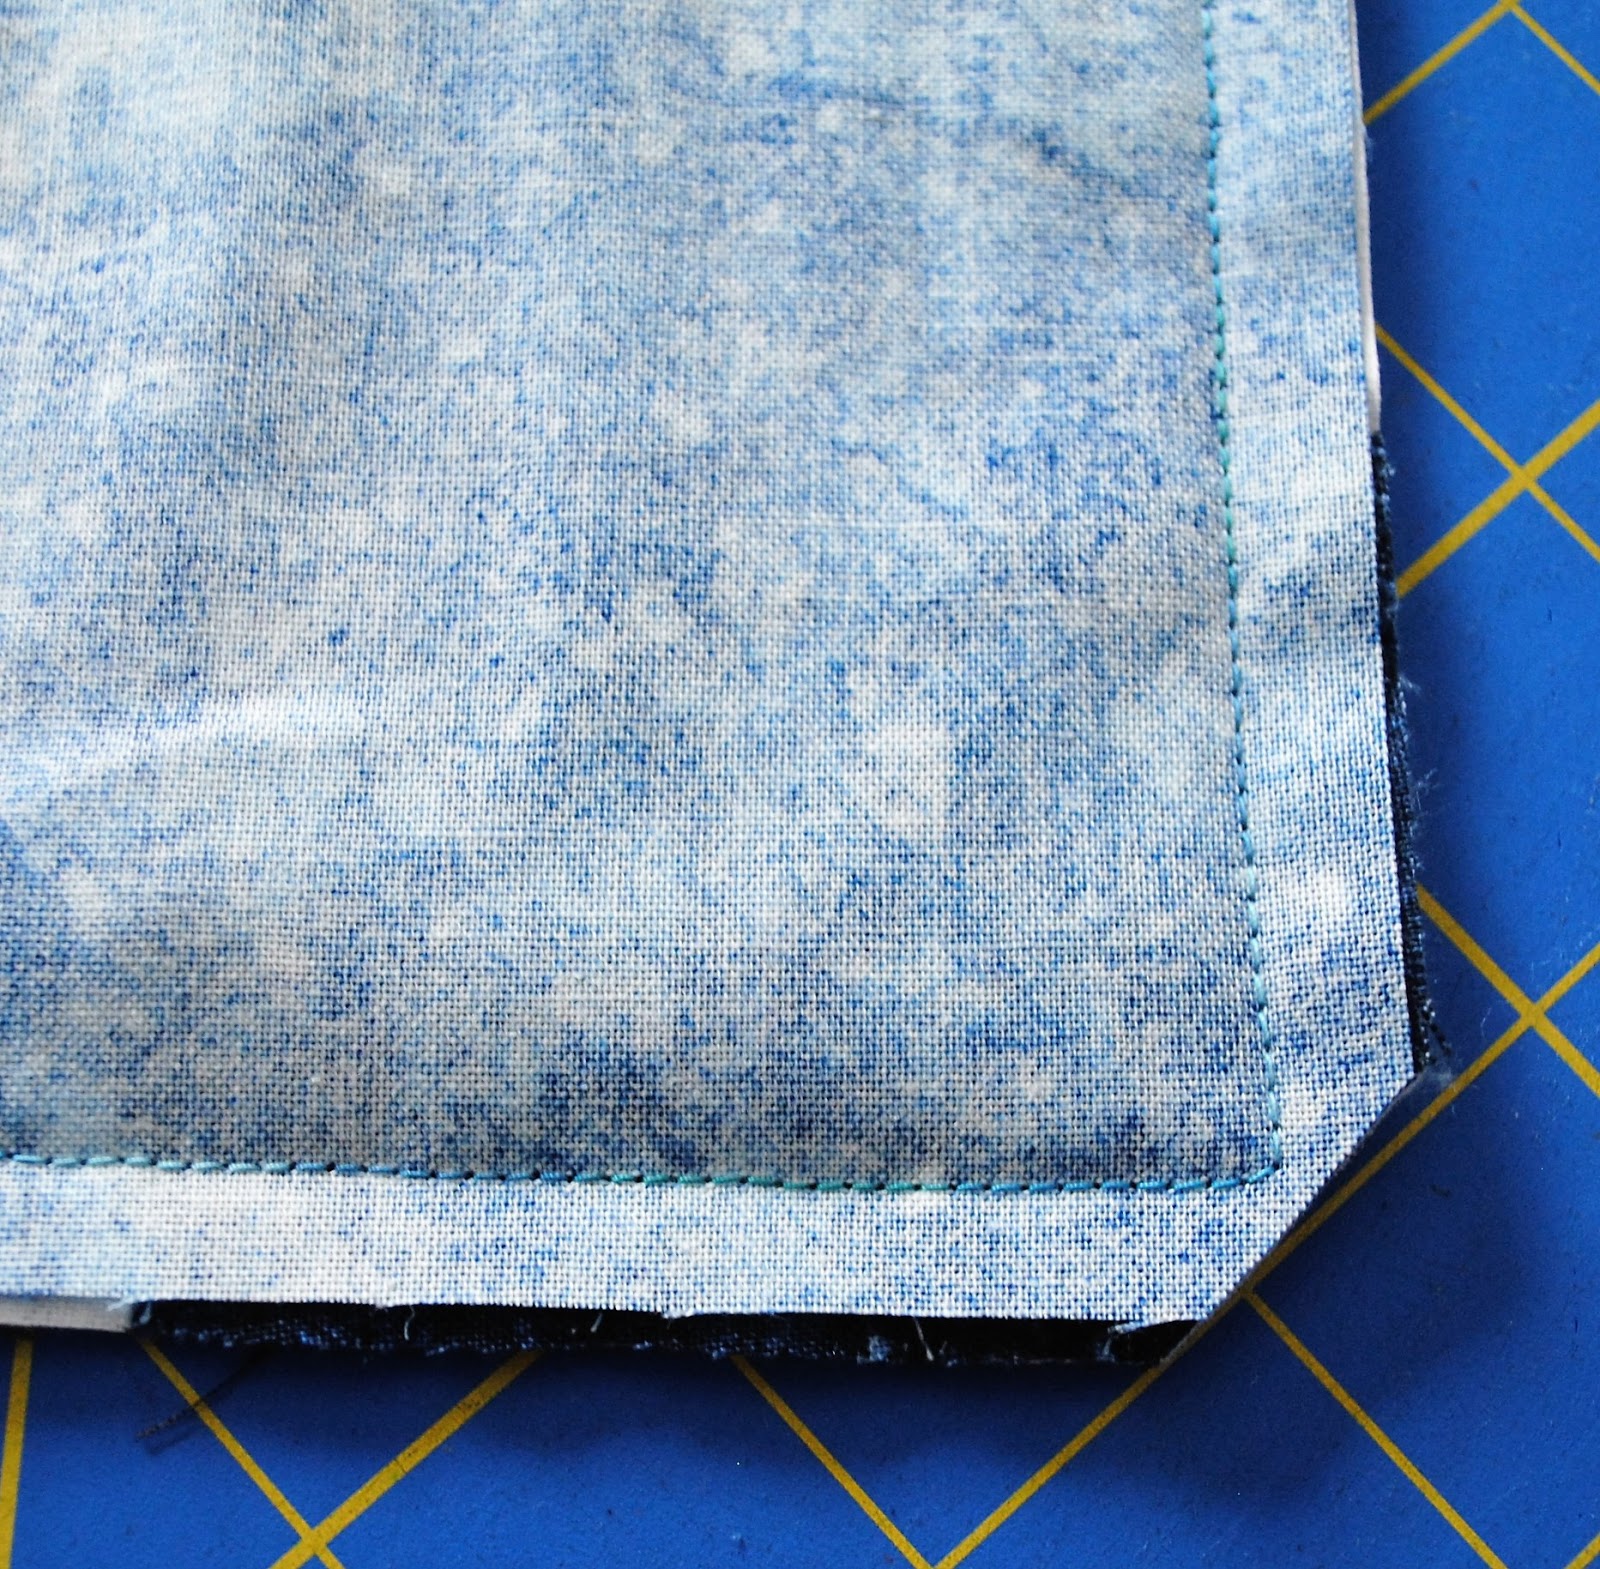
Turned the piece right side out and topstitched 1/2" in from the edges.


Inserted my 16" pillow form and project #27 was complete!!


I put this pillow cover up for same in my Etsy store and I just sold it this week!! Check out my Fairfield Road Designs Etsy store to see more of my finished products and kits!!