Showing posts with label hexagons. Show all posts

Wednesday, December 28, 2016

Making quilted pillow covers with leftovers

52 Week UFO Challenge - Project #40

A couple years ago I bought the most amazing fat quarter bundle of Japanese fabrics from Kallisti quilts when she had a booth at the Ottawa quilt show. I've made a few projects from this bundle of fabrics, including a table runner made with hand pieced hexagons and a lap quilt made with hexagons and triangles all cut with my Accuquilt Studio cutter.


But I LOVE this fabric so much that I didn't want to waste ANY of it, so the scraps that were left from the previous project were all cut into small triangles using my Accuquilt triangle die.


I sewed them all into rows of 12 triangles each:


And used little half-triangles on the ends of the rows to make them square:


I then sewed all of the rows together and found that I had enough rows to make two square pieces that were each 17" x 17" - just big enough to make the fronts of pillow covers!


I layered them with batting and backing and quilted one with a spiral design and one with a leaf design:
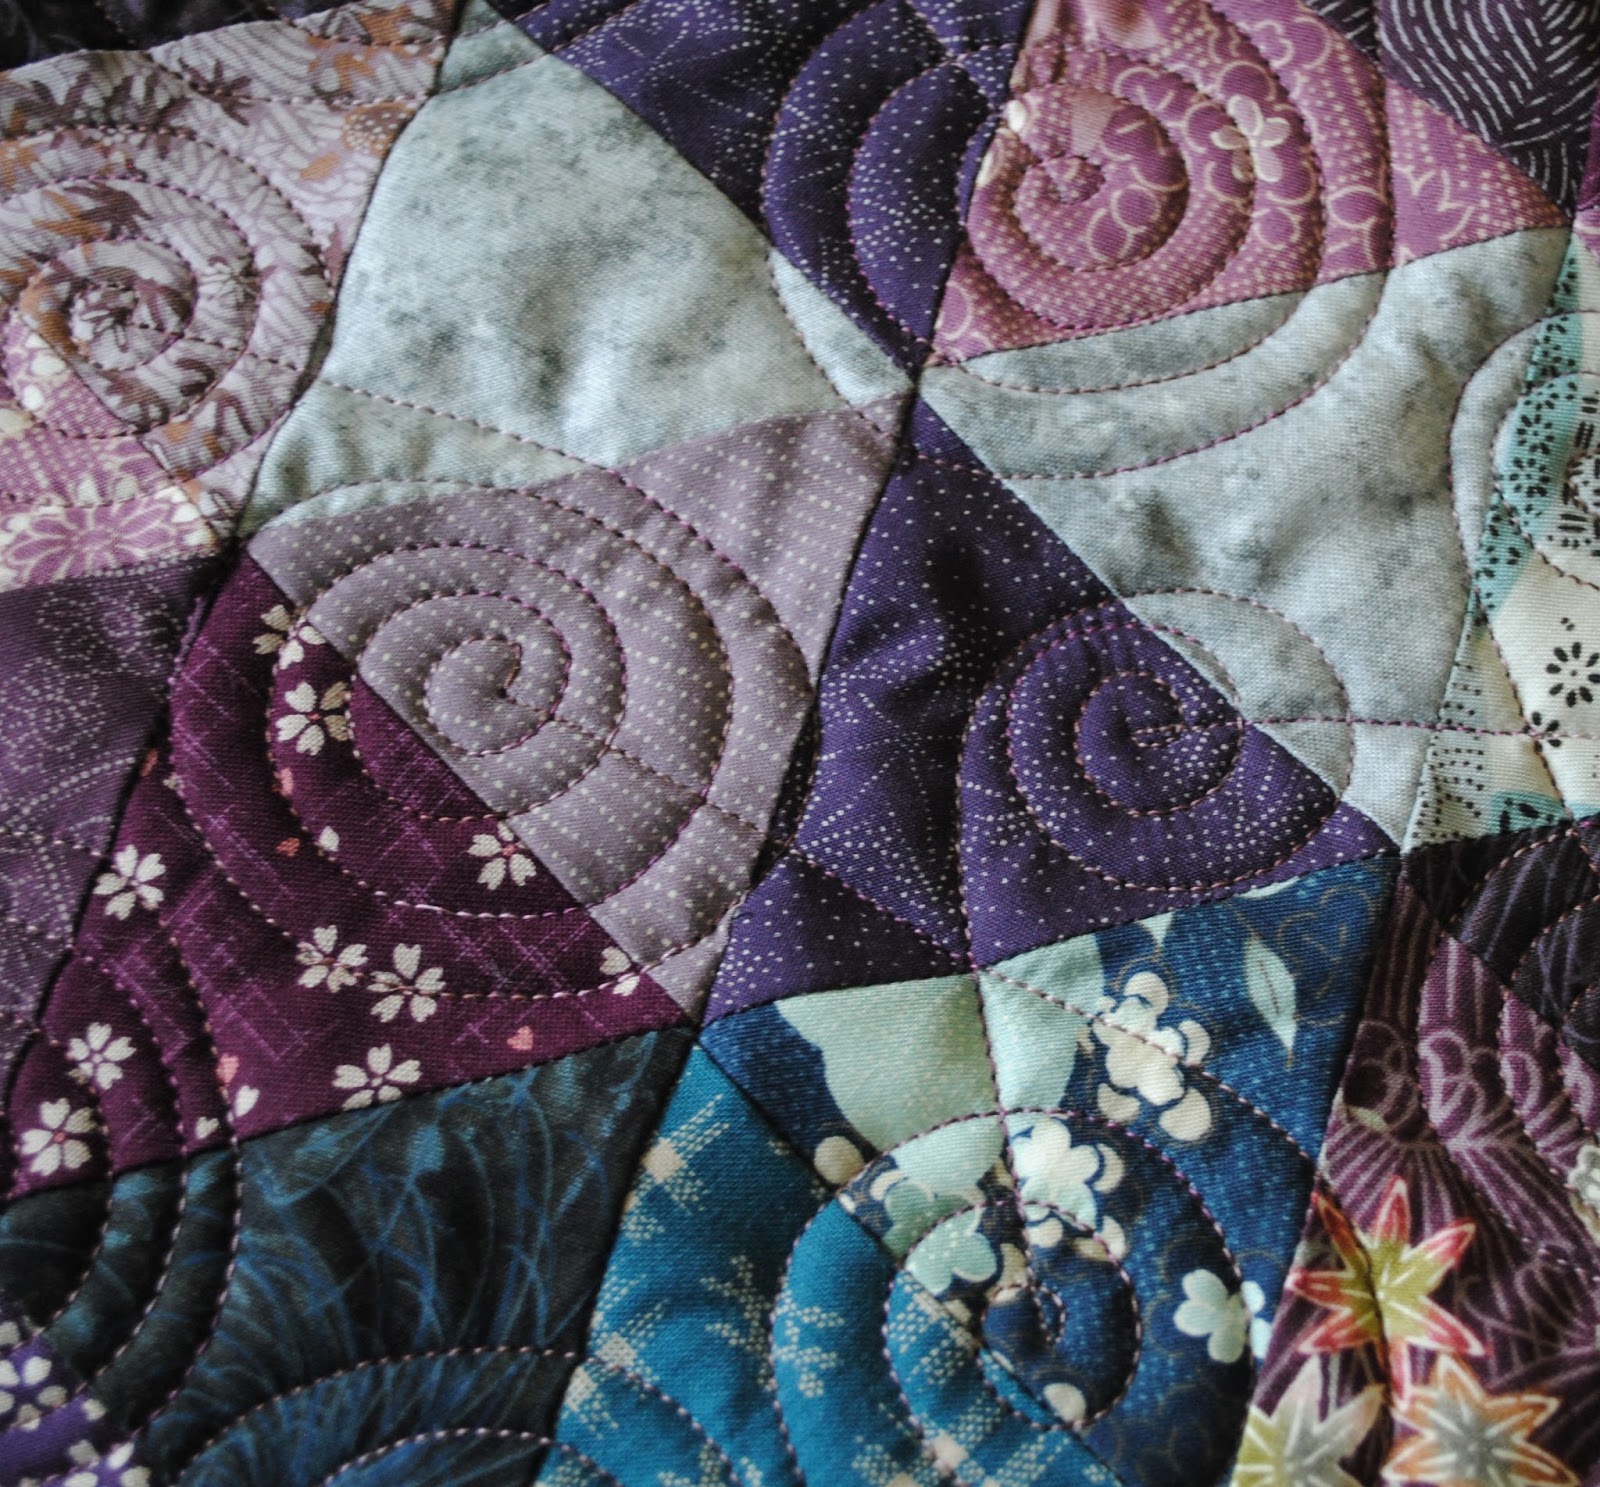

I then followed the directions that I gave on my quilted pillow post on June 5th to make them into pillow covers. I LOVE them!! And have officially used up EVERY scrap of that fat-quarter bundle!!

Project #40  is done!!


Tuesday, March 8, 2016

Sewing and Quilting a Hexagon Lap Quilt

52 Week UFO Challenge - Project #13 - Using up my leftovers

I just loved the look of my hexagon table runner, so awhile ago I cut the left overs from the fat quarter bundle into 3" hexagons and triangles and took the stack with me to the quilting retreat last November. 

I came home with most of the triangles and hexagons pieced together, but the size was awkward and I wasn't too sure what to do with it.

Pieced hexagons and triangles.
I trimmed the top and bottom of the pieced section to make them straight.
Trimming the top and bottom.
I had quite a few triangles and hexagons left over, so I decided to make two more sections to put on the top and bottom of the quilt to make it longer. Unfortunately I didn't have enough of the triangles to piece the sections in the same manner as the original section, so I needed to cut some of the rectangles into pieces that could be used to join the hexagons into a line.

Leftover hexies and triangles.

Trimming the hexagons.
I used these pieces and the leftover triangles to sew the hexagons into two rows for the top and bottom of the quilt.
The top row.
 Afterwards I trimmed the triangle edges off to make the two rows straight.

Trimming the top and bottom rows.
 Next, I auditioned a few fabrics to find the best one to use for the sashing. I decided that the medium grey fabric was the best.
Picking a sashing fabric.
I added one sashing strip to the top of the centre panel and one to the bottom and then added the two hexagon rows. The next step was to add the outer border.
The borders and sashings have been added. Now it is time to quilt.
I decided to quilt the entire top with this water ripple design.
 After quilting and adding the binding the lap quilt is all done! I really love the finished quilt. Thirteen UFOs are done!


Thursday, March 3, 2016

52 Week UFO Challenge - Project #12 - Hexagon Table runner


LAST March I started sewing 1" hexagons together by hand just so I would have something to work on while I was on vacation in Florida. Last August I posted some Tips for Hand Sewing Hexies and now FINALLY I am finishing my hexagons into a table runner.

One of the reasons that it took so long to finish this project was that I really wasn't sure HOW to finish it. I didn't want to bind around all of those corners and I didn't want to cut off any other edges to make the sides straight. Finally I thought of a solution - I would appliqué the hexagons to a background fabric. After trying a few different ones, I decided on a Stonehenge light grey.

My finished hexagons previewed on a grey background.
The next step was to remove all of the hexagon templates from the back of the pieced runner. First I pressed the piece really well to make sure that the edges were nice a crisp.

The hexagon templates.

Popping out the hexagon templates.

The templates have all been removed.
The next step was to use my 505 Spray to spray the back of the entire piece and then to centre it onto the grey background.
The back of the hexagons sprayed with 505 Spray.
After the hexagons were stuck to the background I stitched around the outside of entire piece to secure it to the background.
Stitching the hexagons to the background.
 My next step was to layer the background with batting and a backing. I then used my walking foot to quilt straight lines down the entire quilt.

Close-up of the quilting lines.

Straight line quilting with my walking foot.
I wanted to add a little bit of the teal to the binding, so I decided to try out the Magic Binding tutorial that I found online. That little extra teal was just what I wanted!!

The magic binding!
Here it is! The finished table runner! I just love how it turned out and now I'm thinking of other ways to appliqué pieced hexagons to backgrounds!!! And wouldn't you know it...I have MORE hexagons left so I guess that means another UFO :)

The finished hand pieced hexagon table runner.


Saturday, January 23, 2016

52 Week UFO Challenge Project #4b - Heart pincushion

I think I must like hearts...and hexagons...and wool LOL

 My Accuquilt Studio Cutter makes is so easy to cut wool shapes - maybe a little TOO easy as I keep finding more of these embroidery hearts!! I have many die shapes - such as the snowflake, star and hearts in my previous posts as well as bigger shapes such as the Bullseye Hexagon Die. This die is AMAZING and I've made many hexagon quilts because of it!

Accuquilt Bullseye Hexagon Die

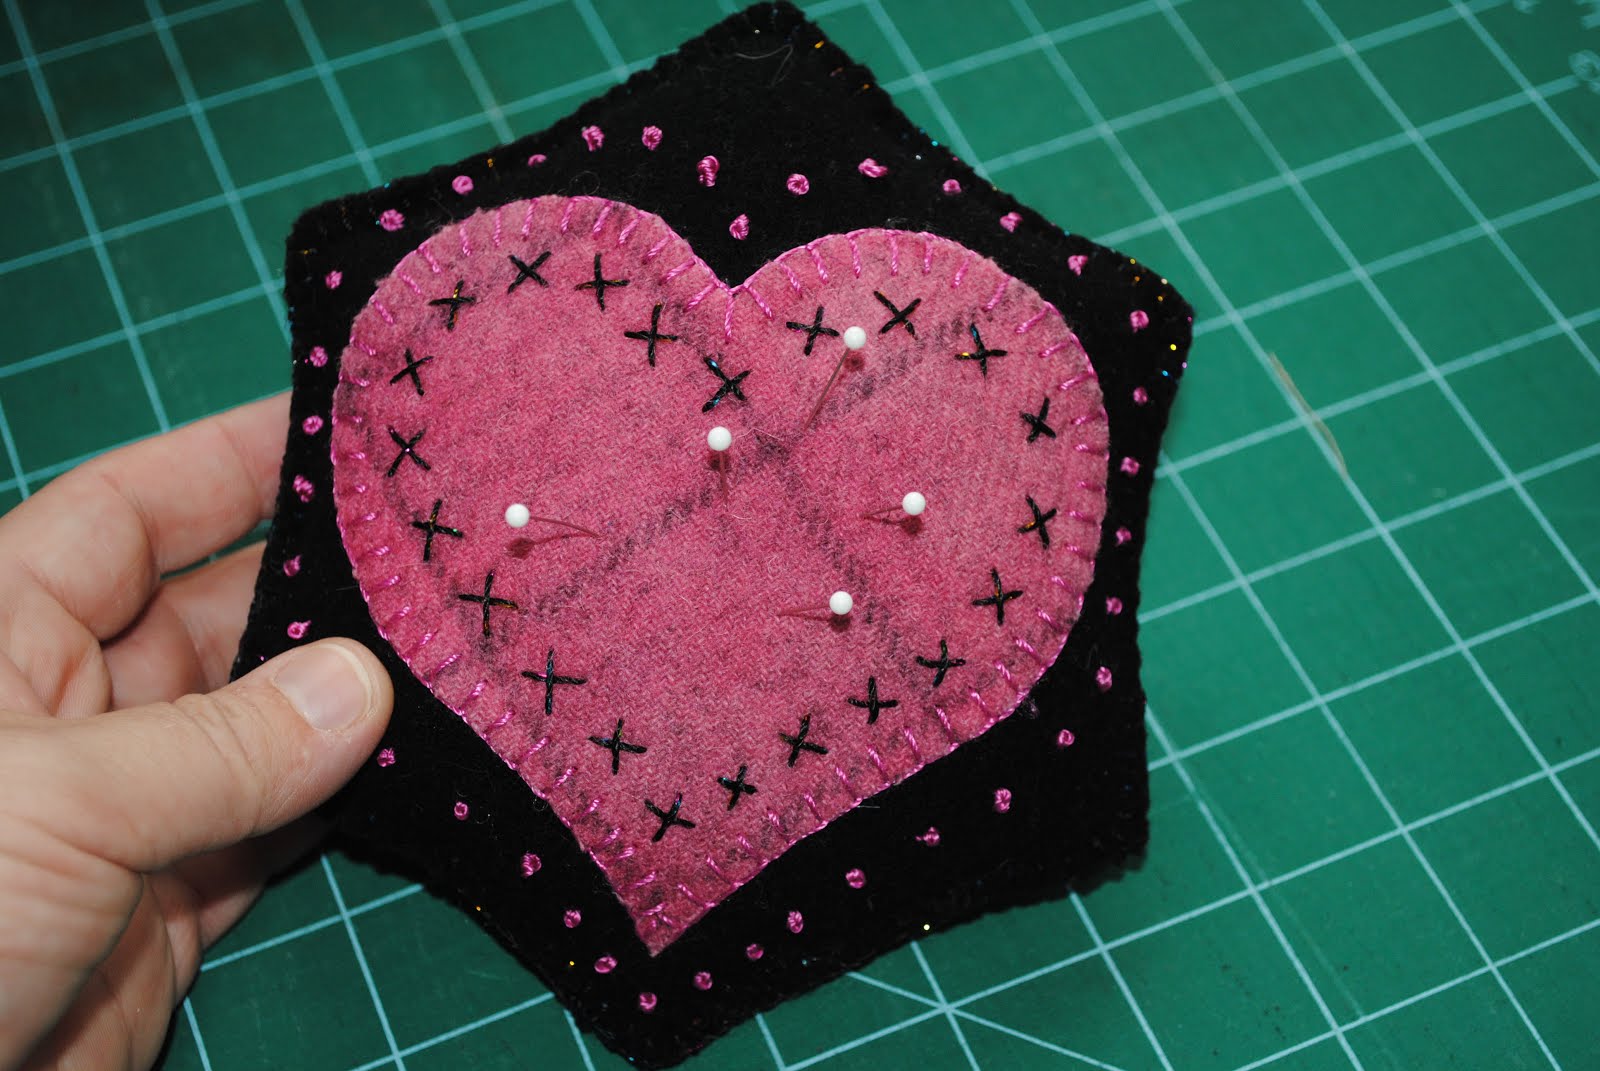
This embroidered wool hexagon made a quick little project for today. Here is a pincushion that I made just by blanketstitching two hexagons together - I left a little hole for stuffing and then blanket stitched the hole closes.
Cute little hexagon shaped pincushion


It's always nice to have a fast and easy project! Wouldn't this be a great little present for a quilting/sewing friend??

Sunday, August 30, 2015

Tips for sewing hexies by hand

Whenever I go away on vacation, I ALWAYS take along a hand sewing project. There is always down time while we are on vacation, and it is so nice to have something to work on while we are watching TV at night or driving in the car. The added bonus is that when the project is finished it will remind you of your time on vacation!

When I headed to Florida this past March I decided to take along 1 inch hexagons to hand stitch together. I had seen my friend Donna Taylor from Taylor Sewing Centre demonstrate how to use thes Mylar pieces from Brandy's and couldn't wait to try them out!! As luck had it, my Accuquilt hexagon die cut pieces that were PERFECT for using the templates. I used a stack of fat quarters that I bought from Kallisti Quilts  and cut a whack of hexagons to take along.


The hexagons are very easy to use. All you do is pin each Mylar template to the back of each fabric hexagon through the hole in the middle. You then fold over the edges and tack them down at each corner with a couple sticthes. 


Once all of the corners are tacked down, you can knot off your thread and stitch the next hexagon. To stitch the hexagons together, you just whip stitch the two edges together from the back.


You can sew the hexagons together into rows and them stitch the rows together using the same whip stitching method. 


Months later I'm still working on this project. I took it to Blue Mountain with us this week and managed to add a few more rows. I think it will be a tablerunner when I am done, but who knows, I may just keep on sewing until it's a lap quilt!!


Monday, August 3, 2015

Quilting the birthday quilt

Finally...

Just like the cobblers children who never had shoes, sometimes my kids have to wait a long time to get a quilt. Carson has been waiting for his birthday quilt to be quilted for over 4 months now!! There always seams to be another customer quilt that needs to be done first. But today was the day!! I FINALLY assembled the backing, loaded it on my Gammill and got to work!
The birthday quilt loaded onto the Gammill

I made this quilt top by appliquéing large hexagon shapes onto a single piece of fabric using fusible web. The hexagons were cut using my Bullseye Hexagon Die set from Accuquilt. I used the blanket stitch on my sewing machine to stitch down all of the edges. I especially liked the look of the edges that were stitched with the black and white variegated thread - it almost looked like piano keys when it was finished.

After the quilt was loaded on the machine, I selected a variegated grey thread and decided to do a meandering design over the whole quilt, but once I got to the first hexagon, I decided to try out a different design.


As I made my way across the quilt, I tried out more and more designs in each of the hexagons. This quilt was so much fun to quilt as I knew my son would love it even if I made a "mistake". 


Here is the quilt all quilted - now how long is it going to take for me to put binding on it??? Maybe he'll get it by Christmas LOL.