Thursday, September 1, 2016

September Block of the Month

New Beginnings Block of the Month


Wow - it's September already!! Back to School time AND back to quilting!!!

I've been busy working on my block of the month and have just added the September Block for our New Beginnings Block of the Month quilt to Craftsy!

September Block - now on Craftsy
 Here is my September block, using my selection of cream, navy, turquoise and orange batiks. I really love how all of the blocks are coming together and how they look when they are arranged on my design wall. I can't wait to get them all finished so that I can assemble them into my quilt.


Once we've posted all of the year's blocks we will post two different patterns for finishing the blocks into a quilt top. 

Check out Craftsy to see all of the blocks that have been posted so far and to download the free General Instructions.
General Instructions for New Beginnings Block of the Month


 Also look on our pattern store for the FREE bonus blocks that can be downloaded today!! We also have a large selection of other ePatterns to download - have a look!


Craftsy

Wednesday, August 31, 2016

Finishing up the Christmas wool applique table runners

52 Week UFO Challenge - Projects #35-#37

Now that all of my tongues were cut I could start to assemble them and do the blanket stitching around the inner coloured tongues. 

The first step in this process was to use my 505 Spray to stick the inner tongues to the outer tongues. I have a special box that I use for the spraying. It is about 15" x 24" and the sides are only about 6" high so that I can spray the 505 and not get it onto the surfaces around the box. 

I laid all of the inner tongues in the box...

And then gave them a light coating of the 505 Spray.


Next step was to place them sprayed side down on the outer tongues and then to press down lightly with my hand.

I spent the next few days doing the blanket stitching around the inner tongues. I hid the knots in between the inner and outer tongues. Once they were all stitched, I cut a second set of cream wool rectangles to back the table runners and then used the 505 Spray to stick the fronts and backs together. I positioned the tongues evenly along the ends of the table runners and then slid them in between the layers of wool.


Eventhough there is some 505 Spray along the inside edges, I usually pin the tongues into place as well to make sure that they don't move.


The next step is to blanket stitch around the edges of the table runner to secure the tongues and finish the edge.

On the purple table runner I also stitched snowflakes onto each of the mittens before layering the front and back of the table runner.


Here are my finished table runners - all ready to add to my Etsy shop!! Or maybe to use as Christmas presents. Either way, finishing up the Christmas wool applique table runners was super easy and I LOVE stitching with wool.


My 52 Week UFO Challenge projects #35, #36 and #37 are all done!!


Friday, August 26, 2016

Cutting wool tongues with my Accuquilt Studio cutter

52 Week UFO Challenge Project #35 - Changing ornaments into table runners

A few years ago I participated in a local Christmas Studio Tour and one of the things I was selling was felted wool tree ornaments. I must have made 40 of them, but I ran out of time and had quite a few cut out but never finished. 


I added these to my UFO list but didn't want to just finish them as they were. Instead I cut three rectangles of my cream wool and appliqued the mitten and stocking halves onto them. 


To finish the ends I wanted to add wool tongues and I have the BEST tool for cutting all of those tongues - my Accuquilt Studio Cutter and the Studio Tongue Rug die!!


Instead of having to cut all of these tongues by hand, I just have to cut strips of wool the appropriate width and place them on the die.


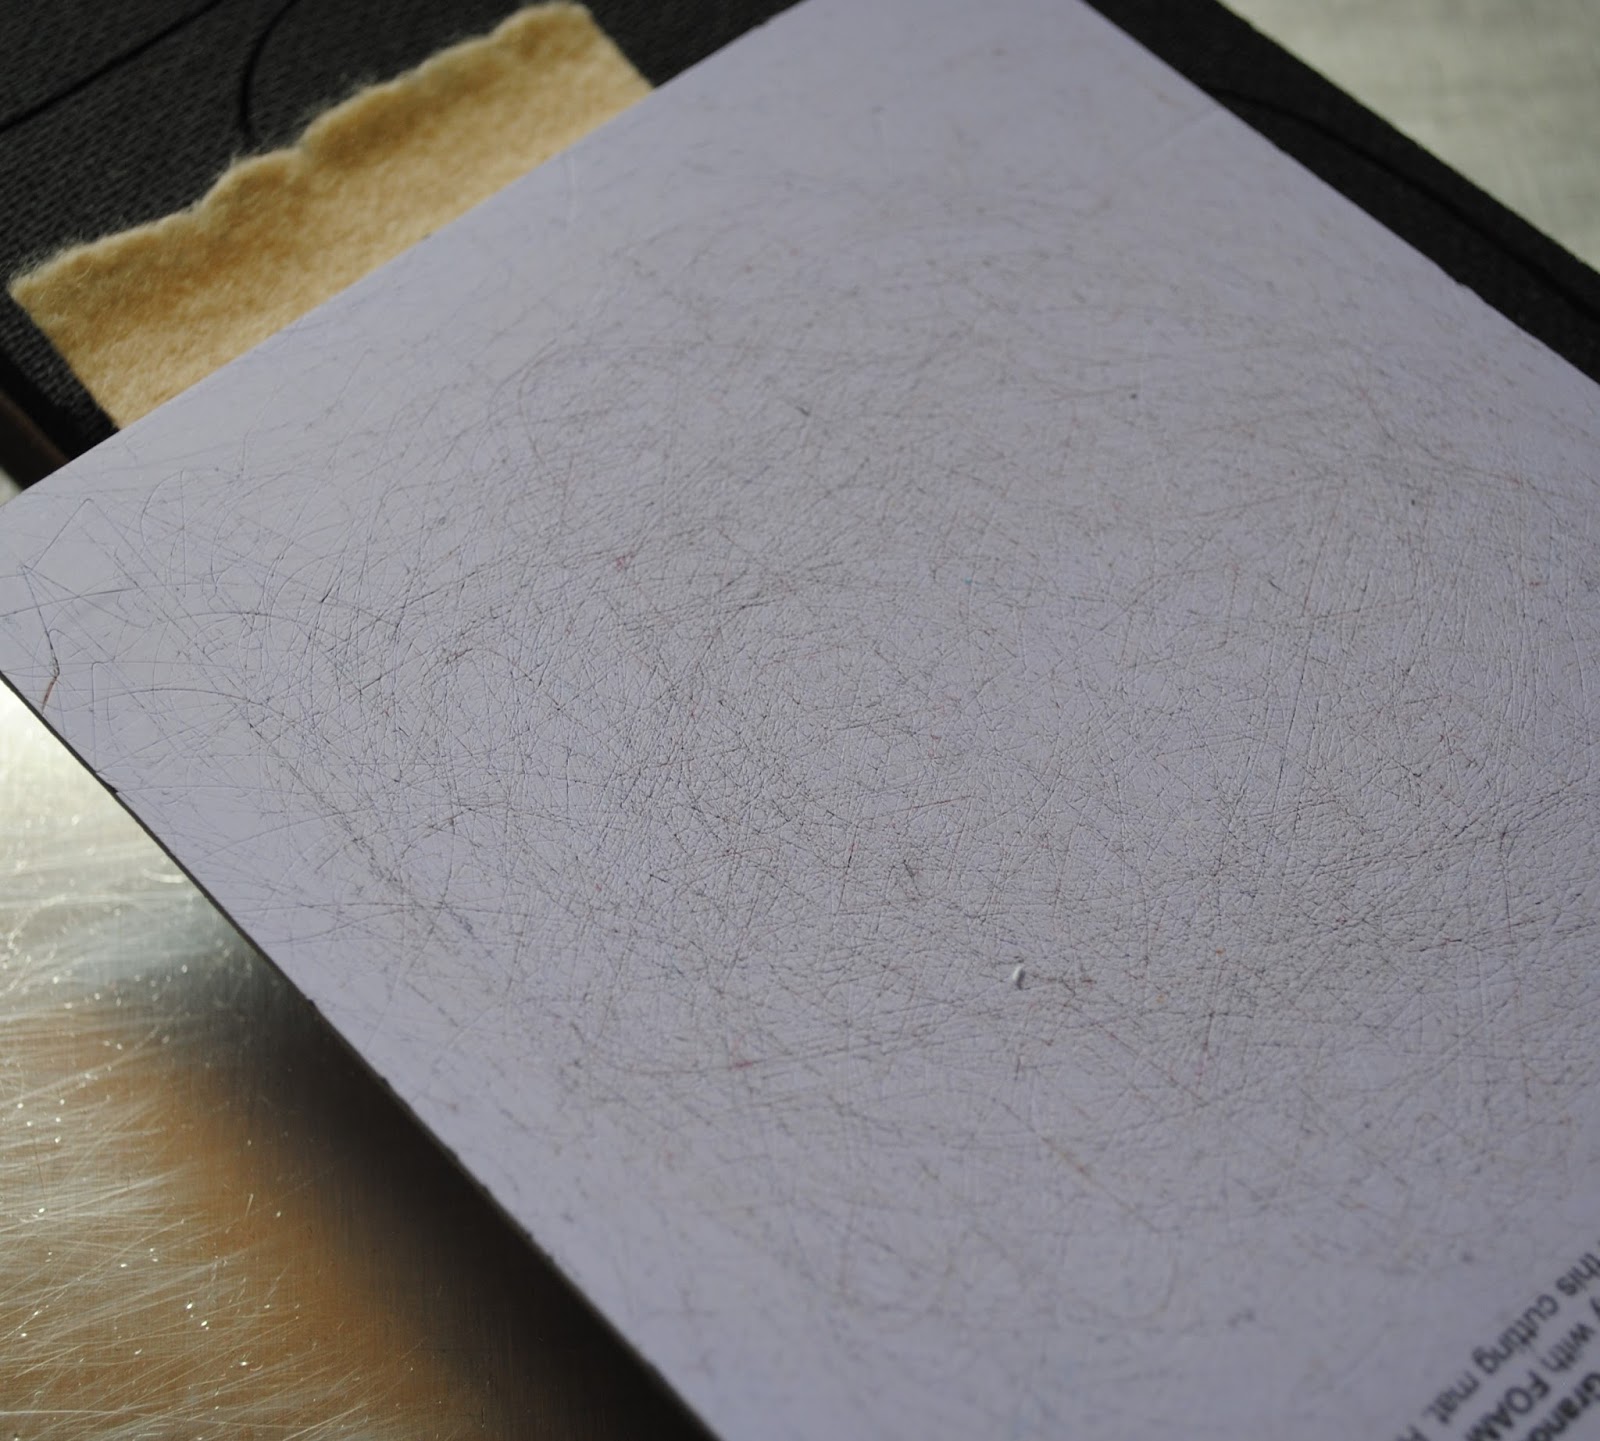
Next is the cutting mat.

Then you run it through the cutter and VOILA!! The tongues are cut!


I LOVE having the option of using my Accuquilt Studio Cutter to cut my wool applique shapes!! All of these tongues were cut in less than 20 minutes! When you are making three table runners you need A LOT of tongues!!


Tomorrow I'll show you how to place and stitch the tongues...


Accuquilt Sale Aug 2016

Tuesday, August 23, 2016

New Block of the Month quilt to be released SOON!!!

Nellie and I have wanted to do a fusible applique Block of the Month quilt for years and this March we finally started designing it!! Since then we've been working on making the quilt and writing the patterns and I'm so happy to say that it is ALMOST DONE!!! 

My sample of the quilt is actually on display now at the Quilted Cardinal in Beamsville, Ontario as they will be running the block of the month as one of their classes this fall! 

We will be releasing the patterns VERY SOON, but I wanted to give you a little taste of what's to come... here are the fabrics that I selected back in March for my sample. The pattern is written for fusible applique (which is what my sample is made with), but they can be used for wool applique too (Nellie is making that version).


We can't wait to show you the patterns!!! Once the final proof reading is done they will be available at quilt shops and online!!

Sunday, August 21, 2016

Quilter, pharmacist, Gammill repair technician...

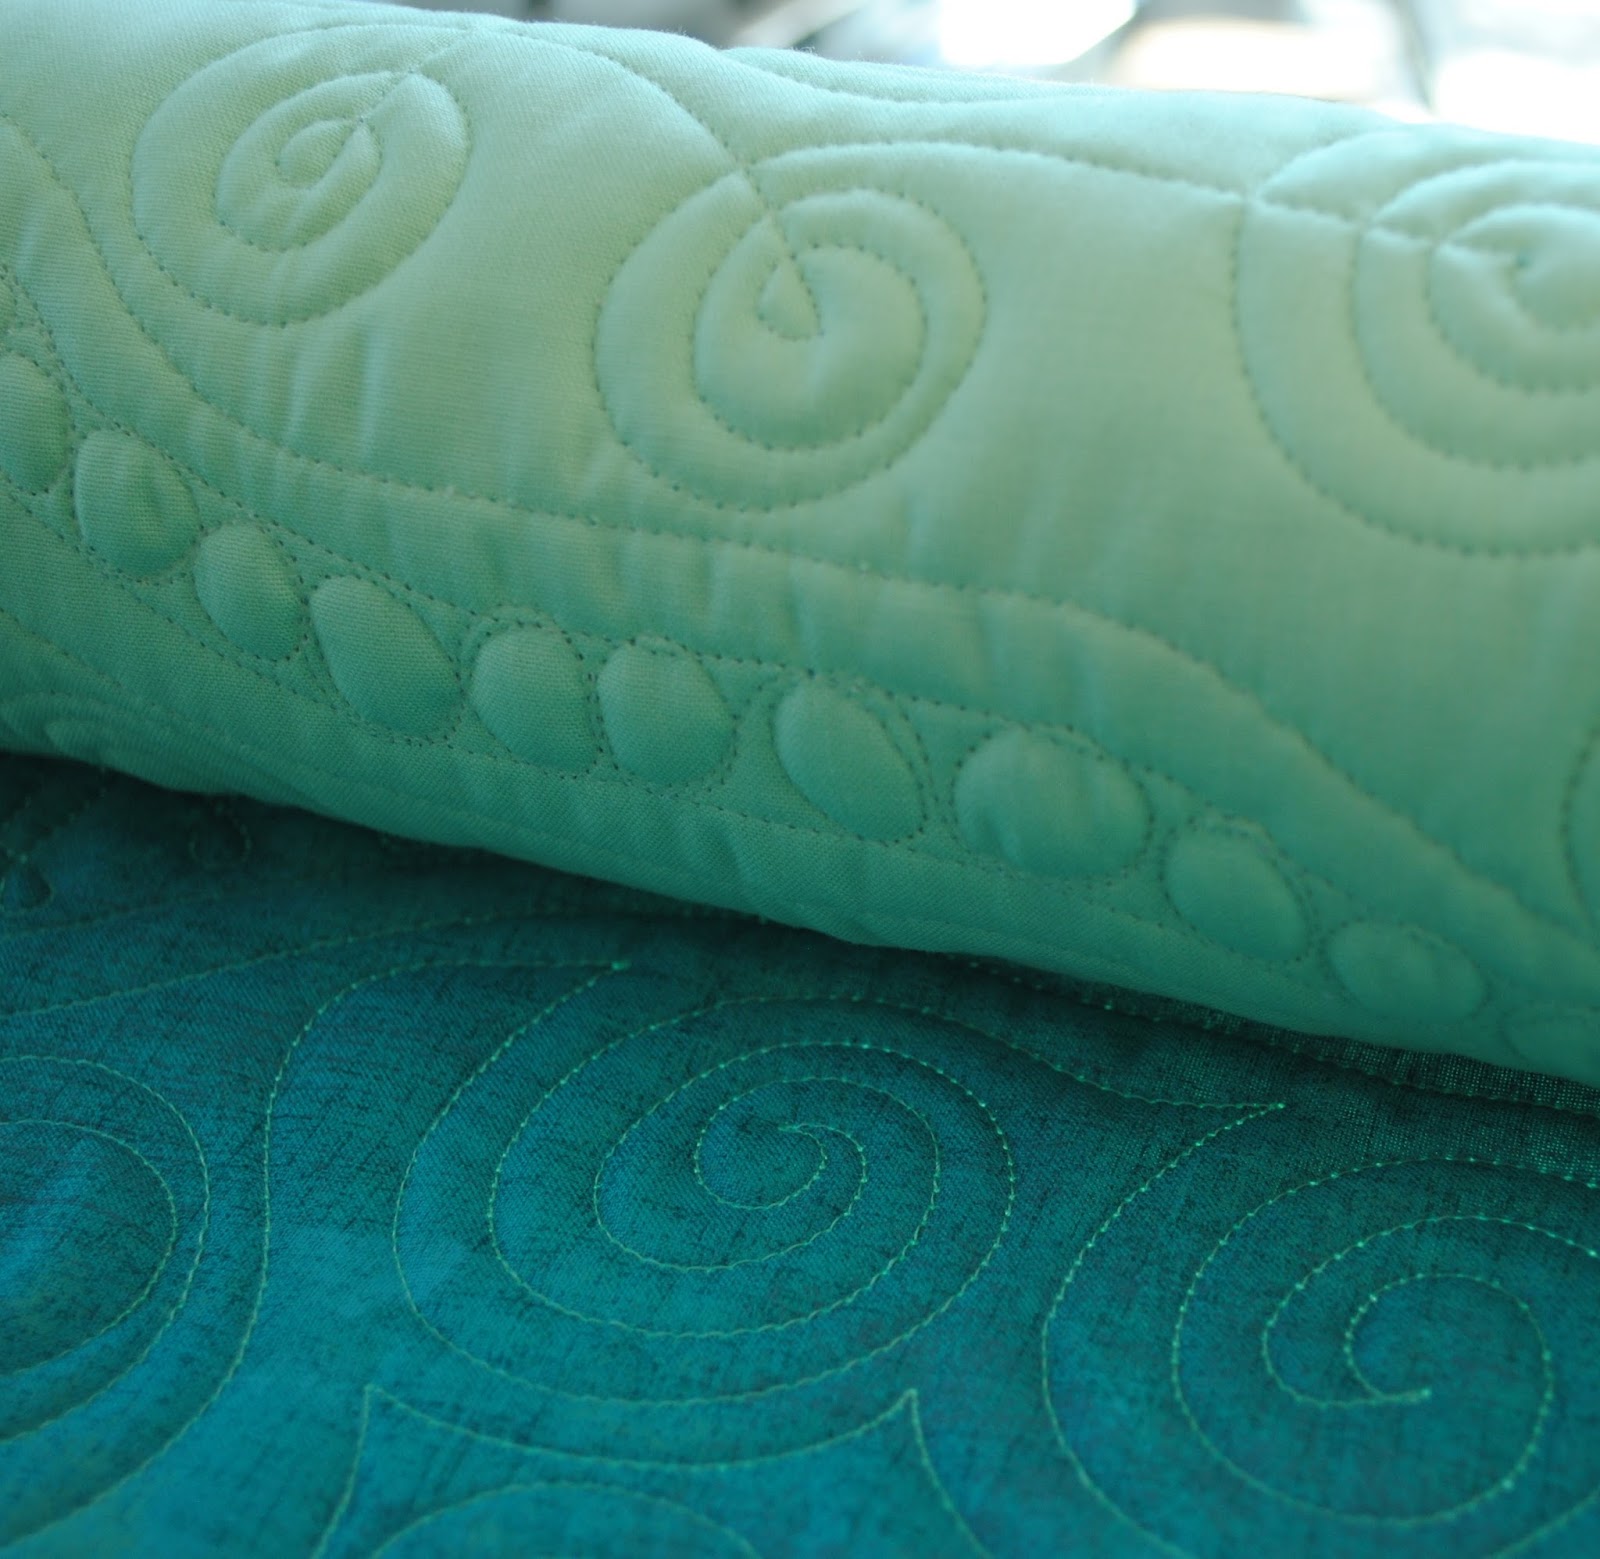
Yesterday I decided to load my friend Dyane's ultra modern quilt onto the Gammill and start quilting. Although I had no idea what design(s) I wanted to use, after looking at a couple modern quilting books, I soon knew exactly what I wanted to do!!


Once I got started, I was LOVING quilting this quilt!!


 BUT it was super hot in my quilting studio and when I was about half way through the quilt I decided to take a break and go for a swim to cool off. BIG MISTAKE!!

One thing led to another and I never got back to the quilt until this morning. The first stitch I took made a HUGE crunching noise and then I saw the needle broken off and curled into the shape of a "C". Not a good sign (and a big reason why I'm not that sad that I have to wear glasses LOL).

So, I put in a new needle, but the thread kept breaking and the machine was skipping stitches so I adjusted the tension and figured that I needed to "time" the needle and hook. After doing that the needle wouldn't bring up the bobbin thread. I changed the needle, but that was no help sooooo....I got out the manual and decided that maybe the impact of the needle break was so great that it had affect the height of the needle bar. I've had to fix this before, so no big deal, but I had to take off the faceplate in order to access the screw. Would any of my allen keys work for this??? Of course not, and so began the 10 minute search for my son's allen keys....


OK - faceplate off, needle bar height adjusted AND..... still the bobbin thread will only come up when there is no quilt under the needle. Soooo... I change the needle again and take off the throat plate to look at the timing again. It looks OK, but when I look straight on through where the bobbin usually sits, the needle is WAY too low now!! What is going on??? So I take the needle out and lay in down beside the other needle and it is almost 1/4" longer!! So, this is something I never realized before but Gammill needles are not a standard length. - good to know!


So,,, faceplate off again, needle bar height adjusted AGAIN. Timing adjusted AGAIN. And now the machine will quilt (thank god!!) but it is skipping stitches like crazy! And when I roll the quilt into the uptake bar at the back, there are little knots of thread on the back. And the thread STILL keeps breaking so I keep adjusting the tension and after two hours of this I decide that it is once again time for a swim!!

After cooling down (literally and figuratively) I went back to the Gammill and it was stitching a bit better. Well enough to finish the rest of the quilt although the thread probably broke 50 more times and I had to go back and re-stitch over places that it had skipped stitches.

The quilting looks really good on the front of the quilt dispite all of these issues, but tonight I will be spending the evening with my punchneedle thread and tweezers pulling the little knots on the back under the fabric. At the least the Olympics are on!! Go Canada Go!!