Showing posts with label Celebrate Canada. Show all posts

Tuesday, June 21, 2016

QUILTsocial and Quilt Canada 2016

Wow!! It's been a busy few weeks around here!

Two weeks ago I was the guest blogger on QUILTsocial and during the week we made a beautiful Sunflower art quilt using Northcott's "Artisan Spirit Shimmer", "Sandscapes" and "Toscana" lines of fabric - SO MUCH FUN!!!


And last week Nellie and I headed to Toronto for three days to participate in Quilt Canada put on by the Canadian Quilter's Association (CQA). What a great show and what a HUGE vendor market!! I couldn't believe how many booths were there.

It was so fun to run into some old friends that we haven't seen for years AND to make some purchases!!
Nellie, Patti Carey (Northcott) and myself showing off our "Celebrate Canada" book

Visiting Carla Canonico in the QUILTsocial booth

Visiting with Karen Magee and signing copies of our book in the Quilt Thyme booth
I can't wait to try out some of my new goodies!!


New fabrics and templates!!
Next year Quilt Canada is in Toronto again!! I think next year I'll go for a longer time and take a class while I'm there - you can never stop learning!!!

Saturday, May 14, 2016

Another sample from our book "Celebrate Canada"

Nellie and I have been working hard to get all of the samples from our quilt finished so that they can travel to Quilt Canada in June!! Karen from "Quilt Thyme" quilt shop in Kingston, Ontario will be displaying them in her booth in the merchants mall AND for a couple of the days Nellie and I will be in her booth signing copies of our book "Celebrate Canada"

So Nellie's "Coast to Coast" quilt was the next one to be quilted and after doing all of those maple leaves on my quilt, I was feeling quite confident that I could do some on hers as well. I got it loaded onto the frame and then got to work.


For the first few maple leaves that I quilted I used my laser pointer and followed a design on paper. I added some swirls and loops in between the leaves and after awhile I didn't need to follow the paper design at all!!


For the center of the quilt I thought it would be fun to do a spiral design over all of the blocks. It turned out quite nice!


In the two inner borders I did my favourite loop-de-loop design and the side-to-side swirl.


Here it is - all quilted and ready for binding!! We just LOVE these Oh Canada fabrics from Northcott!! 


Saturday, April 23, 2016

Quilting maple leaves from the backside

52 Week UFO Challenge - Project #20 - Celebrate Canada quilt

At our retreat in February I put together a sample of the "Our Native Land" quilt from our book "Celebrate Canada".

This quilt was super fast and fun to put together and I still just LOVE the Oh Canada fabrics from Northcott. Now that I'm back from my trip, and have a bit of time to spare, I've finally been able to get it quilted!!


I wanted to quilt a maple leaf design on the quilt, so I decided to use a pantograph that I had on hand. I don't often use pantographs for one simple reason - space. My Gammill is located in a long, skinny sun room off the back of our house and when the Gammill is pushed right back, it just barely clears the opposite wall. So standing behind it, to quilt a pantograph is "almost" impossible.


So, I decided to try stitching the pantograph while standing to the left side of the machine. I had to hold the left hand button in my right hand, and use my left hand to help steer by holding onto the body of the machine. By doing this, I was able to keep an eye on the laser pointer as it followed the design on the pantograph.


 The end result turned out AWESOME - although I think I might need to go for a back massage after stitching in that position for the hours that it took to finish the quilt!!


One of the risks of stitching from the back of the machine is that you aren't watching the FRONT of the machine - can you see where I missed stitching a maple leaf???


Luckily, I noticed while the quilt was still on the machine so that I could go back and add the missing leaf. My quilt turned out just lovely and I just LOVE the maple leaf quilting!!


Twenty projects done for my 52 week challenge!! Turns out that quilting maple leaves from the backside isn't so hard after all and I'm so pleased with my quilt. 


Thursday, February 18, 2016

52 Week UFO Challenge Project #9 - Celebrate Canada placemats

Using Northcott's Oh Canada fabric to make super easy placemats

In our book "Celebrate Canada", Nellie and I use the flag panels to make super easy placemats.


I had eight placemats to quilt and tons of the black backing fabric, so I loaded the backing fabric on my Gammill and then laid all of the placemats on so I could quilt them one after another.

Placemats lined up and ready to be quilted

 I used my 505 Spray to stick them to the batting, so that I didn't have to baste around each of them.

The placemats stuck down with 505 Spray

I did a simple meander design all over all of the placemats and then took them off the Gammill and trimmed them.

 Eight placemats take a LOT of binding and there was no way that I was going to hand stitch all of them. I sewed the binding to the front of each placemat and then flipped it around to the back and pinned it in place.

The pinned binding
I then topstitched from the front so that I caught the binding on the back. On the first placemat I forgot to change my bobbin thread - but it makes it easier for you to see the stitching. After that one I changed the bobbin to black and the stitches are almost invisible!

The back of the placemat showing the stitching of the binding

Our book is available on our website and on Craftsy as an immediate download. 

Friday, January 15, 2016

52 Week UFO Challenge - Project #3 Finishing up the Wilderness Lodge wall hanging

The borders are on - now we quilt!!

Northcott sent us bolts of fabric to make all of the projects from our book - since I have lots of the black with tan maple leaves I'm going to use it for the backing on my Wilderness Lodge wall hanging.
Backing fabrics
The quilt is loaded on the Gammill and I'm ready to start quilting. 


The outer border is quilted with leaves and swirls. 


The black inner border got my favourite alternating loop design.


Around each of the animal blocks I did a meandering stitch.


I repeated the alternating loop design around the animal squares.


In the animal squares I decided to use two of my rulers to do a curved outline and to stitch an "X" through the centre.


Her is the finished wall hanging - it even has binding on it! Project #3 is all done!!


Thursday, January 14, 2016

52 Week UFO Challenge - Project #3 Wilderness Lodge wall hanging

Celebrate Canada - our new book!!

A couple weeks before Christmas, Nellie and I spent the afternoon cutting fabrics to make the samples for our new book "Celebrate Canada".


One of the projects that I cut out was the Wilderness Lodge wall hanging. Wow - having the fabrics pre-cut is so awesome! All I had to do was to sit down and start sewing!
Everything is all cut and ready to go.
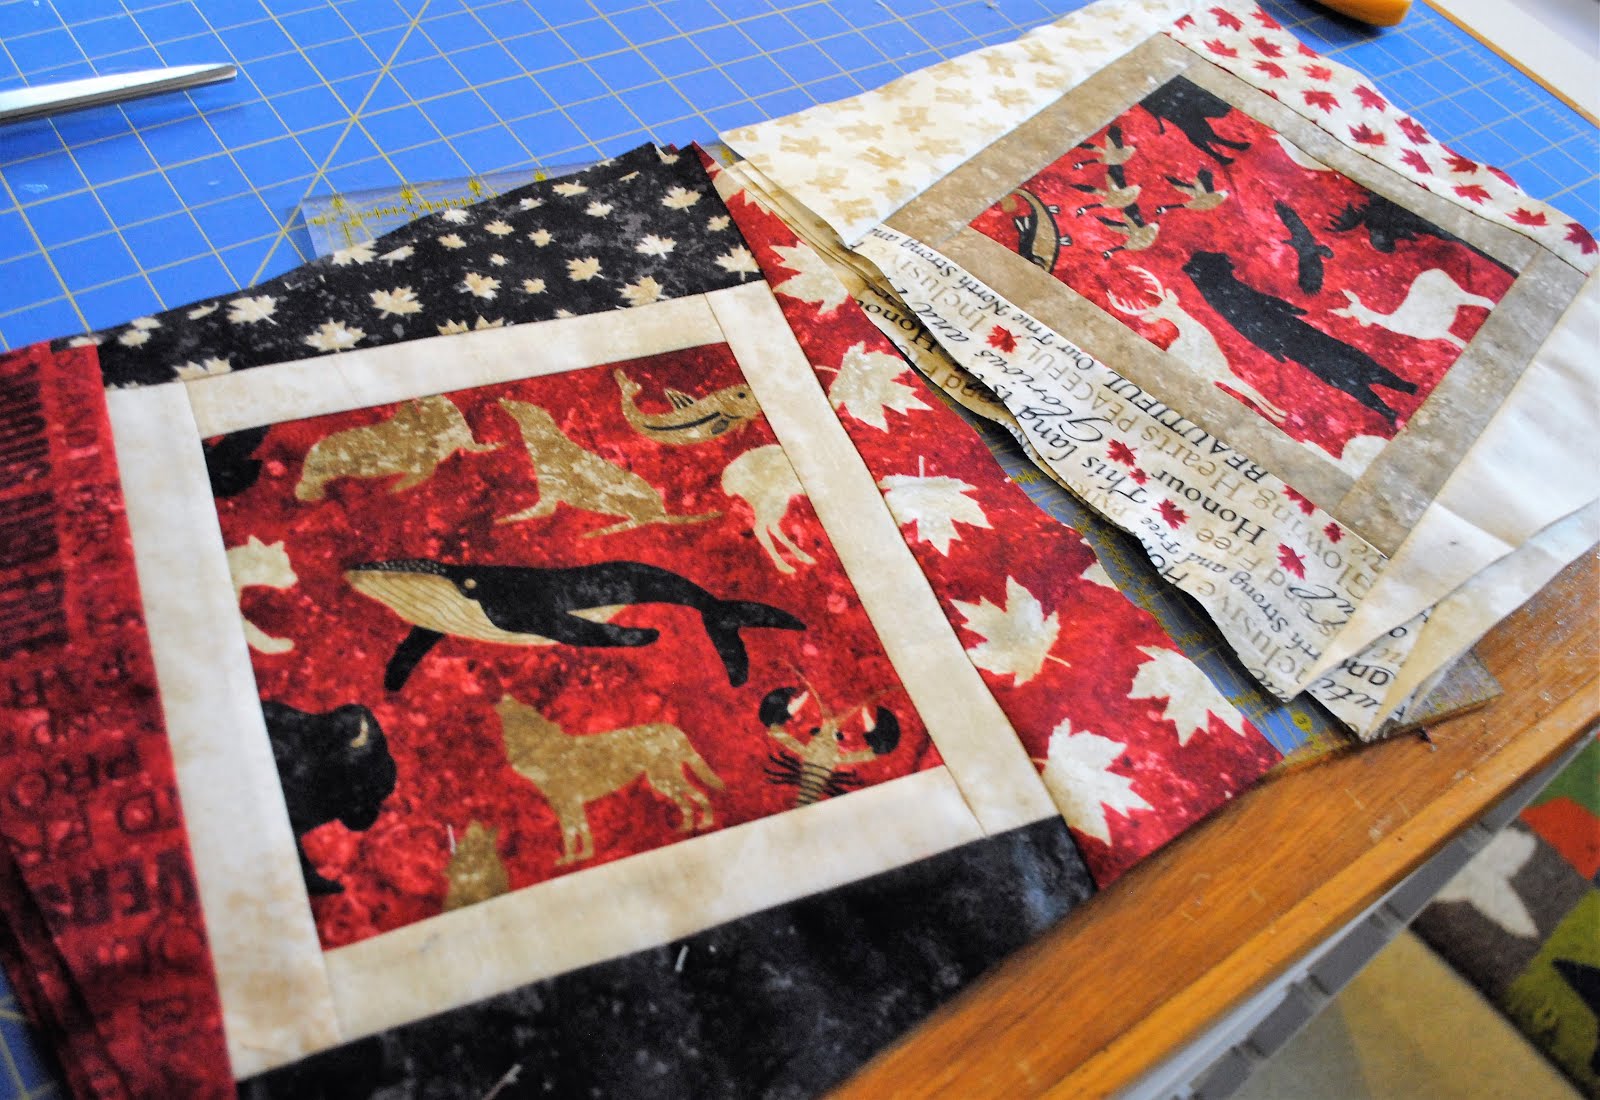
The first step is to sew the frames on to each of the nine animal squares. Five get light inner frames and four get dark inner frames.
The first step is to sew the frames on each of the animal squares.

The blocks are all done!
After all of the blocks are made they have to be trimmed so that they are all on an angle using a 12 1/2" square.
If you have a 12 1/2" square it's easy to trim the blocks.
These triangular pieces must be useful for something. I'm going to set them aside and keep them for later.

Next all of the blocks are sewn together alternating the dark and light blocks.

The centre is all done - now all I have to do is add borders.

Thursday, August 20, 2015

8 Great ways to use Oh Canada Fabric

Celebrate Canada - our newest book - is FINALLY available!!


In this book Nellie and I show you 8 great ways to use Oh Canada fabric from Northcott. These fabrics are a favourite for most Canadian quilters and we had a blast using them to design three quilts, a wallhanging, a tablerunner, placemats, an apron and a tote bag!!


The book is now available at quilt shops, on our website and on Craftsy! All of these projects would also look great made with fabrics from your stash!!!